CSC 111: Intro to Computer Science through Programming
Lab 8
Due: Friday, Apr. 7 at 11:59pm on Moodle
For this lab, first find your randomly assigned partner. Introduce yourselves - the person with the first name that comes first alphabetically should begin as the "driver", with the other partner as the "navigator". The driver will have the code open, and the navigator will have these instructions open.
At the end of the lab, email the code (finished or not) and transcript to the person who started as the navigator. If you do not finish during lab you have two options:
(1) Arrange to meet before Friday and finish the lab together.
(2) Continue the code separately and denote the part you did on your own with a comment.
Note: it is not an option for one person to complete the code on their own and then send the finished code to their partner to submit. Any code that you submit should be either written by you, or written by you and your partner while you were pair programming. Both partners should submit their code on Moodle.
Credit: based on materials from Dominique Thiebaut
Recursion Warmup
First, in a new file, write a recursive function to compute the sum of the elements in a list. Your function can be called sum_recursive(lst), with one parameter, a list of ints or floats. It should return the sum of the numbers in a list, using recursion. For example, let our list be:lst = [4,8,2,1,9,5,3,7,1,2]We have already seen how to compute the sum iteratively (using a loop), but now we will see how to compute the sum recursively. The idea is to compute the sum by adding up the very first element and the sum of all the rest of the numbers in the list. So in this example, an "equation" for this sum would be:
sum([4,8,2,1,9,5,3,7,1,2]) = 4 + sum([8,2,1,9,5,3,7,1,2])Encode this recursive formula in a function, thinking carefully about the base case and the recursive call. The answer for this example should be 42. You do not need to turn in this part, it is just for practice.
Fractal Trees
During this lab we'll be building a recursive fractal tree (see the end of this lab for what it will look like). The idea is that we will write a recursive function which draws one branch, then calls itself to draw two more branches stemming from the original one. To start out, create a new file called lab8.py in the same directory as a copy of graphics.py. Also take out a sheet of paper and a pencil so that you can diagram the tree as you code. Then follow the steps below to create your fractal tree.
- Set up your recursive function
First, create a main function which will create a graphics window of a certain width/height (here I am using an 800x800 window, but for this lab the specific dimensions are not important). Then create a function with the following signature:

This function will ultimately be recursive. The parameters are:
- window: the window on which to draw the tree (type: GraphWin)
- order: the level of recursion (i.e order 0 will create 1 branch; order n will have n+1 branches on each path from the root to a leaf)
- x,y: the position of the start (base) of the current branch
- length: the length of the current branch in pixels
- angle: the direction of the current branch in radians (note that since y is increasing downwards, angle signs are reversed from what we usually work with)
Switch Driver and Navigator here!
- window: the window on which to draw the tree (type: GraphWin)
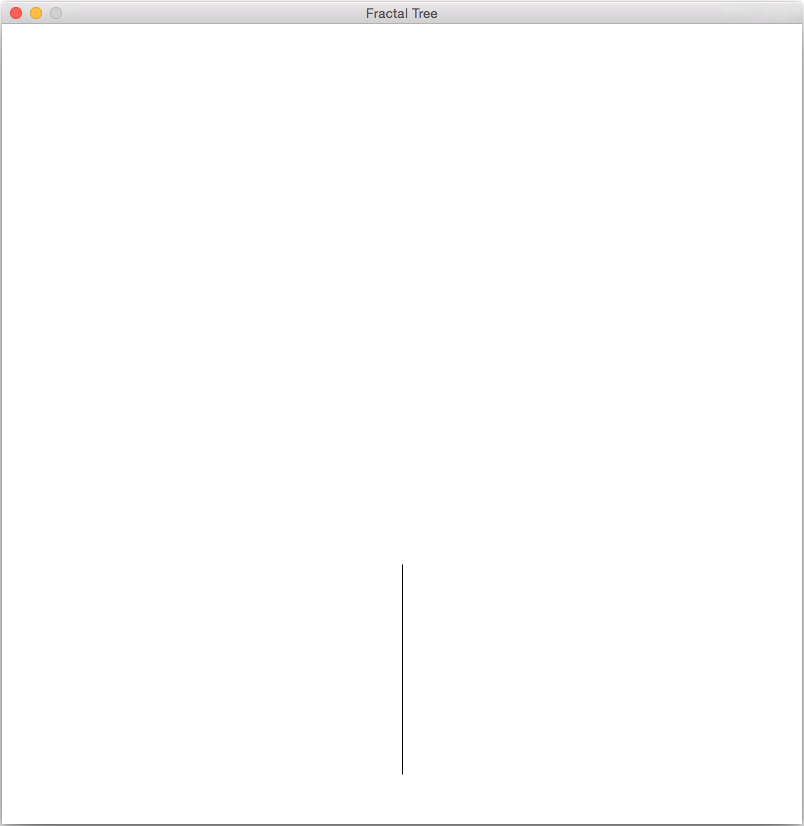
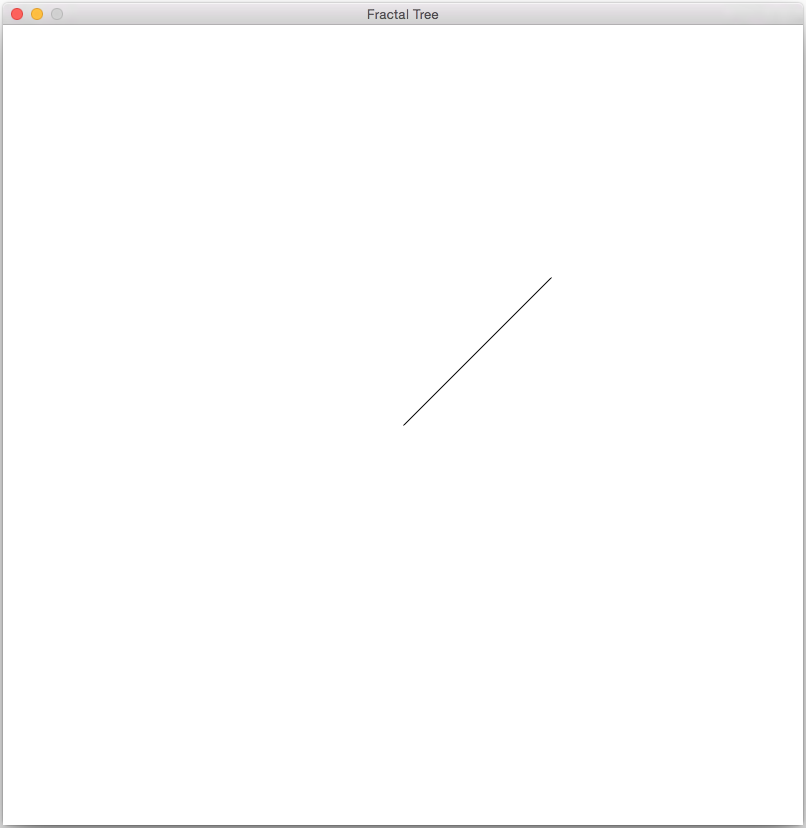
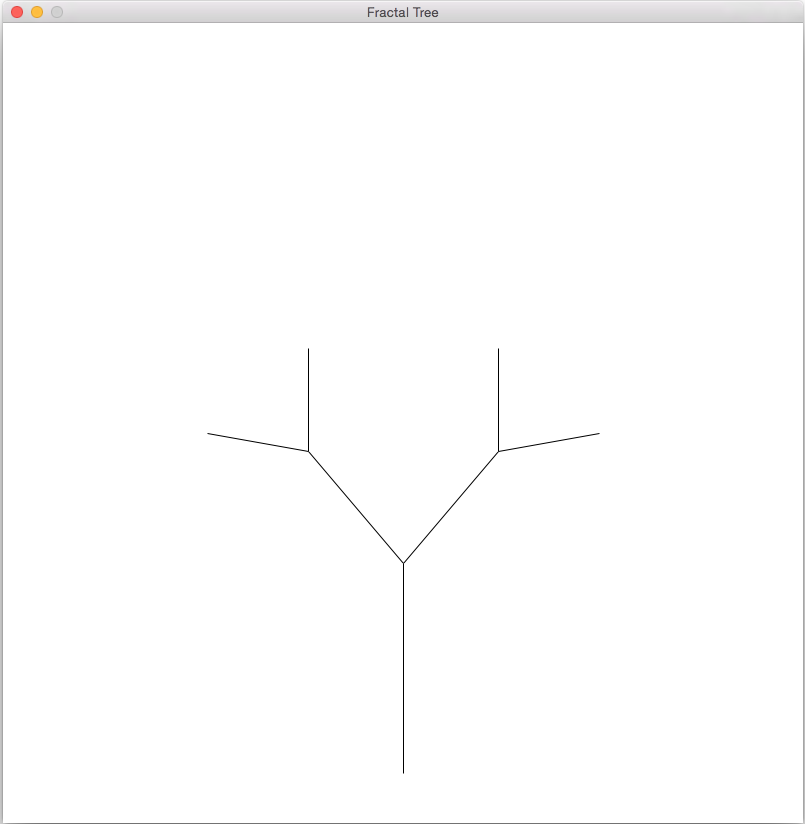
- Single branch (base case)
Next, within this function we will draw a single branch (base case). This line should start at the given coordinates (x,y) and the length should be as specified. To find the endpoint of the line, use both the length and the angle (in radians). By the end of this step, you should be able to call your function from main as shown below and get the resulting output:


Switch Driver and Navigator here!
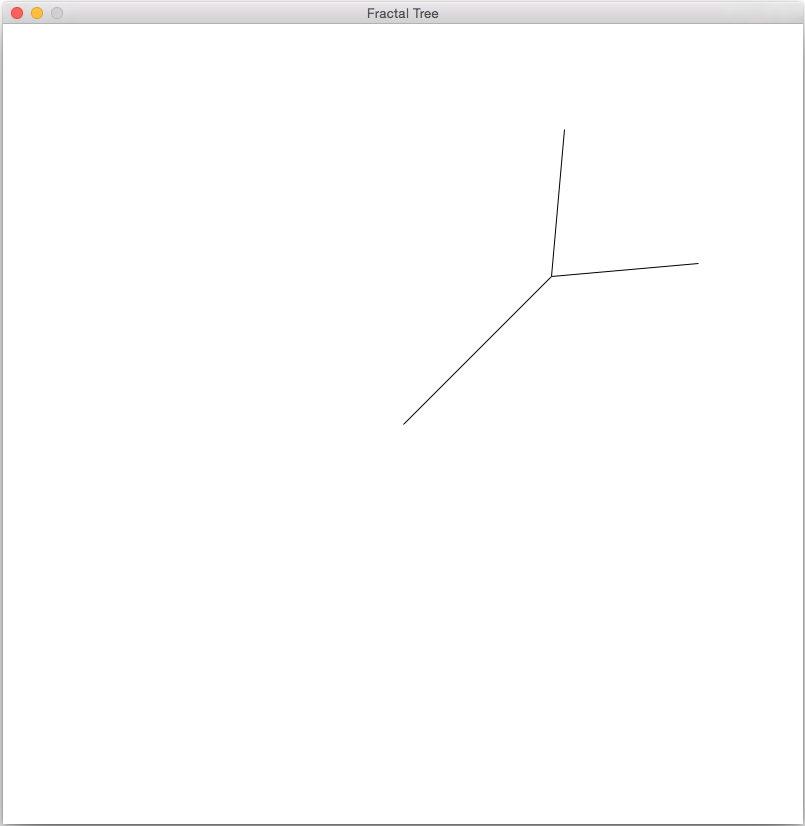
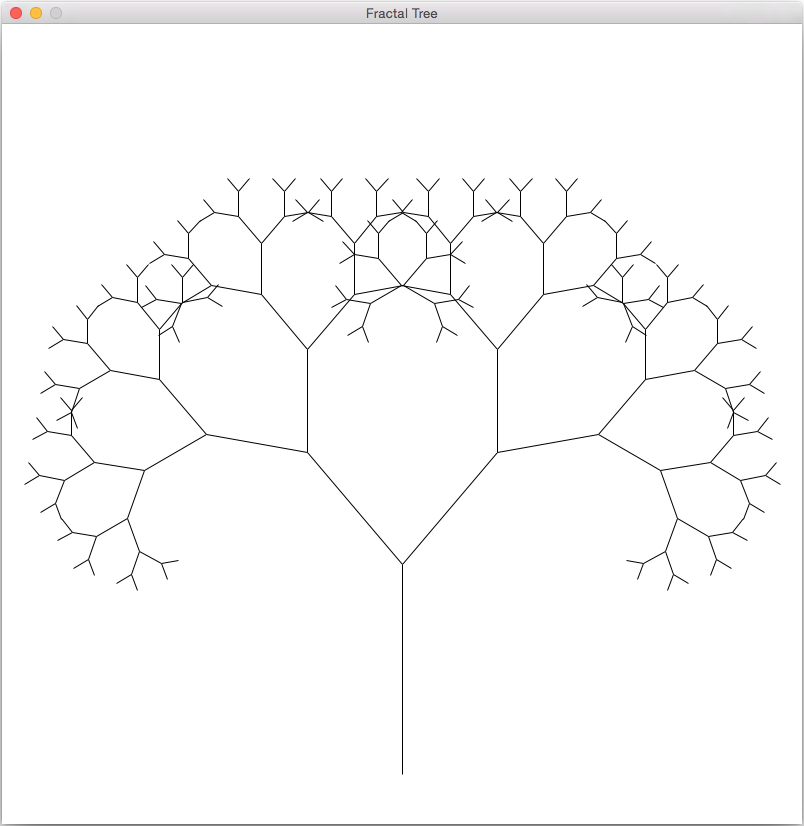
- Recursive call
Now we'll write the recursive call, which will call draw_tree(...) from the draw_tree(...) function. We will make two recursive calls, one for the "left" branch and one for the "right" branch. An important value in this part is the angle of each branch relative to the trunk (current branch). This can be a global variable (constant throughout the program) at the top of your code. I would suggest calling it theta and setting it to 0.7 to start (roughly 40 degrees). On your sheet of paper, draw two branches stemming from your single branch, labeling their angles using theta (θ) and the current angle (α).
Think about each of the parameters carefully. For the order, we should reduce the current order by 1. For the new (x,y) coordinates, we should use the endpoint of the current branch. For the new length, use a fraction of the current length (here I used 70% to make each successive set of branches a bit smaller). For the new angle, use theta to update the current angle for each branch (refer to diagram). Also think about conditionals and when the recursive call should take place (we don't want to recurse forever!)
At the end of this step, you should be able to call your recursive function in a variety of ways to create higher-order trees as shown below:


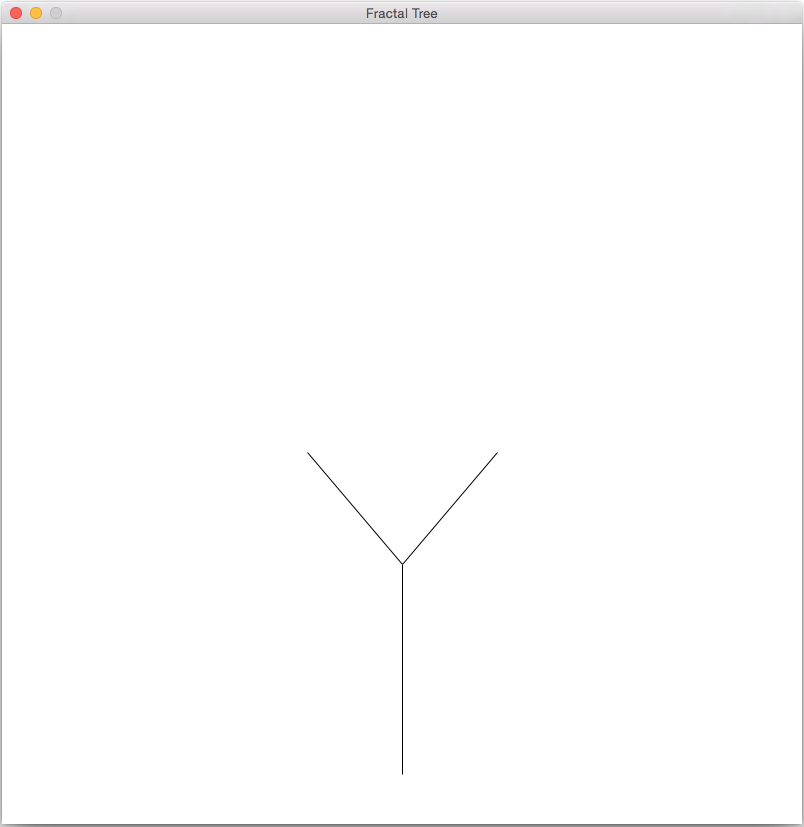


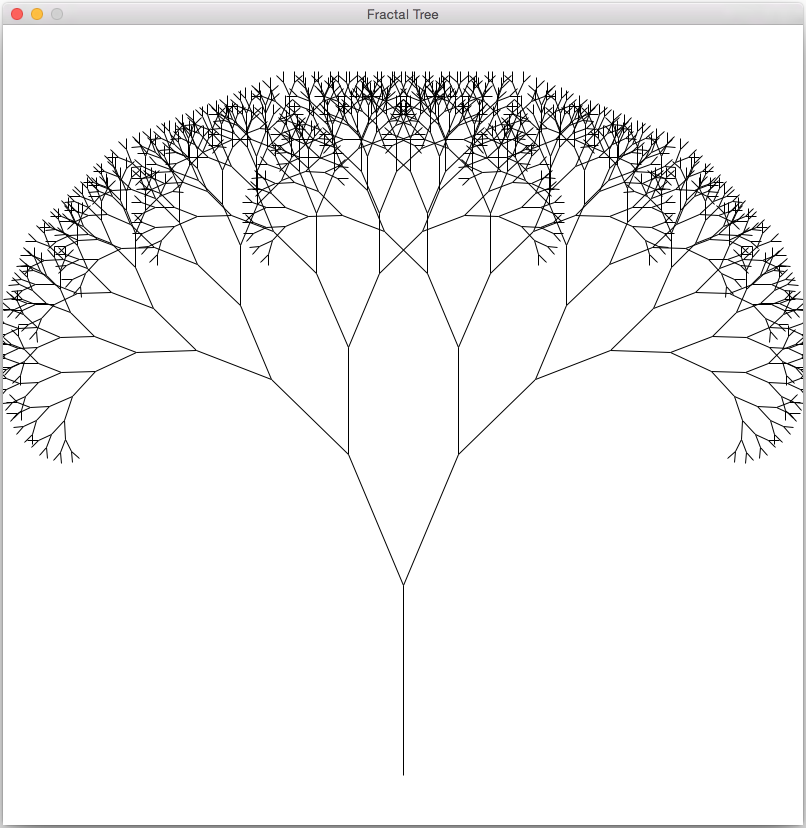
You can also change theta, the length ratio, and the order to get different shapes. Here I reduced theta and increased the length ratio (and used order 10).
Carefully watch the order that branches are drawn. Does is make sense given what we've learned so far about recursion? When using order 3, add the line
window.getMouse()
right before each of your two recursive calls so that the drawing is paused before drawing each branch. Then click on the graphics window to show the order branches are drawn. Does this make sense? Discuss with your partner.Switch Driver and Navigator here!
- Oranges and leaves
In the final step we will create shapes at the ends of the terminal branches like the picture below:
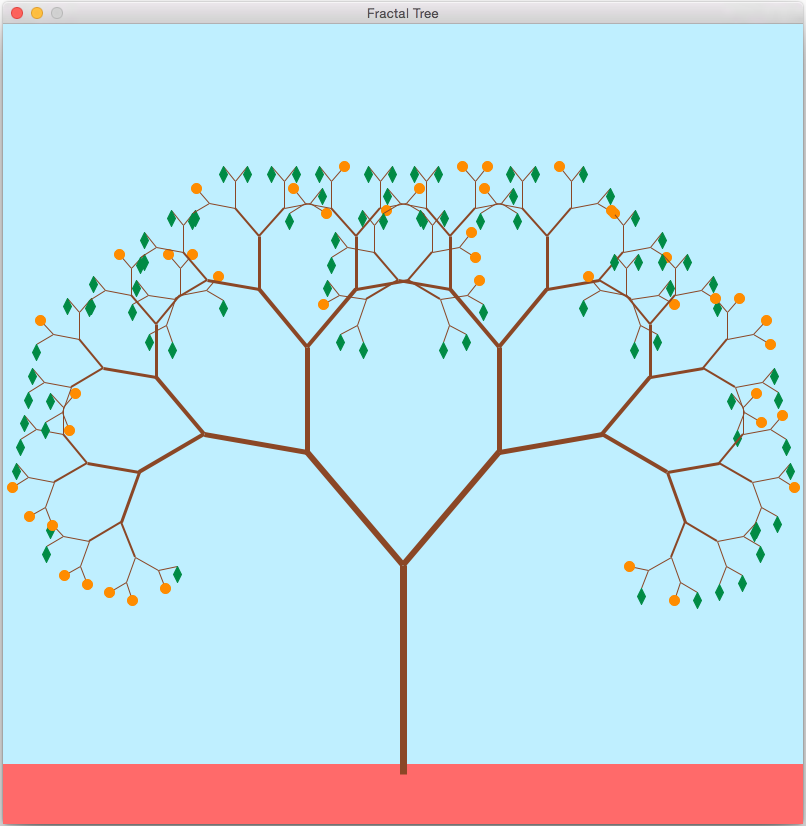
Think about how to set up a case that will only draw shapes at the ends of terminal branches, not every branch. Then create a helper function to make these shapes. Your helper function should take in the position of each shape, and should either draw the shape on the window, or return the shape so you can draw it on the window afterwards (either way is fine).
Here I have drawn either "oranges" or "leaves" (randomly choosing between the two, with a higher chance of leaves). Feel free to draw whatever you like (and you only need one kind of shape, not two). In addition, make the thickness of the branches based on the order of the recursion, so the trunk looks thicker than the branches with leaves. Also add a ground and change the background color. The goals for this part are summarized below.
Requirements:
- Make the thickness of the branches depend on the order.
- Create a shape at the end of some or all of the branches.
- Creating and/or drawing this shape must rely on a helper function.
- Change the background color and create a Rectangle for the ground.
- Make the thickness of the branches depend on the order.
Submit
You do not have to submit a transcript for this lab. Make sure that both you and your partner have a copy of all the code written during the lab period. Both partners should submit the files:
- lab8.py
- fractal_tree.png