CSC 240: Computer Graphics
Lab 14: Bézier curves in Blender
in-class
Logos in Blender
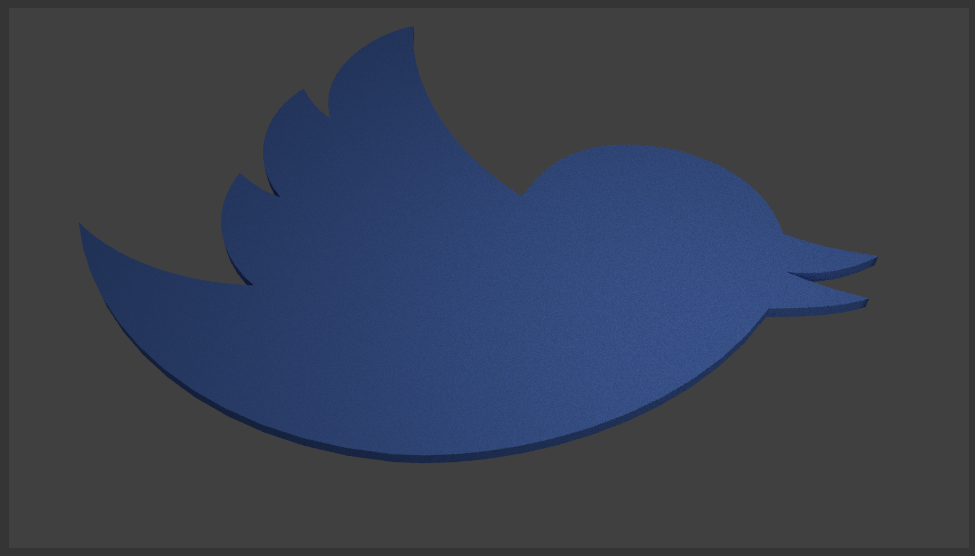
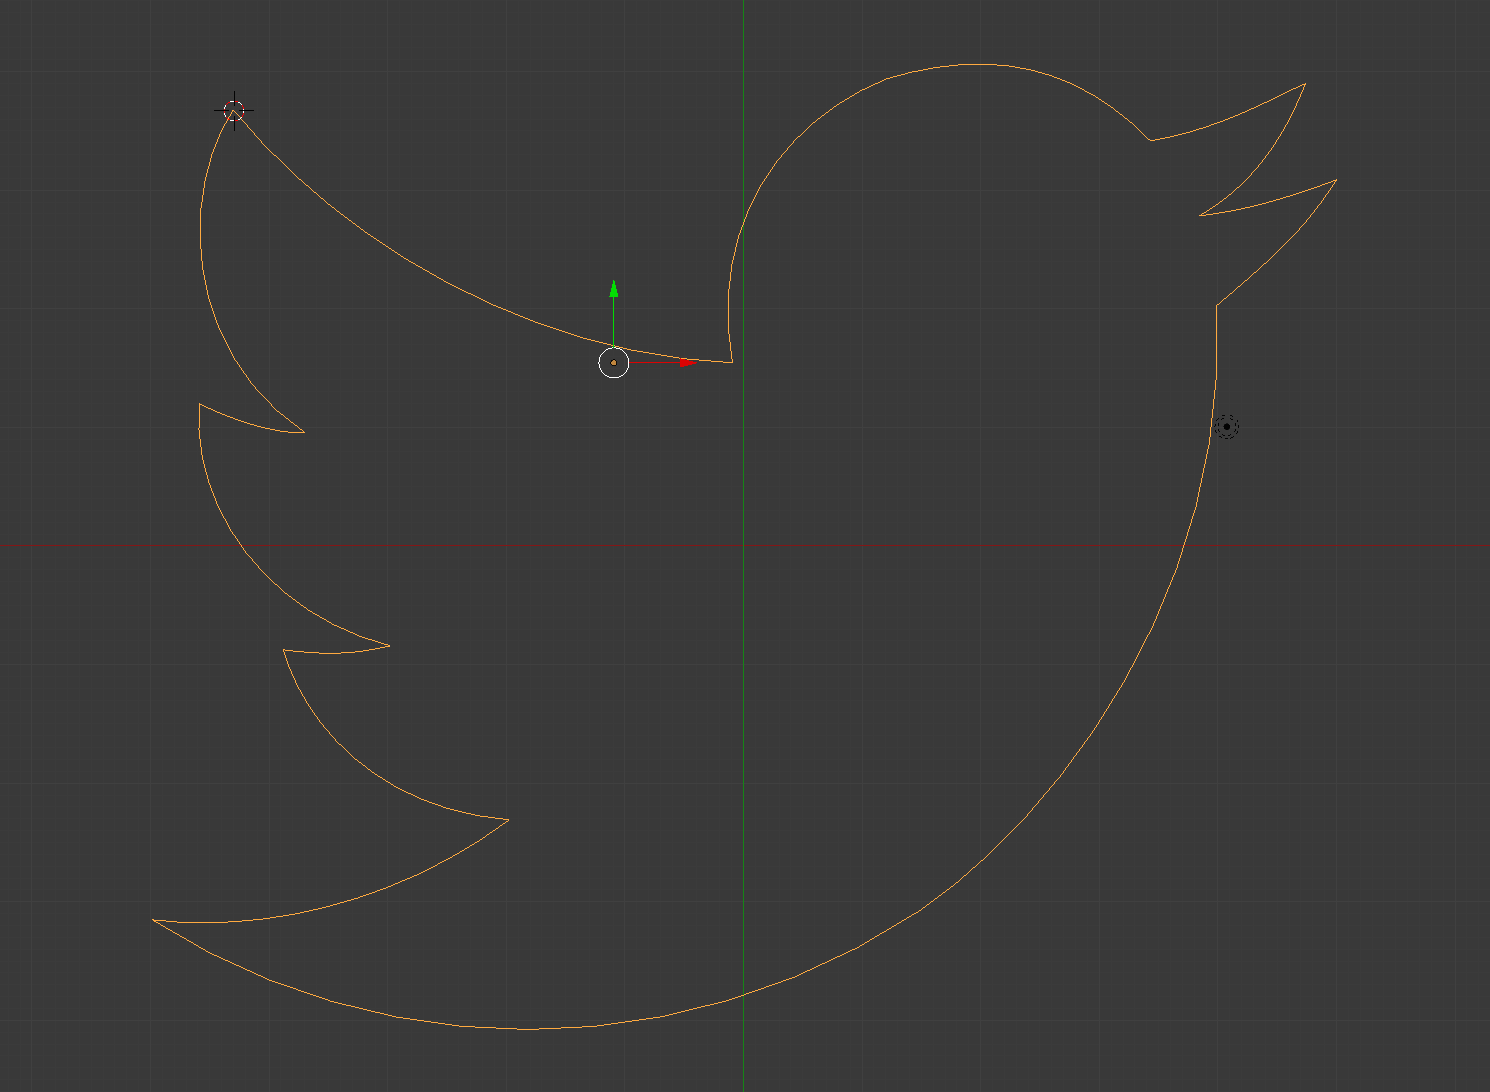
In this part we will create the Twitter logo (no comment on Twitter, but its logo is perfect for Bézier curves!) If you'd like to make a different curved logo that's fine too. Here is the shape to make:
Twitter logo (download this high-quality image, not the one below)

- Open Blender and delete the initial cube, then bring up the panel
next to the far right panel (you will likely need to use the little + symbol next to the far right panel). Then navigate to where you saved the Twitter logo image and add it as a background image as shown below
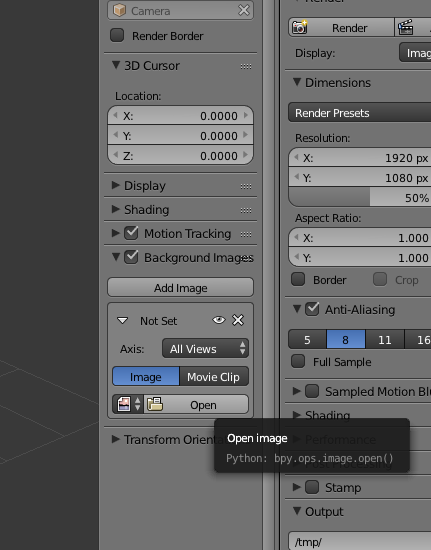
- Next, change the perspective to the 'top' view (bottom
left-hand side), and toggle the perspective/orthographic view so
that we're in orthographic view. You should see the background image:
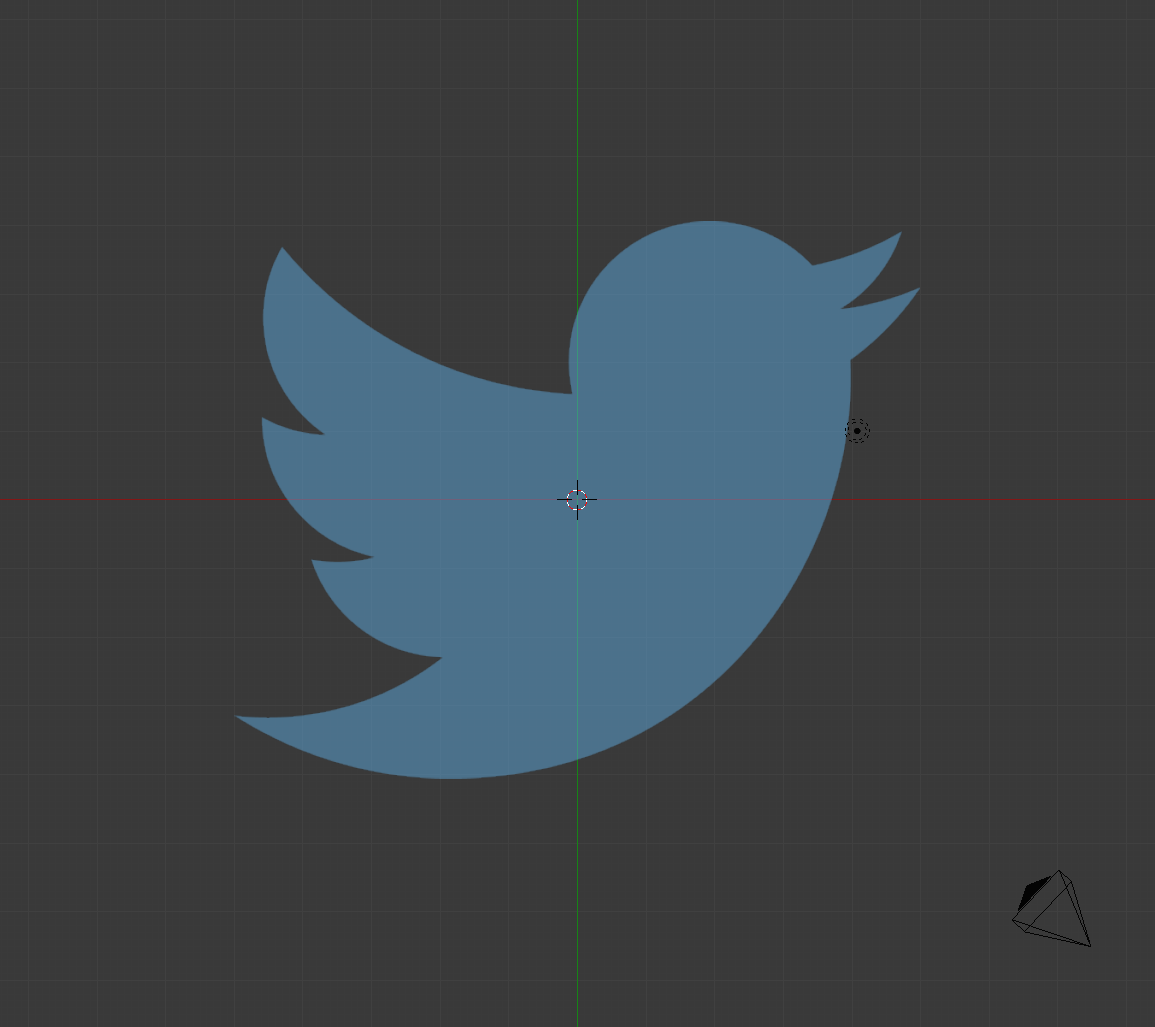
- Next, add a Bézier curve from the 'Create' menu on the left. Notice that there are actually 6 control points, only 4 of which affect this first curve. The first and last control points will affect the curves attached to this one. Place the 2nd and 5th control points on the vertices connecting the top part of
the wing. Switch to Edit Mode. (From the menu on the right, you can uncheck
"Normal" under "Curve Display" to remove the normals along the curve, but you can leave them if you like.) Manipulate the
control points to make the curve match the logo, keeping in mind that that the lines connecting the controls points should be tangent to the curve.
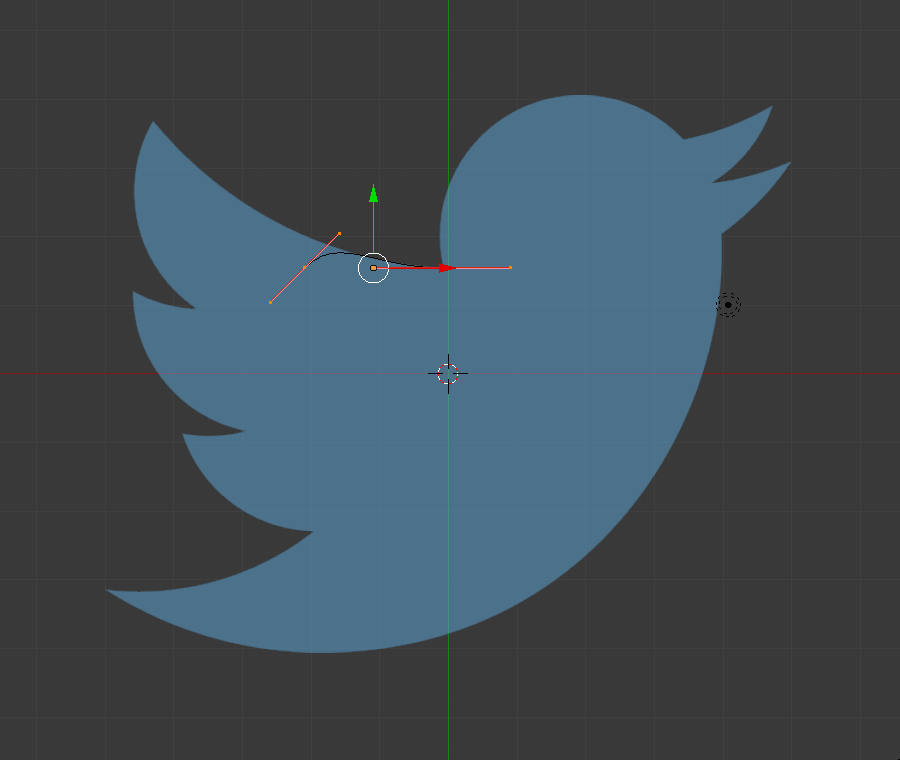
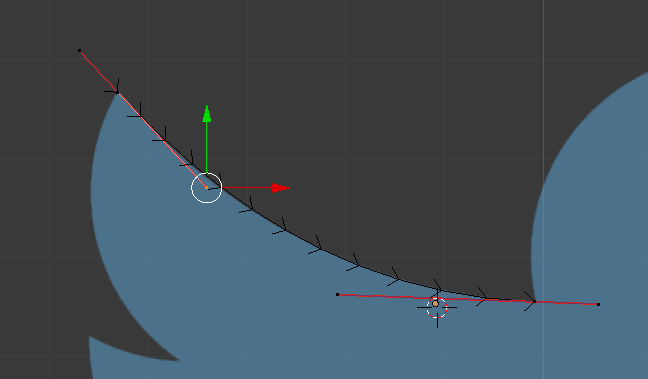
- Now we need to make another Bézier curve, but keep it attached to the first one. To make the extra control point belong to the next curve, select the last control point and check 'Vector' as shown below:
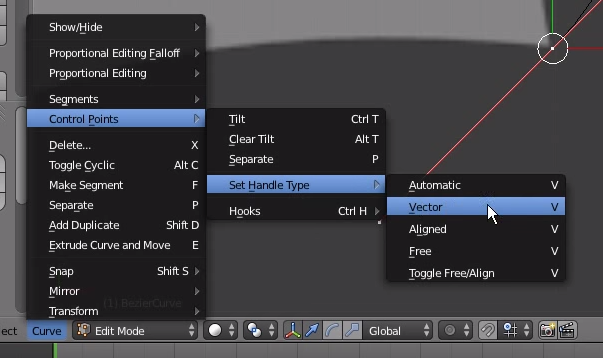
-
Then select the last (far left) control point, then click 'e' for extrude to create
another attached Bézier curve. Continue building the entire
shape. To make the final Bézier curve for the head portion, select the very first control point from the first curve, and the very last control point from the last curve, and click 'f' for fill. This will create the last curve, which you can modify to match just like the others.
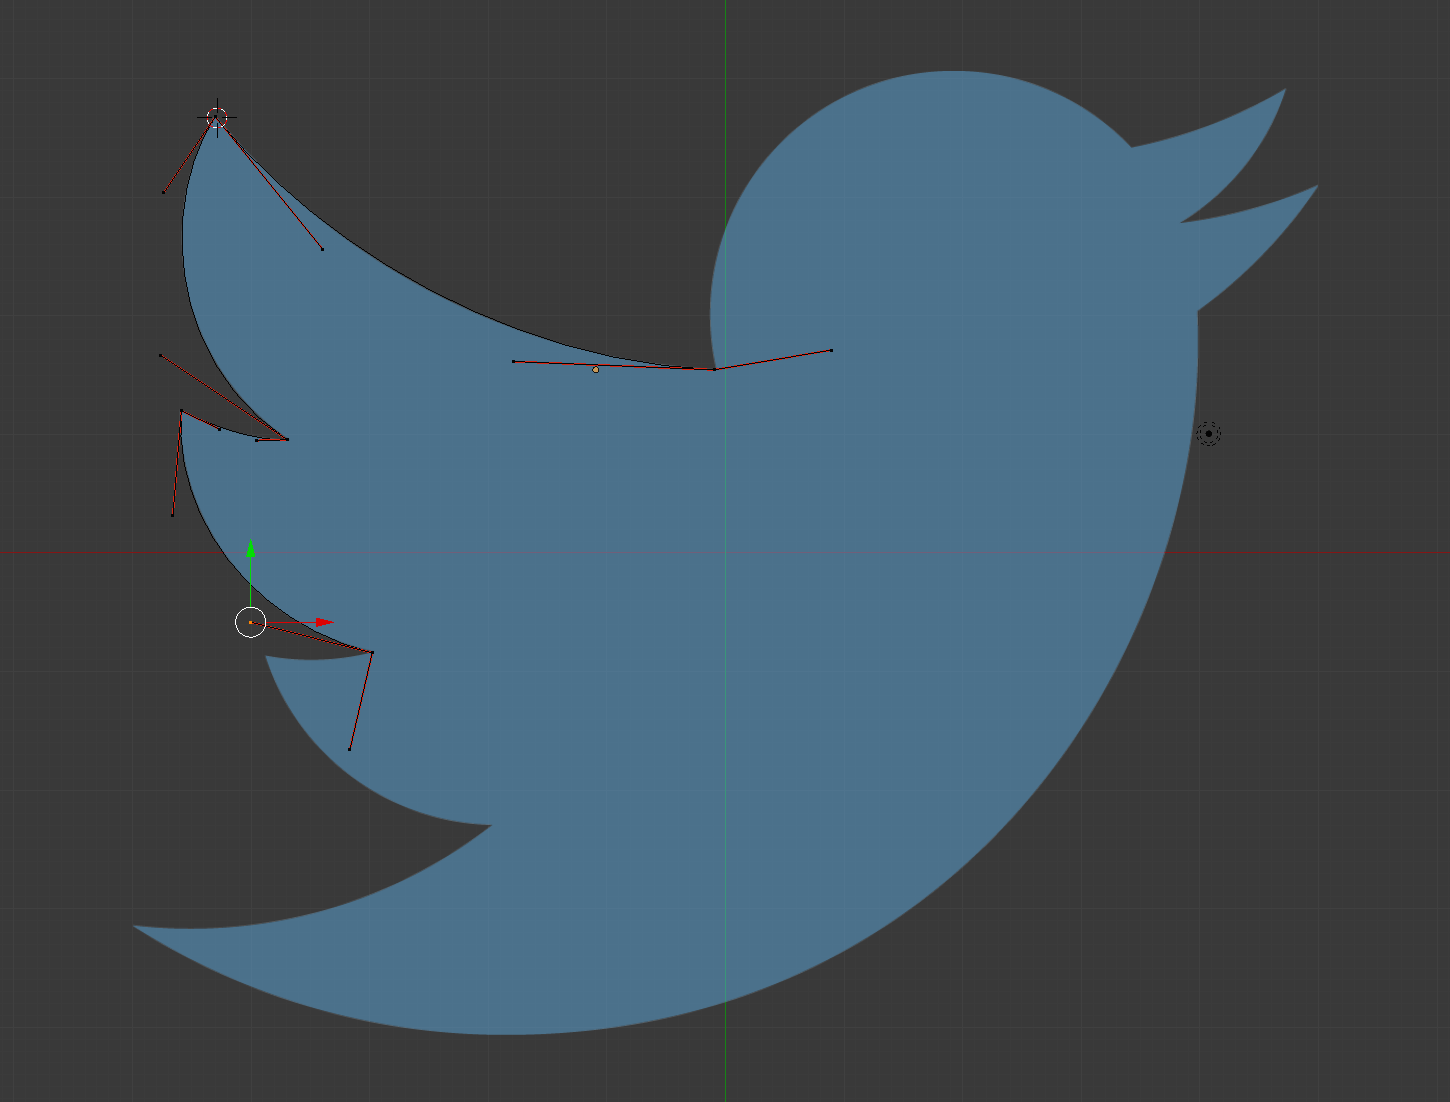
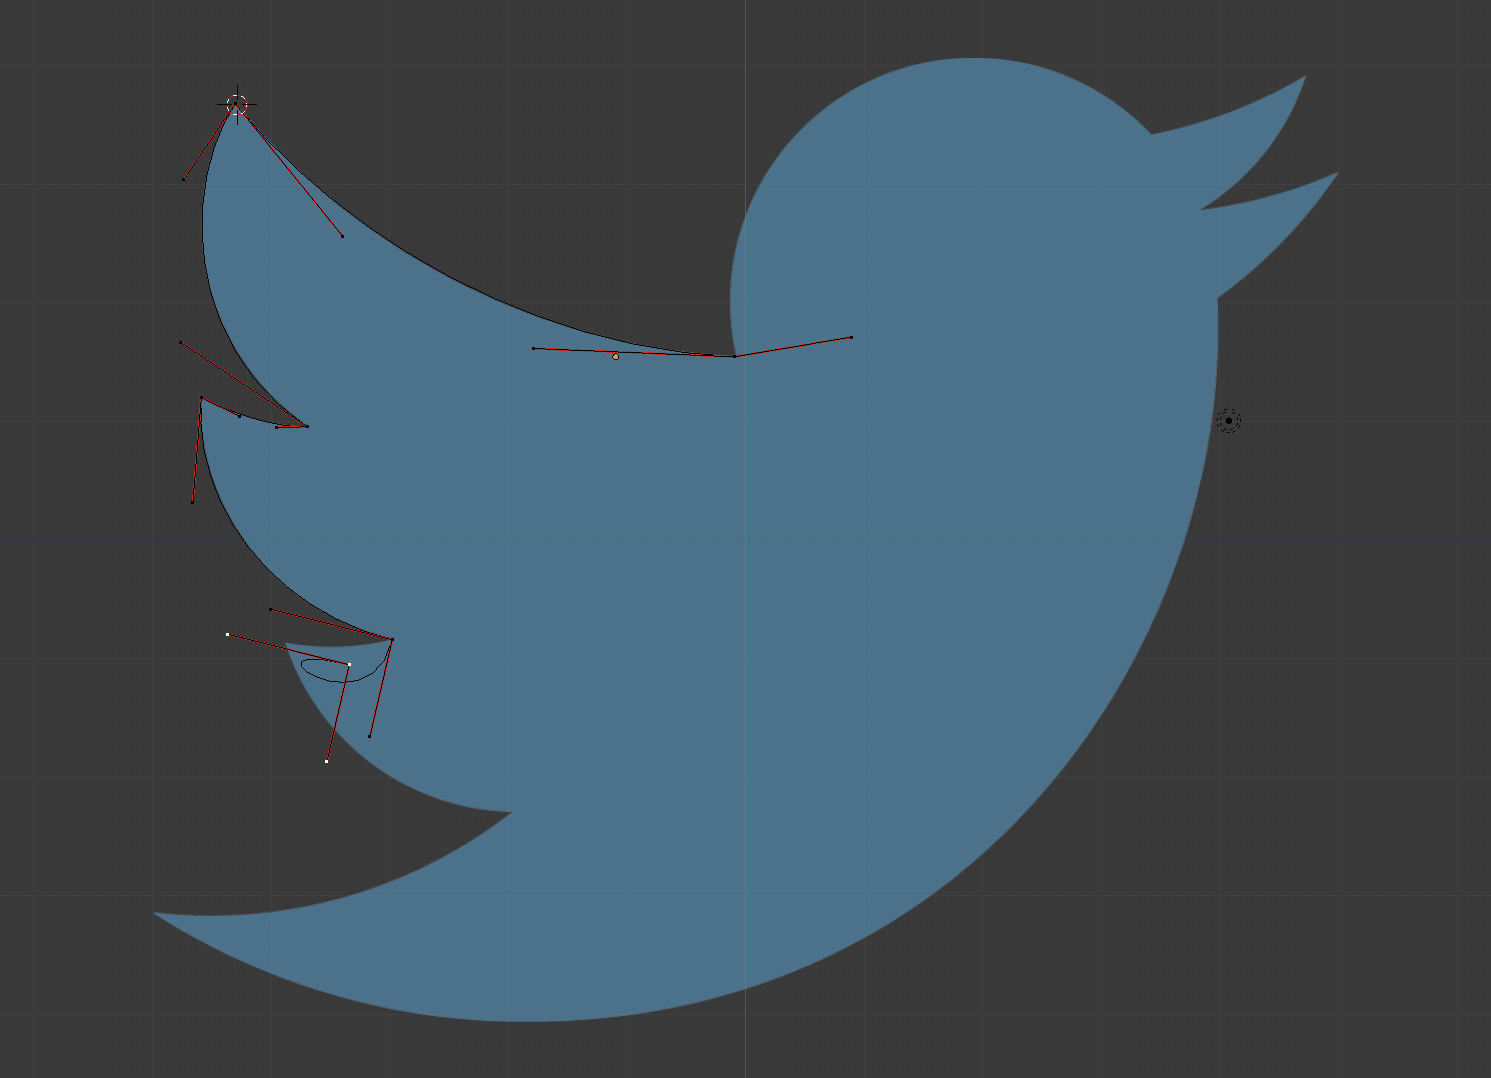
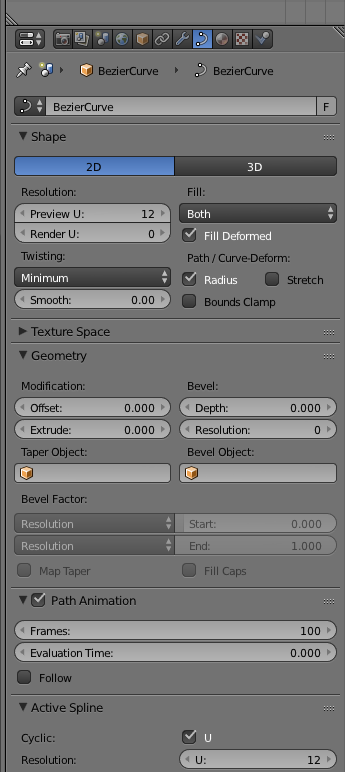
- Change back to Object Mode, then click the curve symbol on the far
right panel and click 2D:
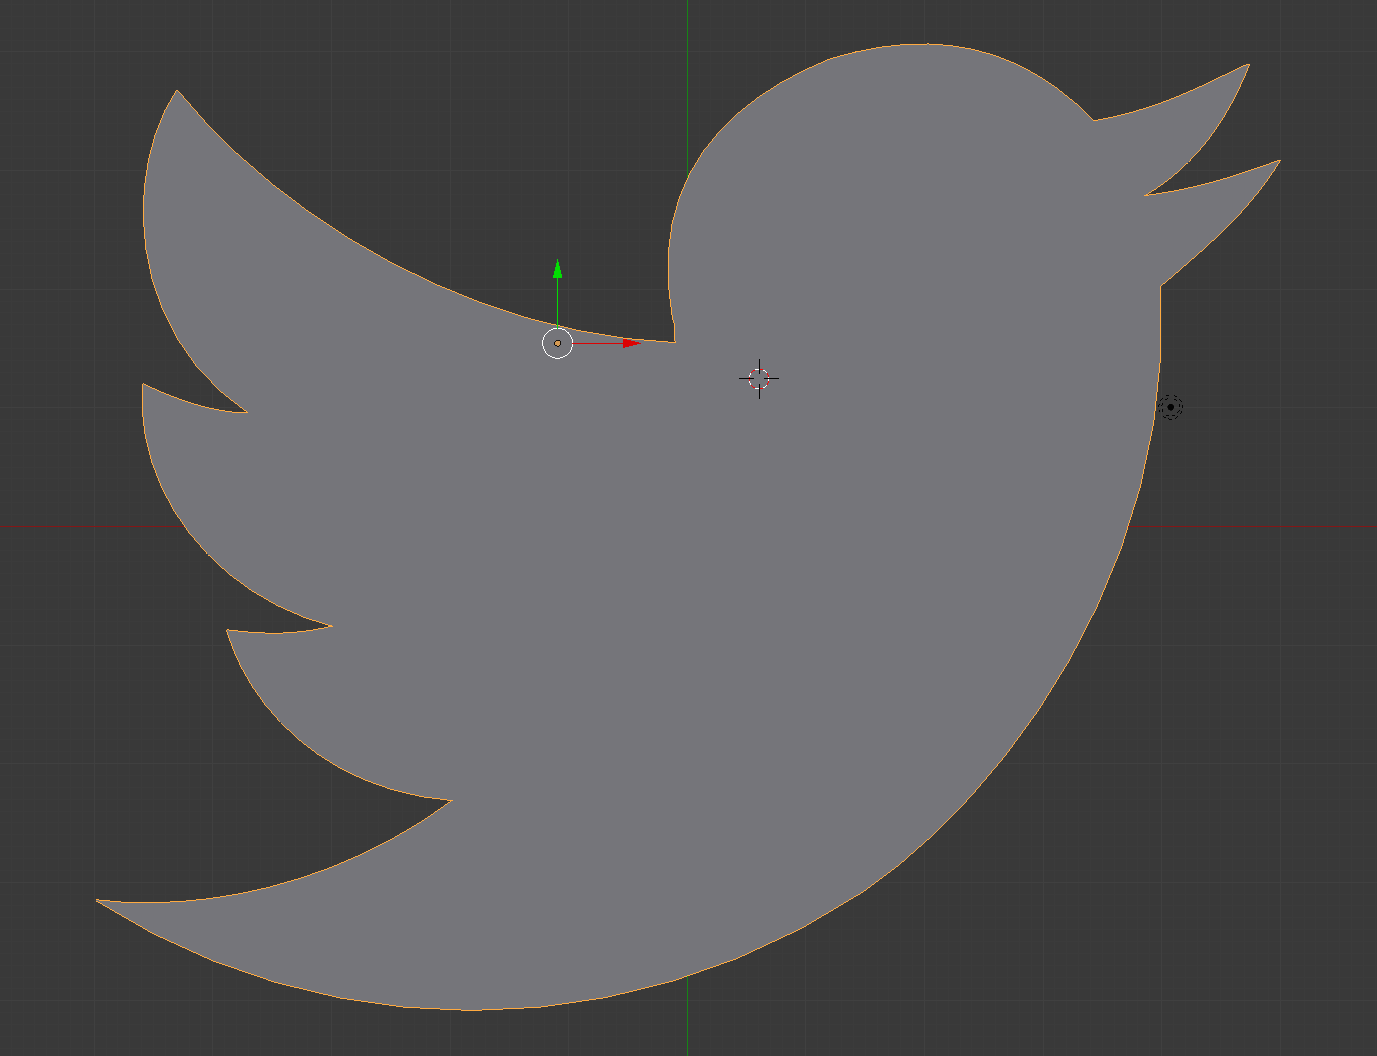
- Use extrude to make it 3D (not using 'e', but using Extrude under Geometry on the same panel), then change the color like we did in
the cup lab (make sure to change to Cycles Render first).
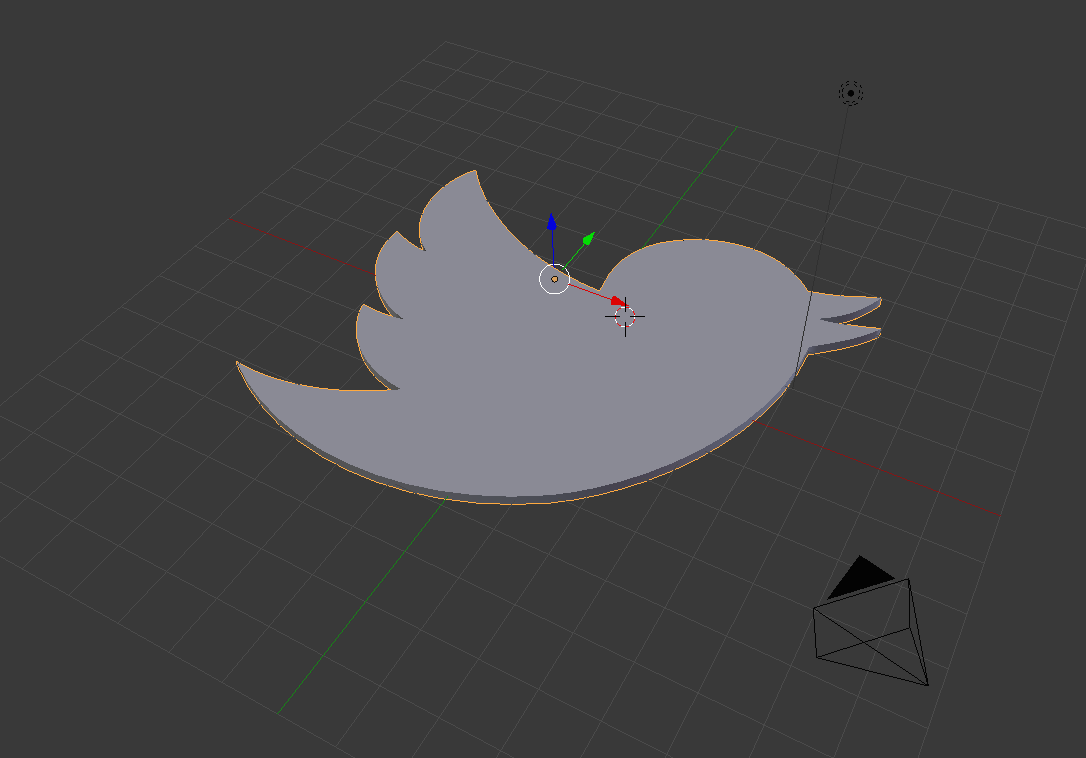
- Last step: render!
