CSC 240: Computer Graphics
Lab 12: Blender chair and wine glass
in-class
TIP 1: Objects or parts of objects that are selected are highlighted in gold. To deselect everything, hit 'a'. To select everything, hit 'a' again. To select certain parts, choose either 'vertices', 'edges', or 'faces' from the 3 cube shapes on the bottom left-hand panel.
TIP 2: If you have a non-standard keyboard or mouse (or the standard viewing tools are not working), check out this page for ways to get it working:
TIP 3: 'Undo' (Ctrl-z) is very helpful for undoing the last thing you did!
PART 1: Chair
This part is based on this tutorial: Blender Chair Tutorial. You are welcome to follow this instead, just make sure to turn off the sound.
- The first thing that shows up in Blender is a cube. Click the
scale button (left-hand side), then click 'z' (called a hotkey) to scale the cube
along the z-axis, obtaining the seat of the chair like this:
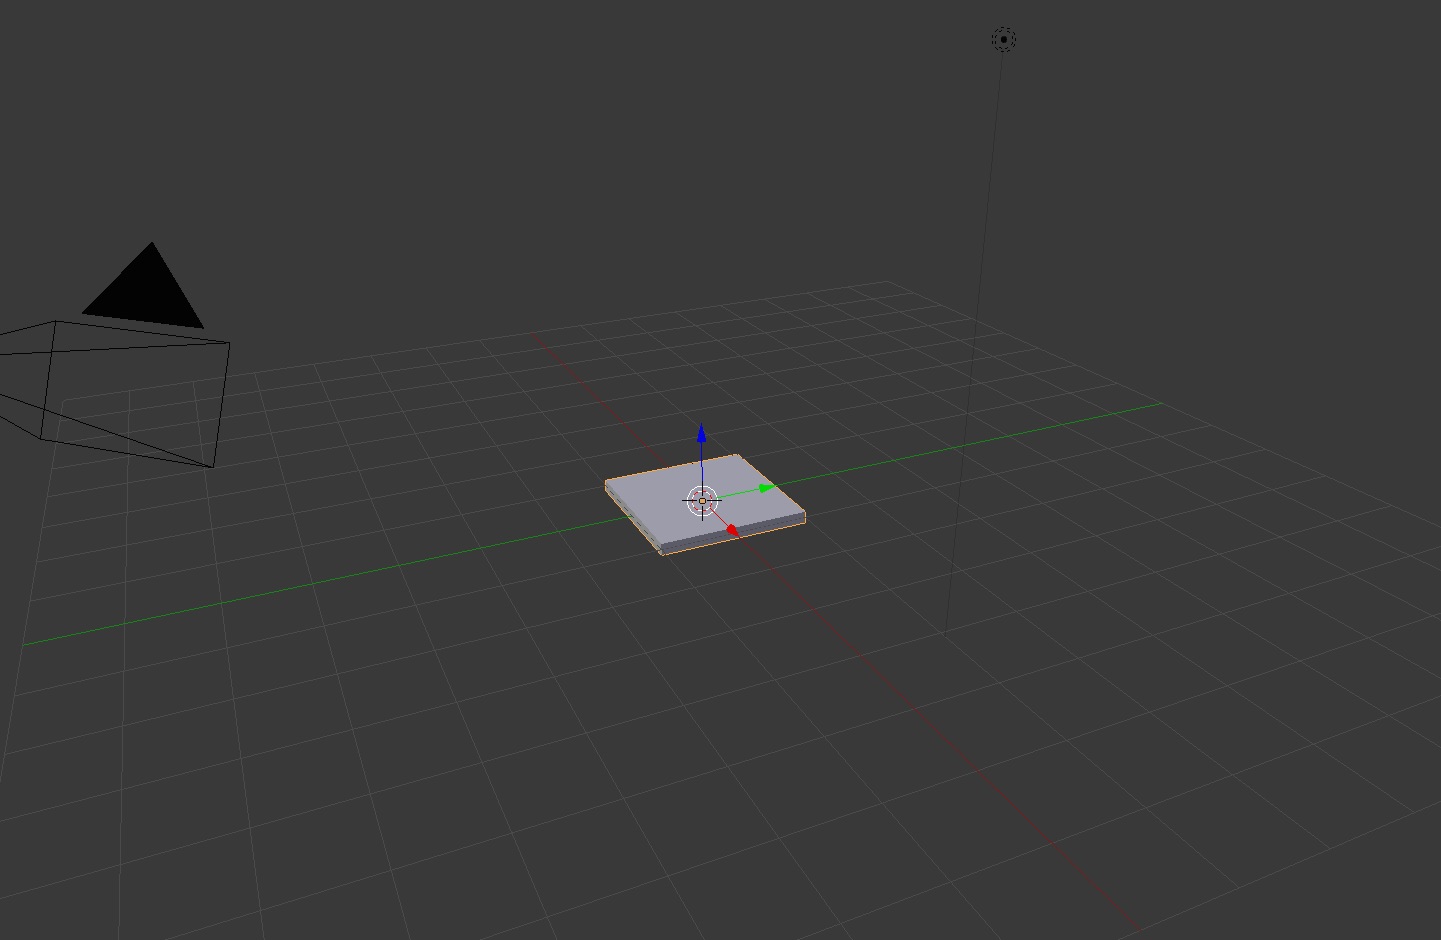
Note: if you don't like the way that the shape automatically starts scaling after clicking the scale button, use the hotkey 's' instead (followed by 'z' in this case).
Also, change the mode to 'Solid', using the menu that has a little sphere icon (bottom left).
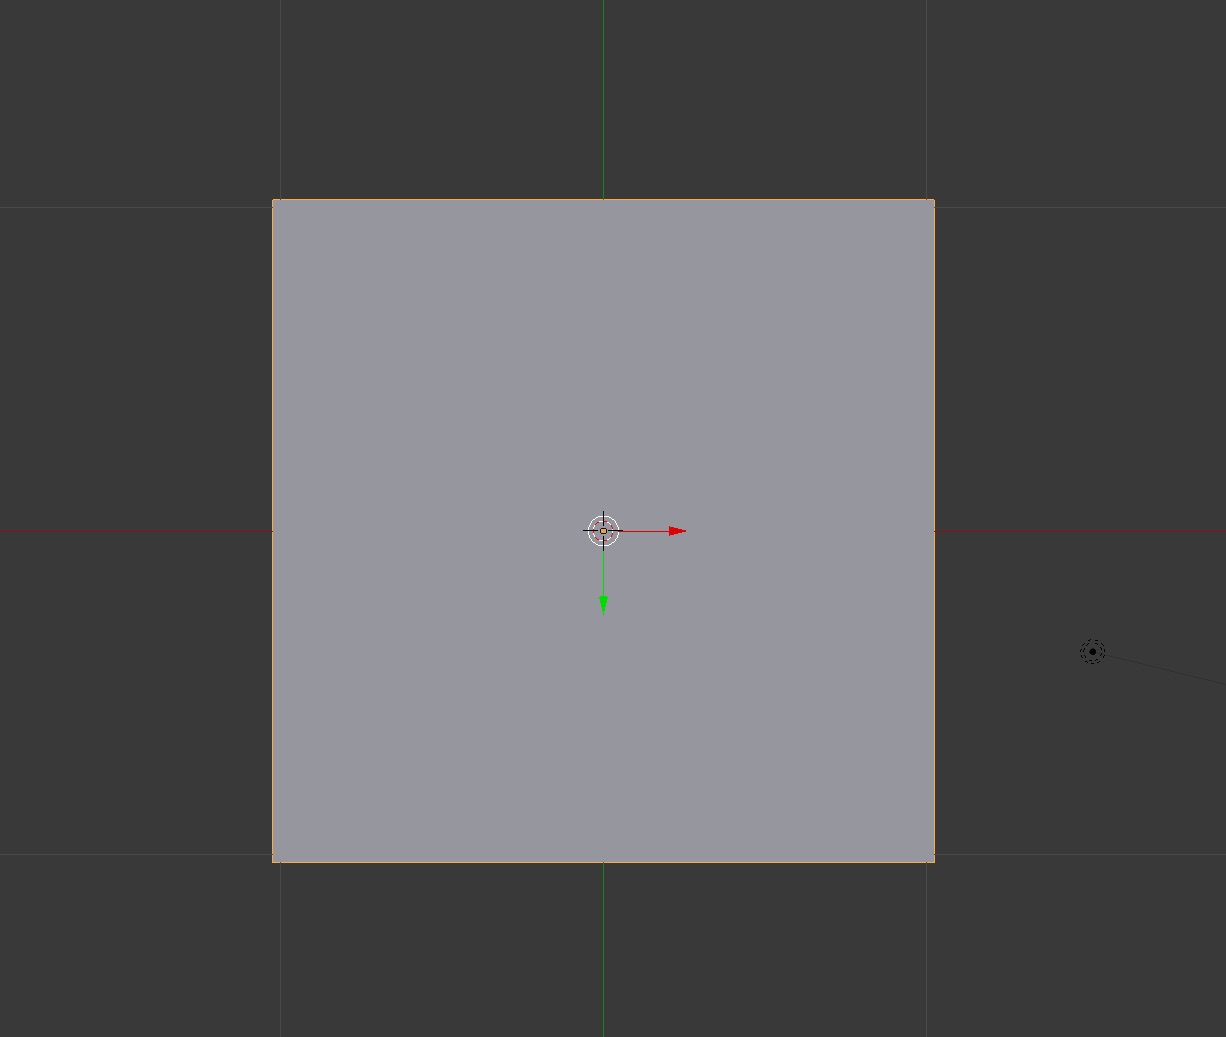
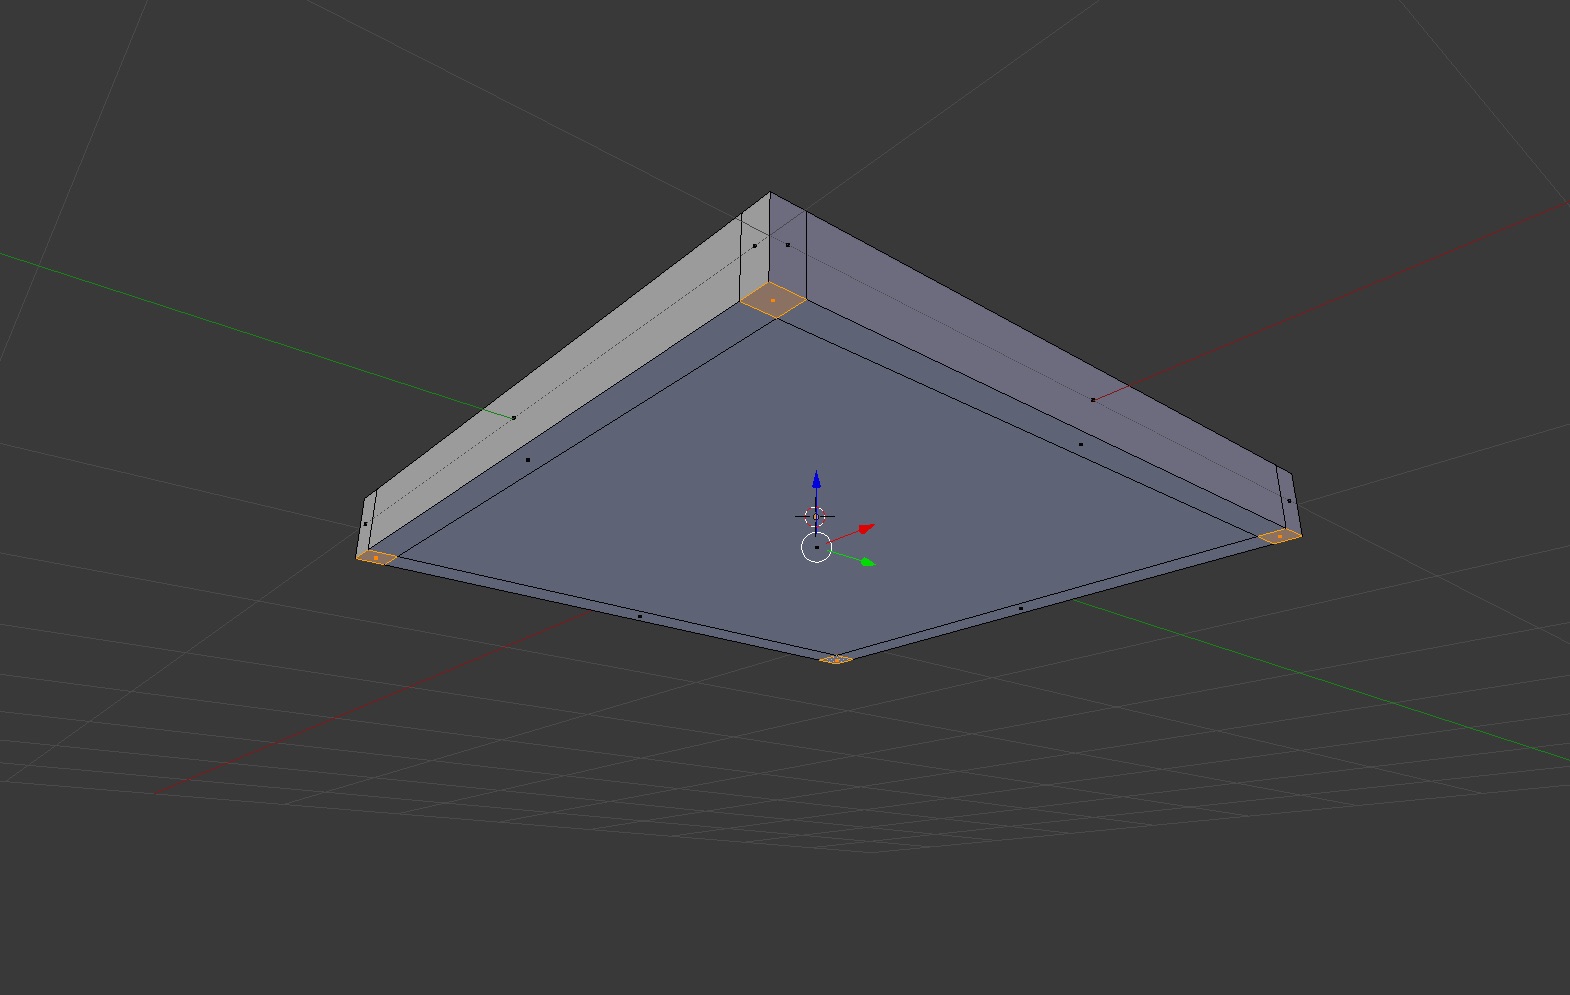
- Next, change the perspective to the 'bottom' view (using the 'View' menu on the bottom
left-hand side), and zoom in a bit so the bottom of the chair looks
like this:
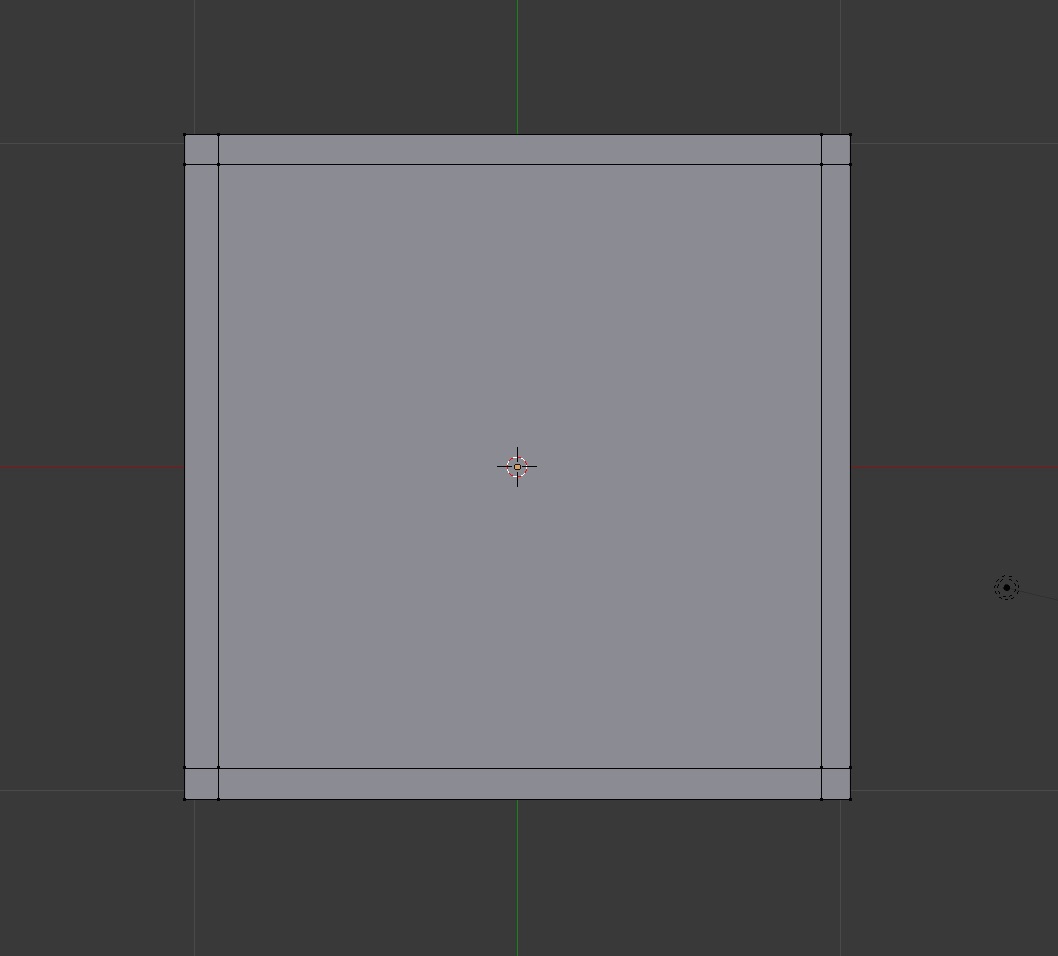
- Change 'Object Mode' to 'Edit Mode' (bottom left-hand
side). Now we are going to make 4 'loop cuts' or 'ring cuts'. To do this, we can either go to 'Mesh Tools' (left panel) and then 'Loop Cut and Slide', or choose Ctrl-r. Once that is done, you should see a pink ring around the shape. Click and then drag the ring (cut) to the edges of the square like this:
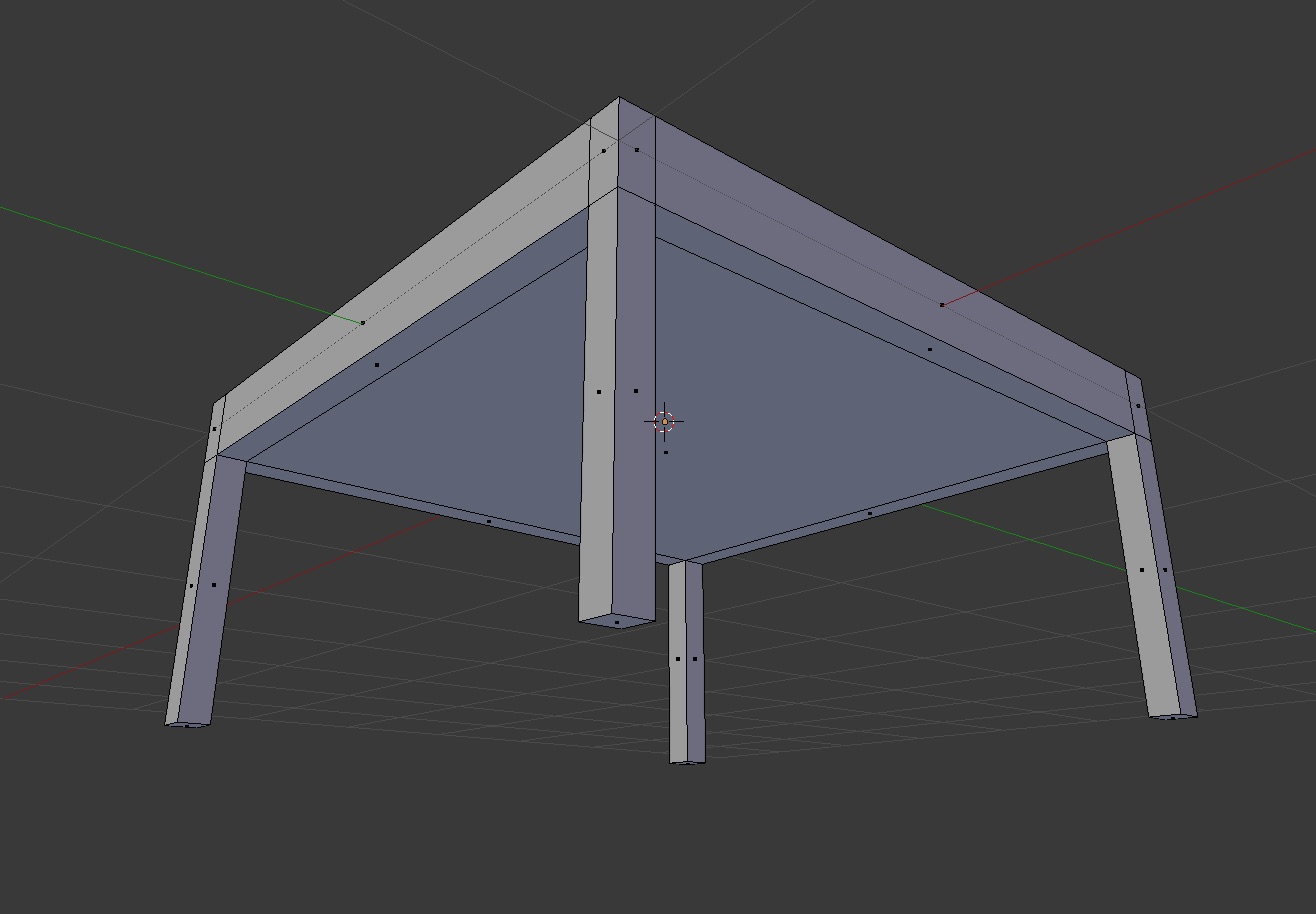
- Change the viewpoint a bit to prepare for making the legs of
the chair. Then change the selection options to the 'faces' (last
cube out of the 'vertices','edges','faces' cubes at the
bottom). Select (using Shift to select more than one face) the 4
faces which will become the legs.
-
Then hit 'e' for 'extrude', and
gradually extend the legs of the chair (the axis has already been
selected as 'z', so this should extrude them along the z-axis).
-
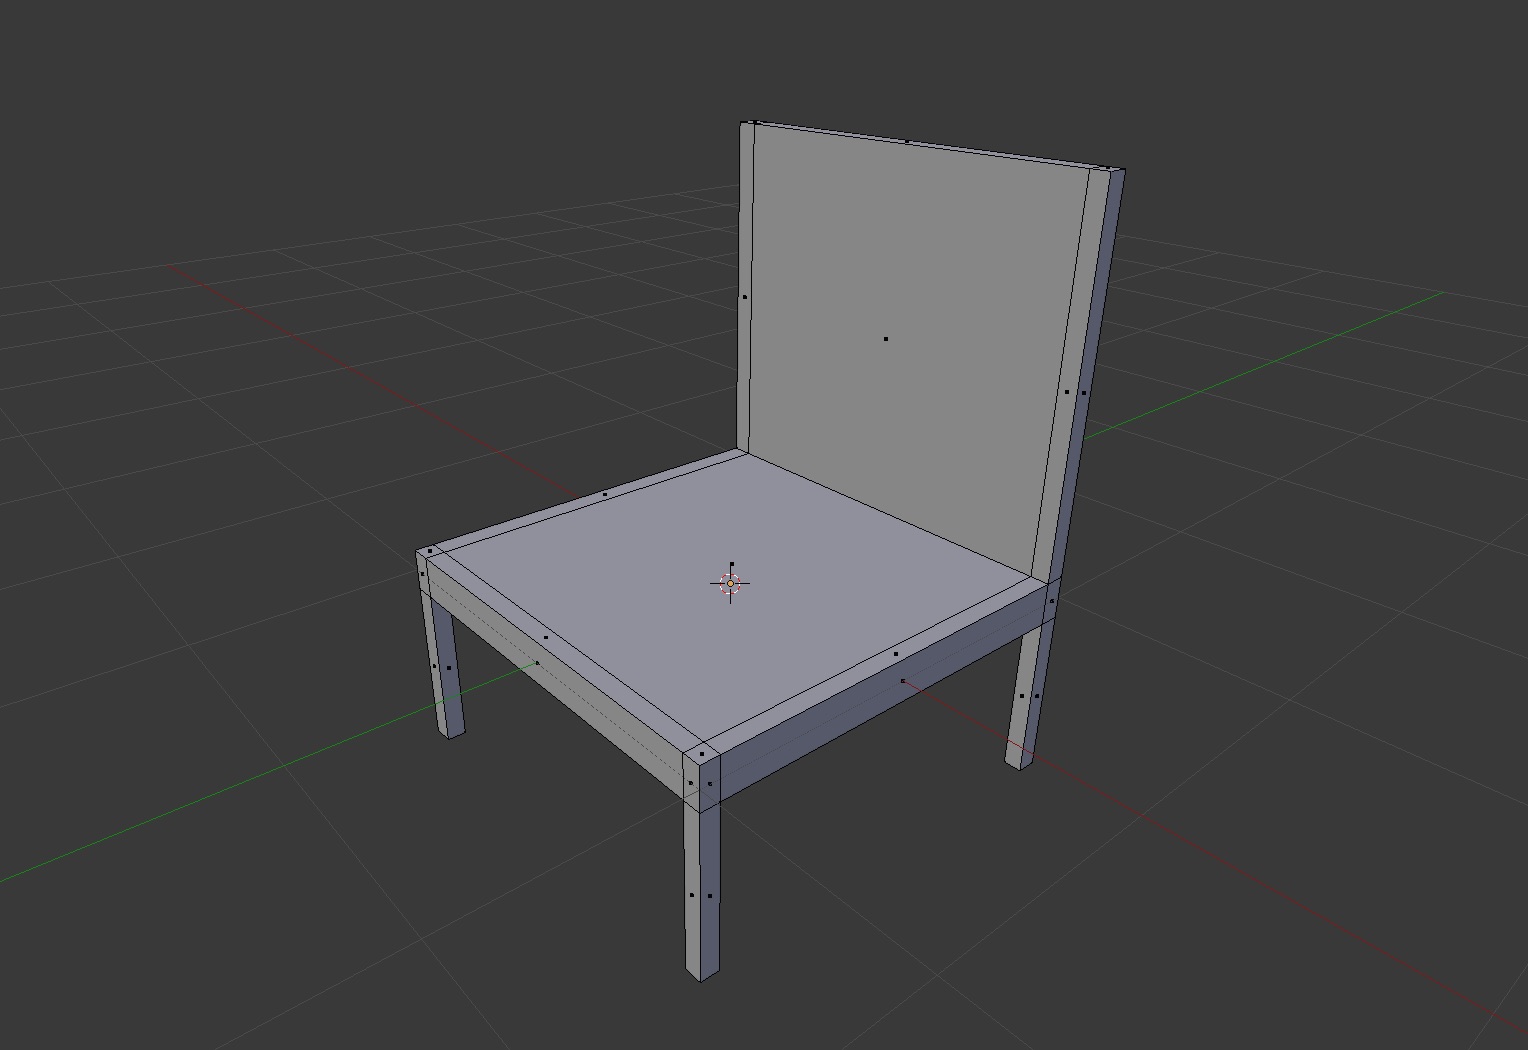
Finally, change the viewpoint again, then follow the same procedure
to extrude the back of the chair. Now you're done with the chair! Save your work as chair.blend.
PART 2: Wine Glass
This part is based on this tutorial: Blender Wine Glass Tutorial 1. You are welcome to follow this instead or use it as a supplement for the details.
Note: I switched back and forth between 'Solid' and 'Wireframe' mode for this part - feel free to use whichever feels more comfortable for you, or for the part you're working on.
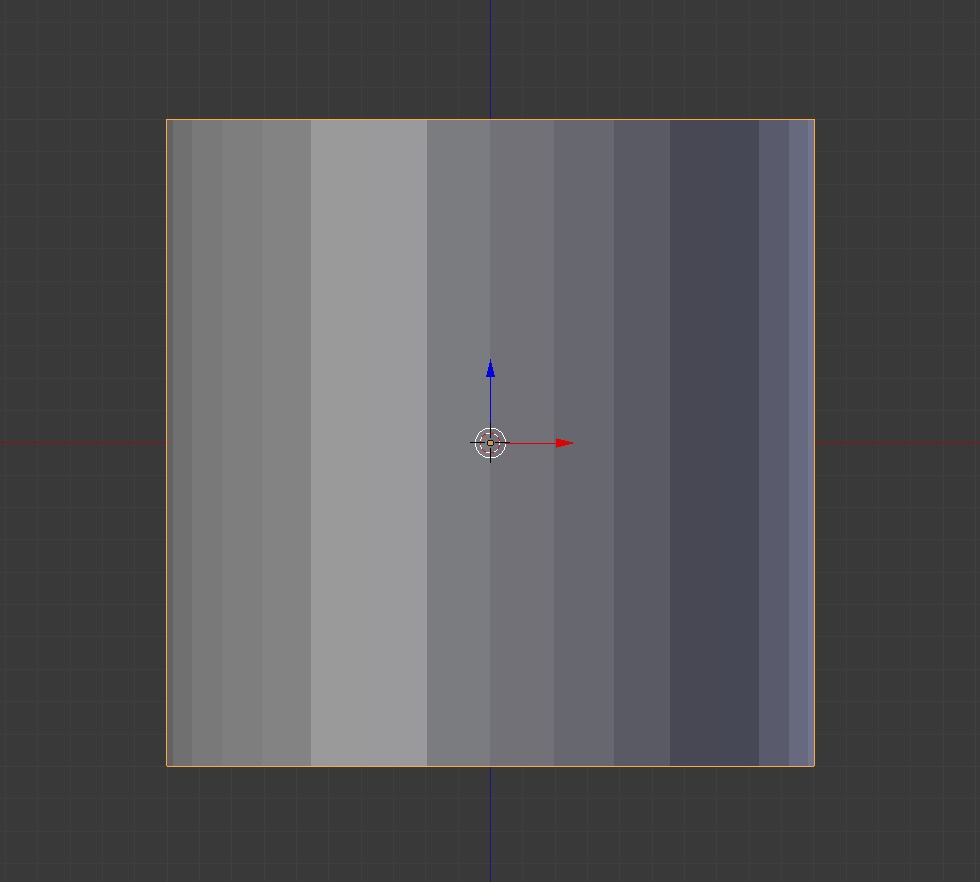
- First delete the cube (use 'Delete' under the 'Edit' menu on the left), and add instead a cylinder from the
'Create' menu on the far left (switch from 'Tools' menu). Switch the
viewpoint to 'front' and change the projection to orthogonal, to get
a picture like that below.
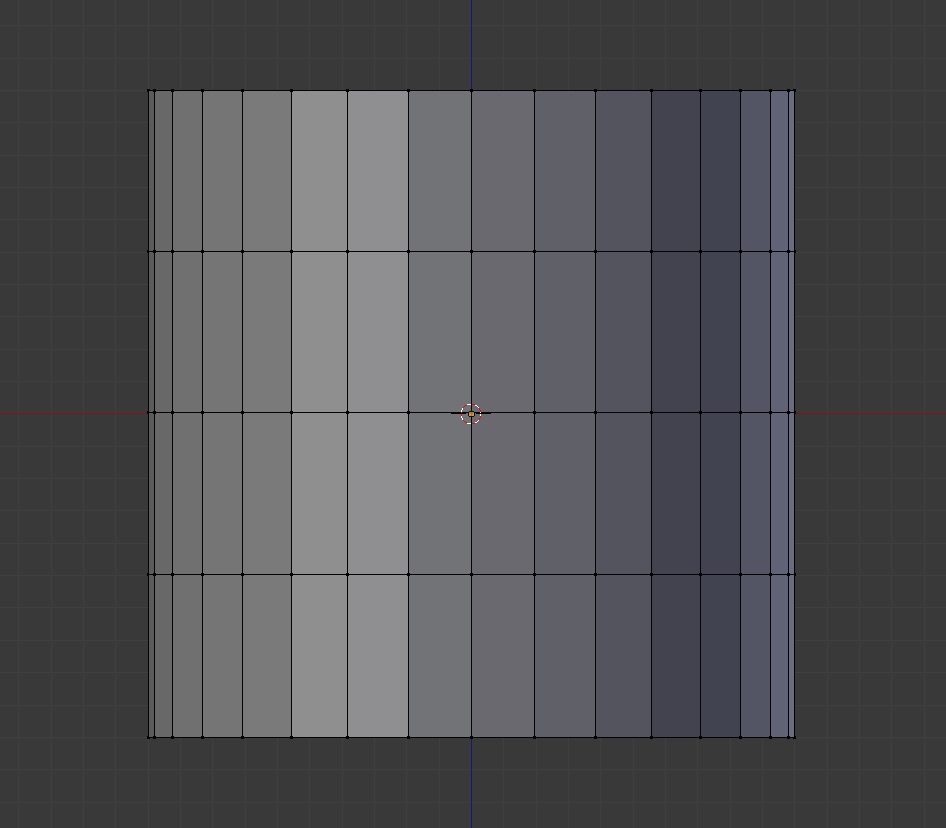
- In 'Edit Mode', make 3 ring cuts (Ctrl-r, then click and scroll to create
3), as shown below:
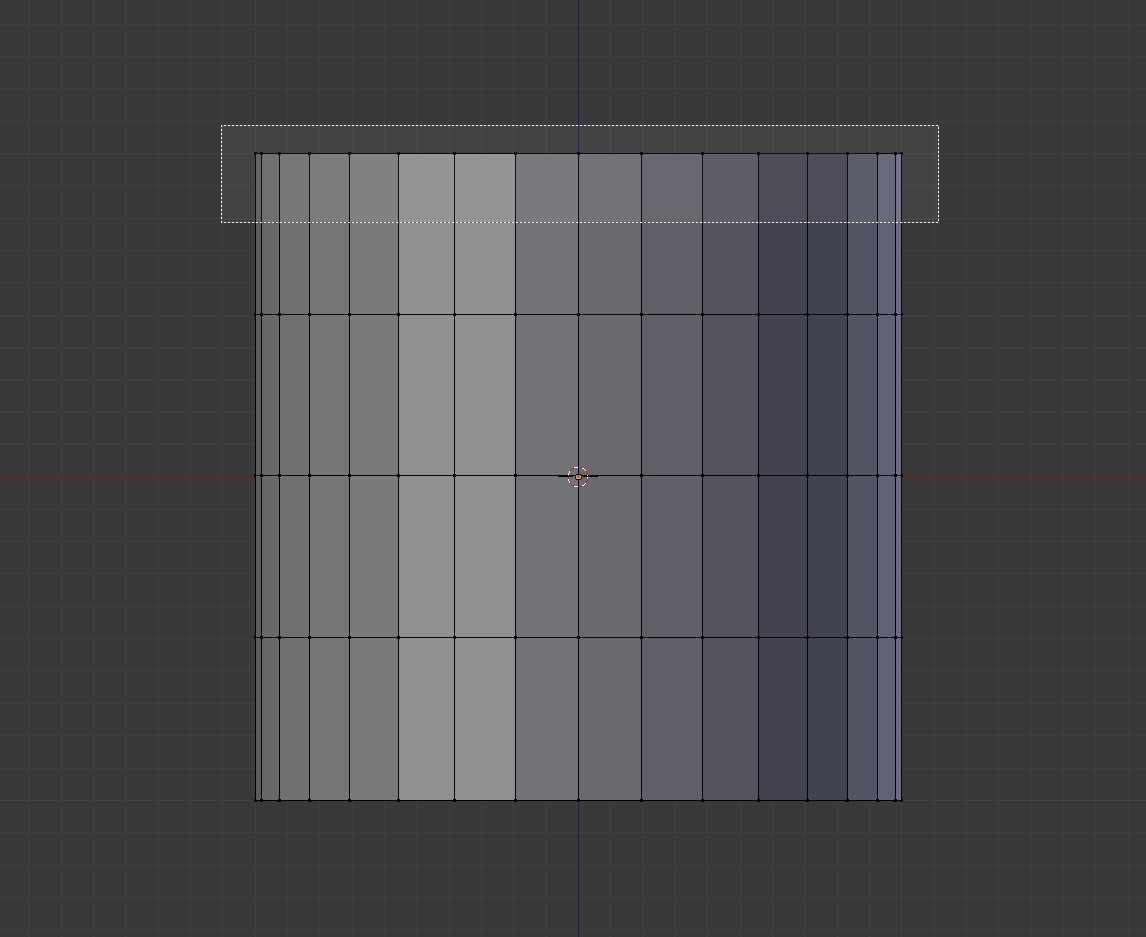
- Hit the 'b' key, which should bring up the bounding box
tool. Click and drag to create a box around the top set of vertices:
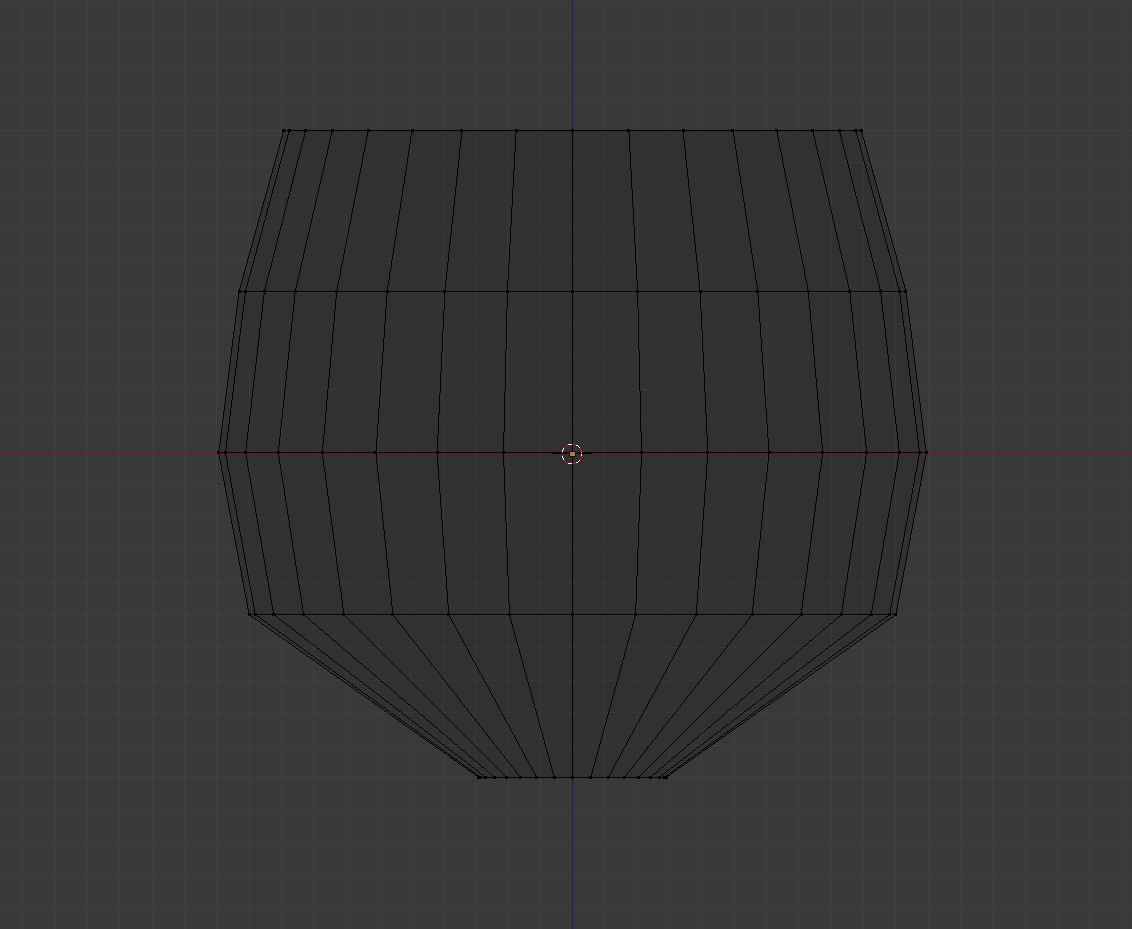
- Switch to Wireframe mode if you haven't already. Click away
from the bounding box, which should leave these vertices in gold
(selected). Then hit 's' to scale them all inwards. Continue this
procedure to scale the middle vertices out and the bottom vertices inward to form a glass shape similar to this:
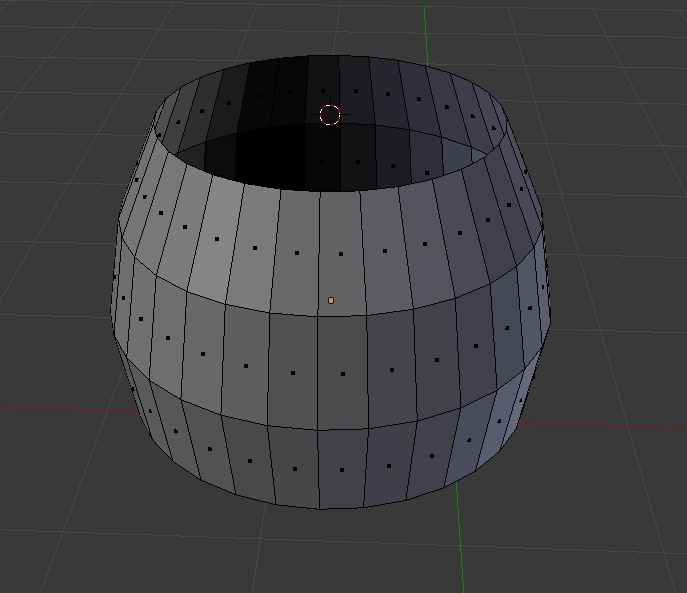
- Now go back to 'Solid' mode and the 'Faces' selection, and delete the top face to give us a hollow glass:
- Select the entire shape ('a'), then use 'e' (extrude) and 's' (scale) to
extrude the entire shape inward to give the wine glass a
thickness.
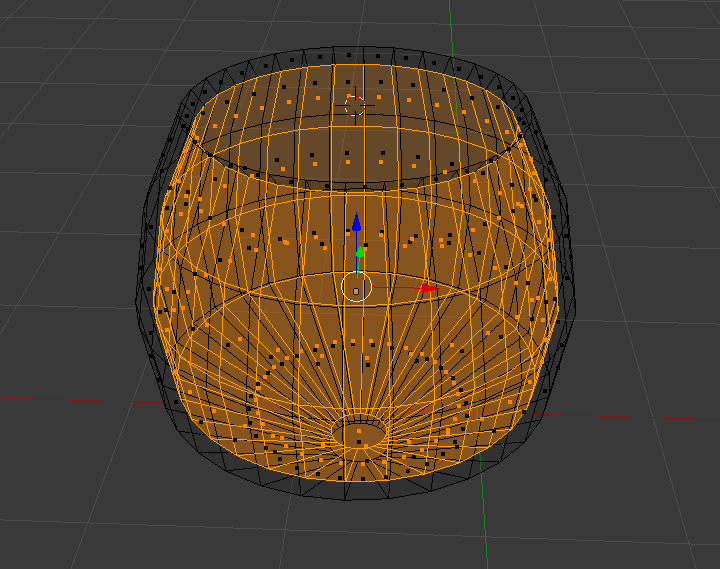
- Then use 'e' again on the bottom vertices to make the wine glass
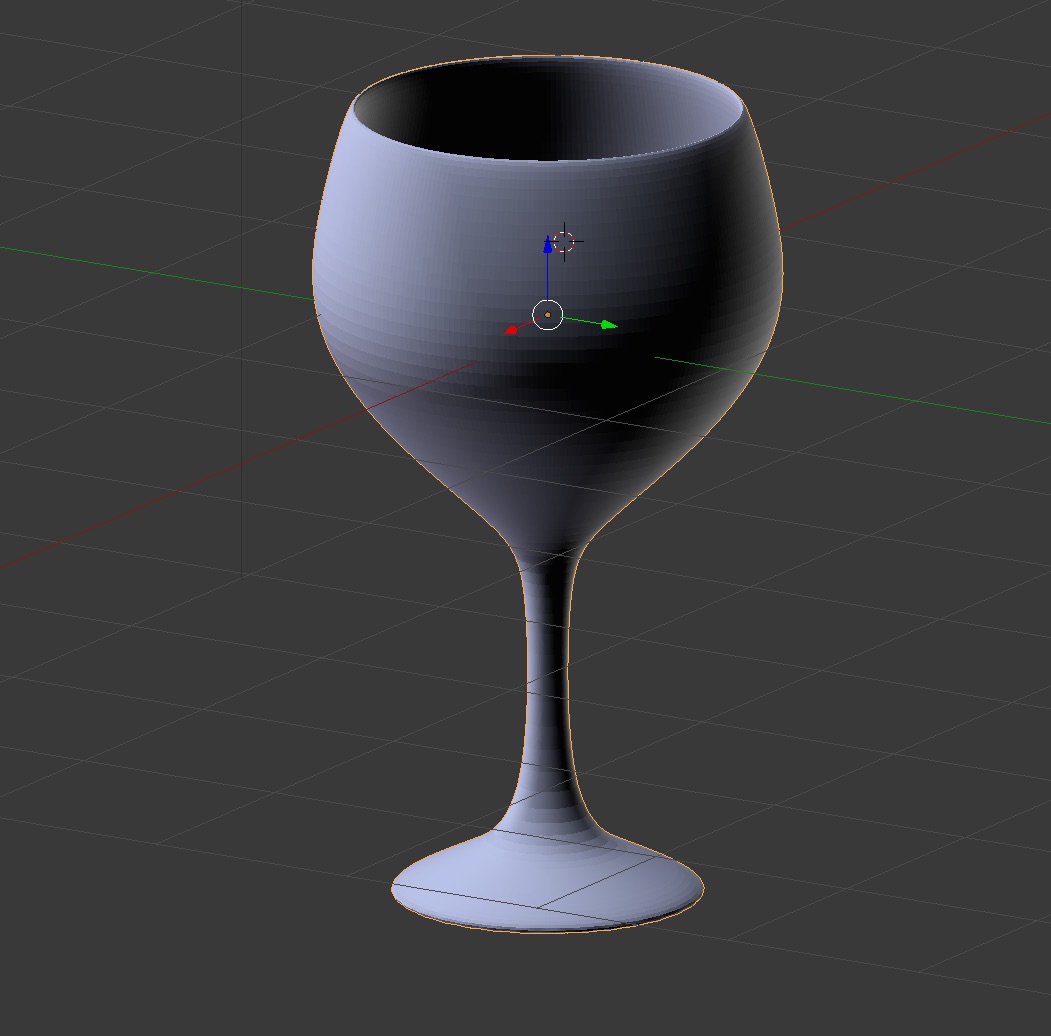
stem and bottom. Finally, switch back to Solid and Object view, then
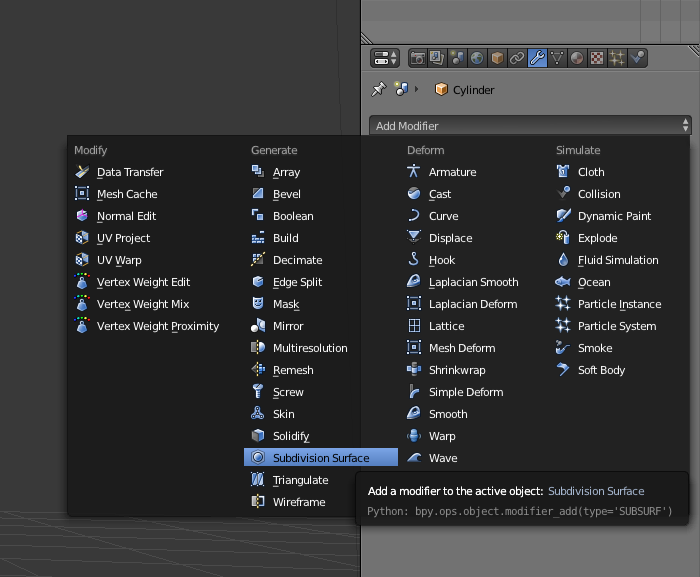
select smooth shading from the left-hand side (under 'Tools'). On the right-hand
side, select the wrench icon and add a modifier: Subdivision
Surface. Then increase the subdivisions to 3 (or more) for both view and
render.
- Hopefully you should get something like this!