CSC 240: Computer Graphics
Lab 1: Checkerboard
in-class
Step 1: Download the starter code
Download lab1.html (right-click on this link and then choose "Save Link As..."). Open this file in Sublime (or your preferred editor). This file contains some boiler-plate code and two methods that you'll modify. Also open this file in a web browser. You should see a single pixel colored (very small!) Study the code and make sure it makes sense why that pixel was colored.
Step 2: Loop over all the pixels
In the function draw, create a double for loop that goes over all the x values from 0 to canvas.width, and all the y values from 0 to canvas.height. Here is an example of for loop syntax in JavaScript:
for (var i=0; i < 10; i++) {
    // use i here
}
Change the "20" and "30" values to the variable names you used in the for loops. At the end of this step, you should see a completely blue rectangle.
Step 3: Modify pixColor
Lastly, modify pixColor so that it takes the x and y values of the pixel into account. To start, color the pixel one color if x is even, and another if x is odd (what should this create?) Here is an example of an if statement in JavaScript:
if (x == 10) {
    // do something here
}
Helpful syntax:
%  // mod operator (i.e. 10 % 2, which equals 0)
&& // and (which in Python is actually written "and")
|| // or  (also just "or" in Python)
Step 4: Checkerboard
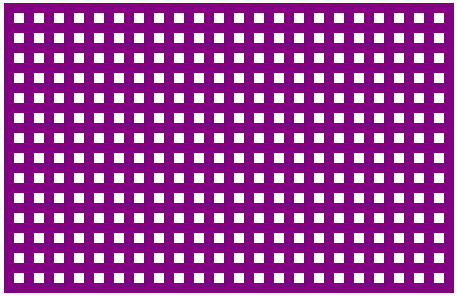
If you finished Step 3, that's great! If you have extra time, modify your if statement to create a checkerboard pattern. How can you modify the size of the squares without modifying the fillRect arguments? Experiment with different colors and patterns. Here is an example below:

You do not have to turn this lab in, but you are welcome to email me your image (take a screenshot and save as a .png file). I will demo some interesting checkerboards on Monday. Also make sure your partner and others around you are making progress. For labs, feel free to compare code and share ideas.