CSC 240: Computer Graphics
Lab 17: Bézier curves in Blender
Logos in Blender
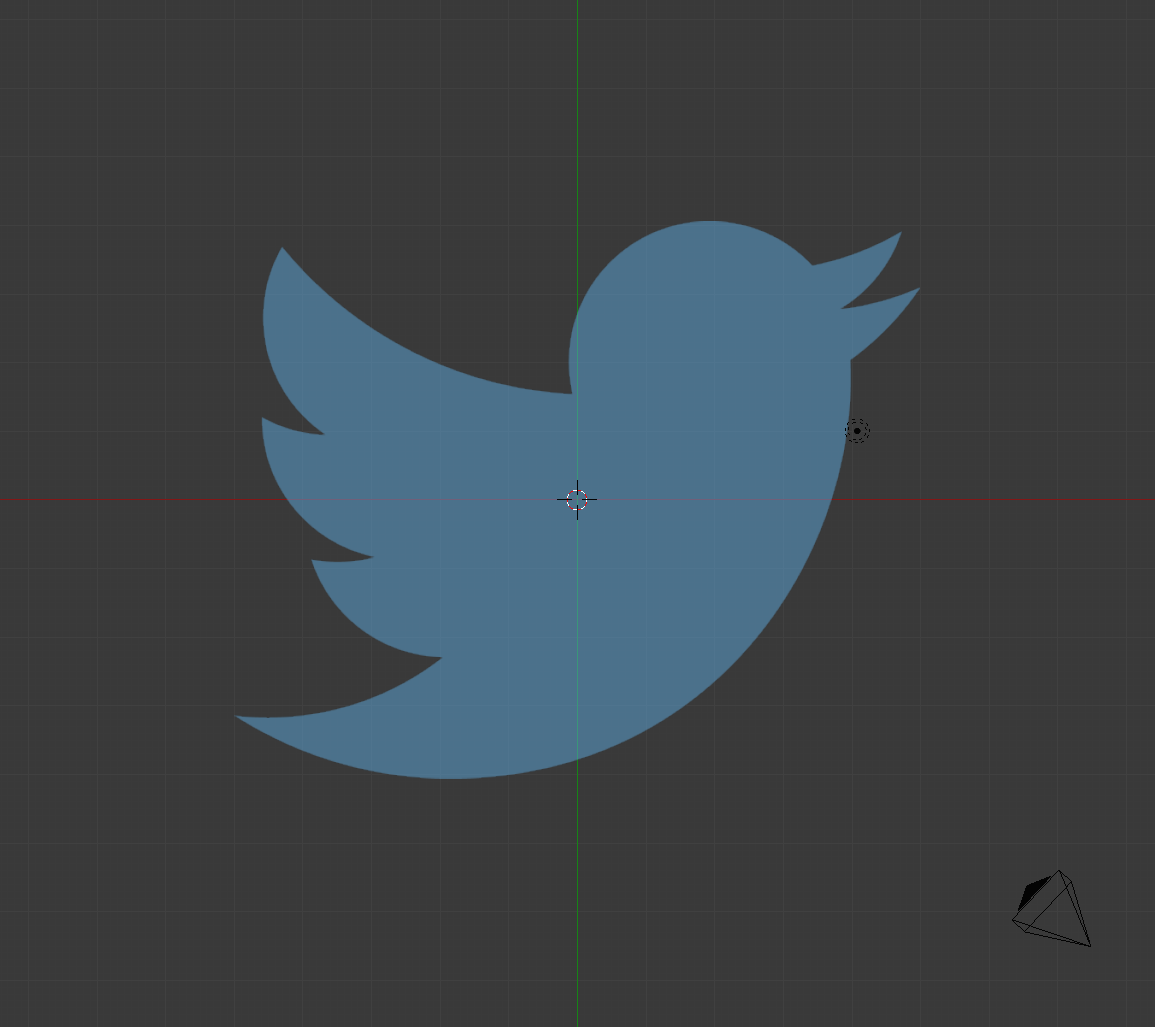
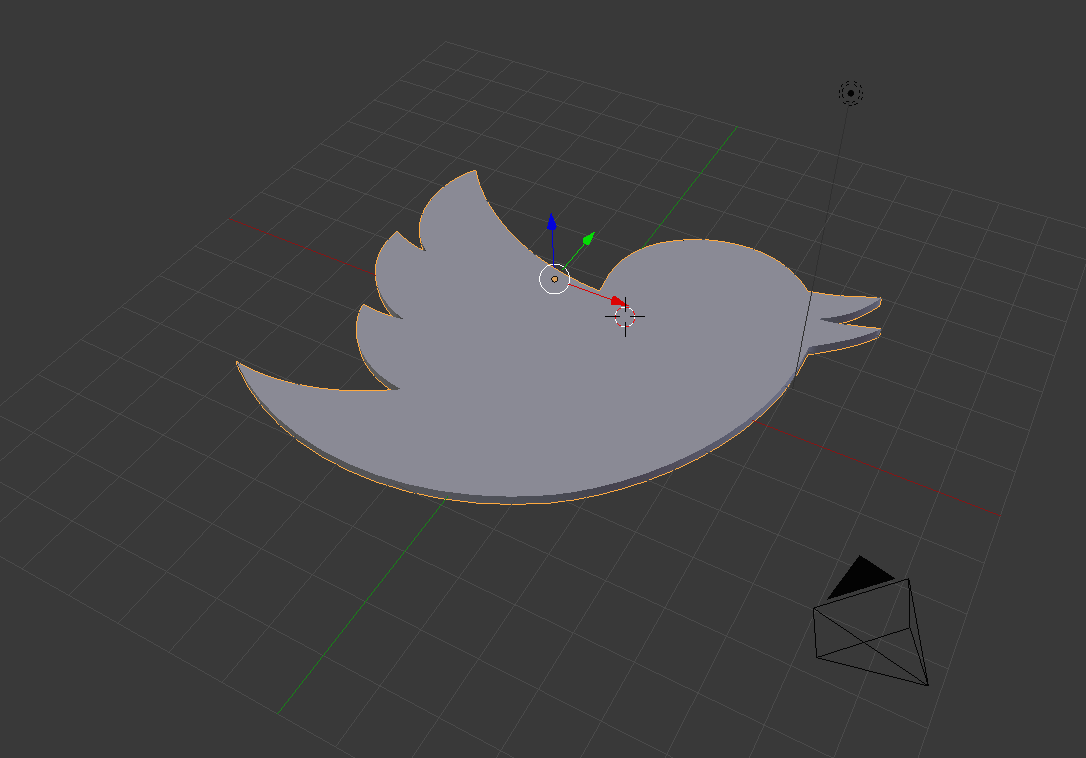
In this part we will create the Twitter logo (no comment on Twitter, but it is good practice for Bézier curves!) If you'd like to make a different curved logo that's fine to. Here is the shape to make:
Twitter logo (download this image)
- Delete the initial cube in Blender, then bring up the panel
next to the far right panel. Then add the Twitter logo image as a
background image as shown:

- Next, change the perspective to the 'top' view (bottom
left-hand side), and toggle the perspective/orthographic view so
that we're in orthographic view. You should see the background image:
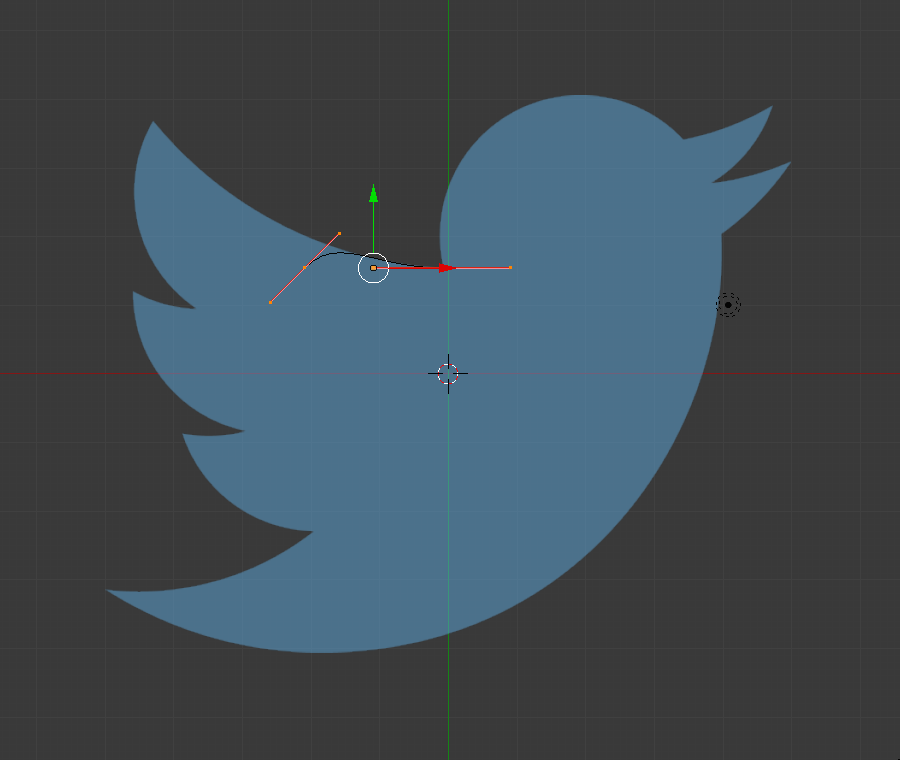
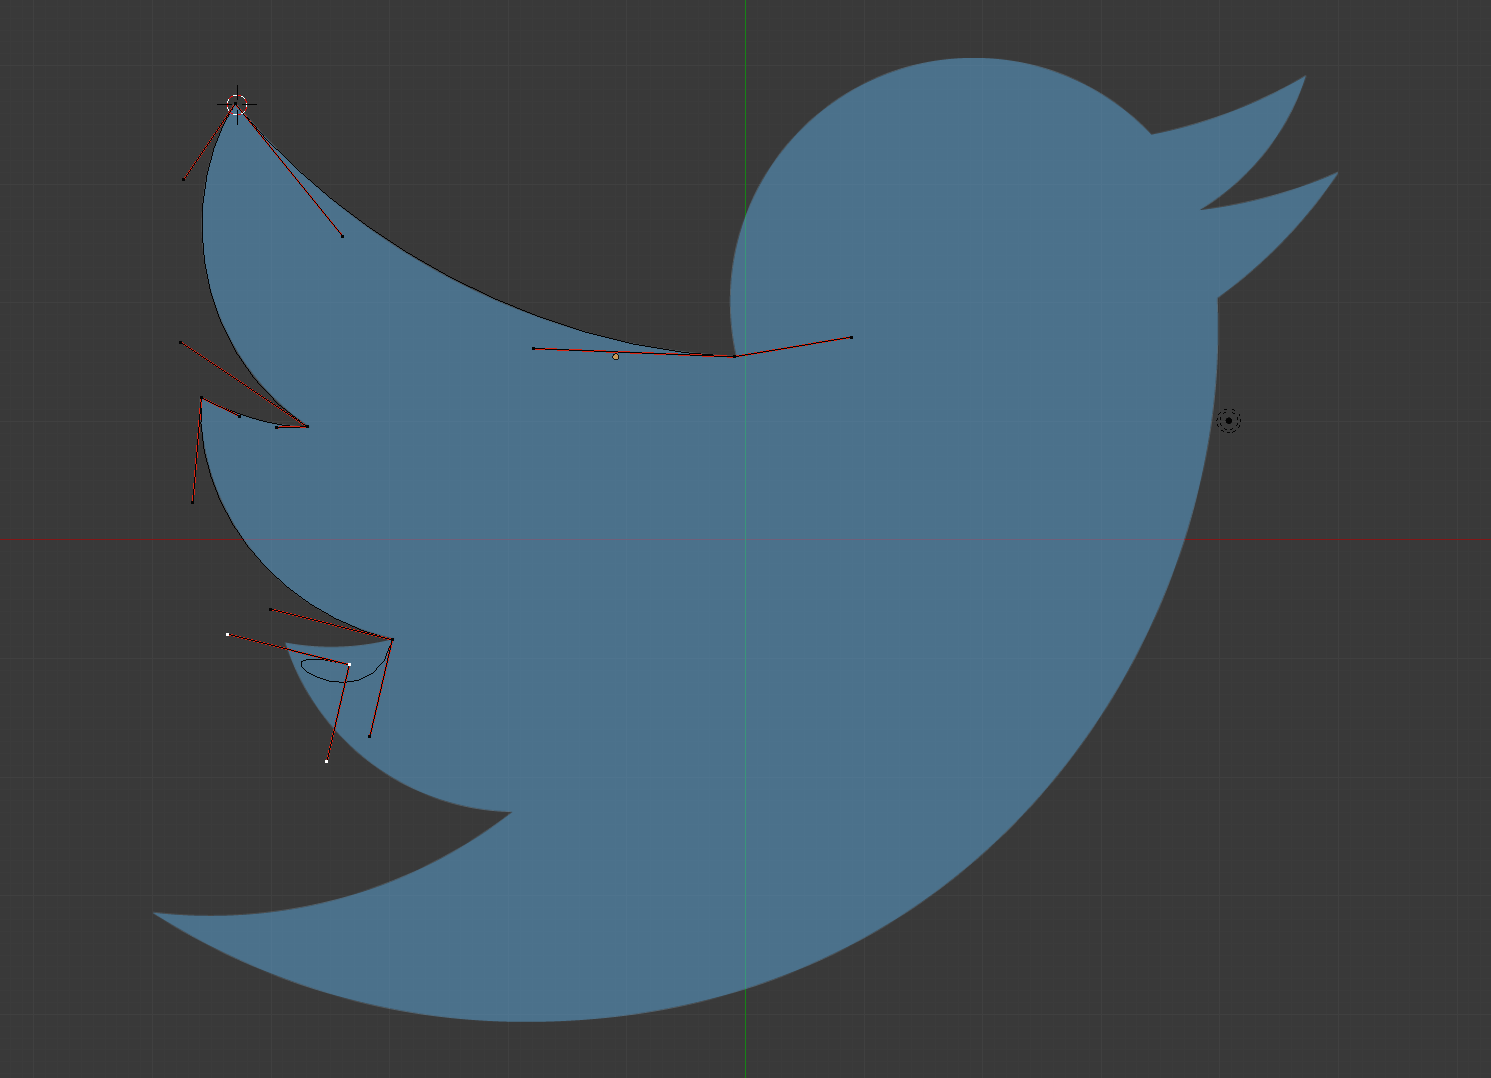
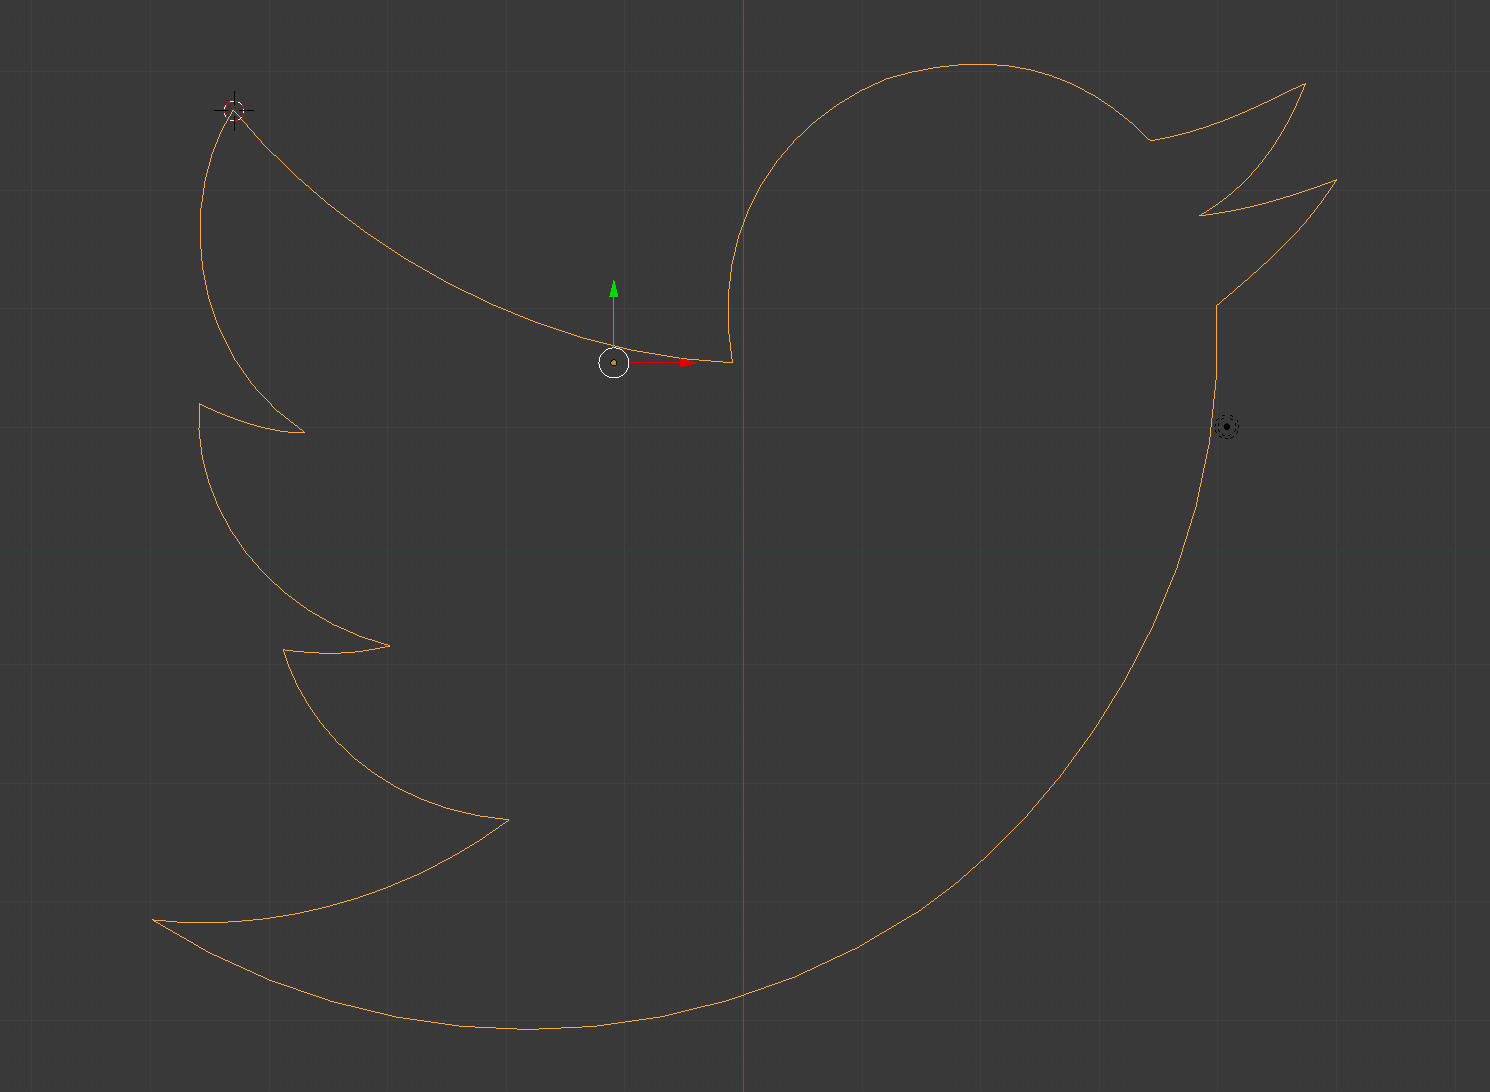
- Next, add a Bézier curve from the left-hand menu, and place
it's end control points on the vertices connecting the top part of
the wing. From the menu on the right, you can uncheck
"normals" to remove the normals along the curve. Manipulate the
control points to make the curve match the logo.
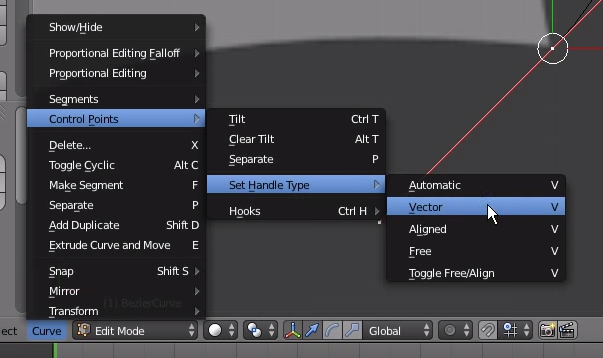
- To make the control points separate for each Bézier curve (like
Adobe Illustrator), check 'Vector' as shown below:
-
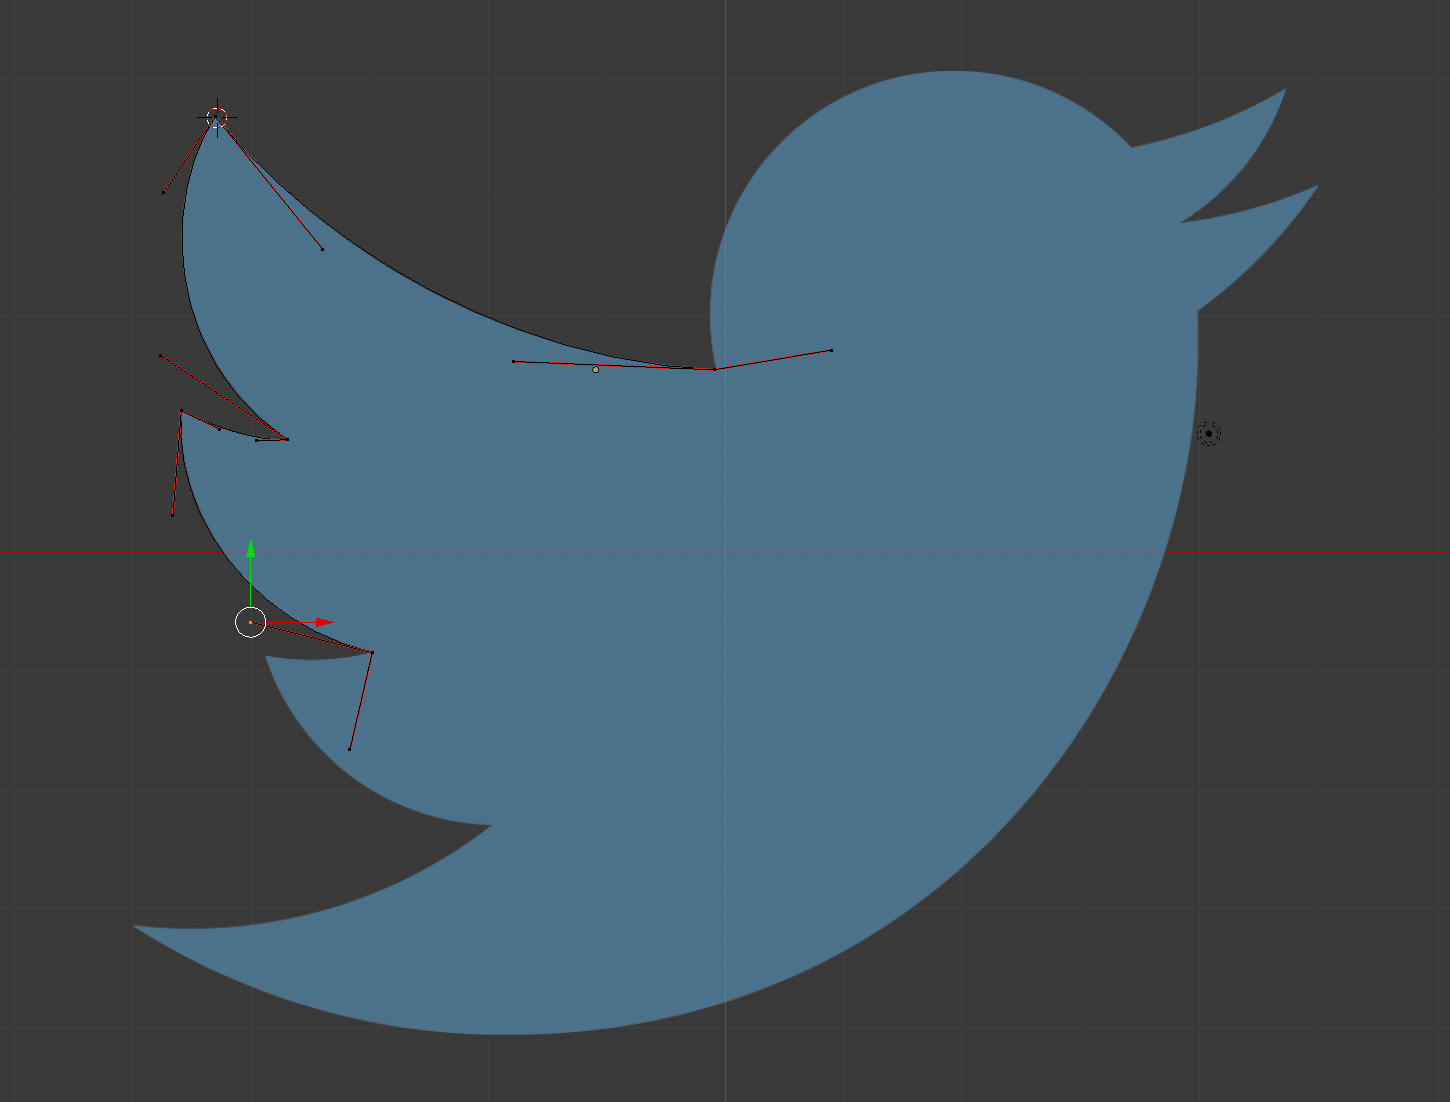
Click the left control point, then click 'e' for extrude to create
another attached Bézier curve. Continue building the entire
shape. To connect the final pieces, select both control points and
click 'f'.
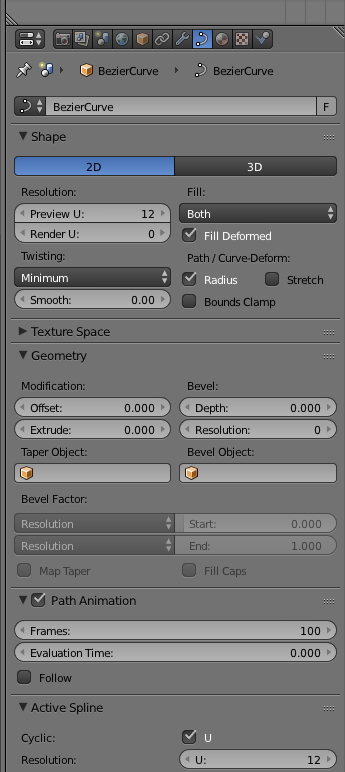
- Change back to object mode, then click the curve symbol on the
right and click 2D:
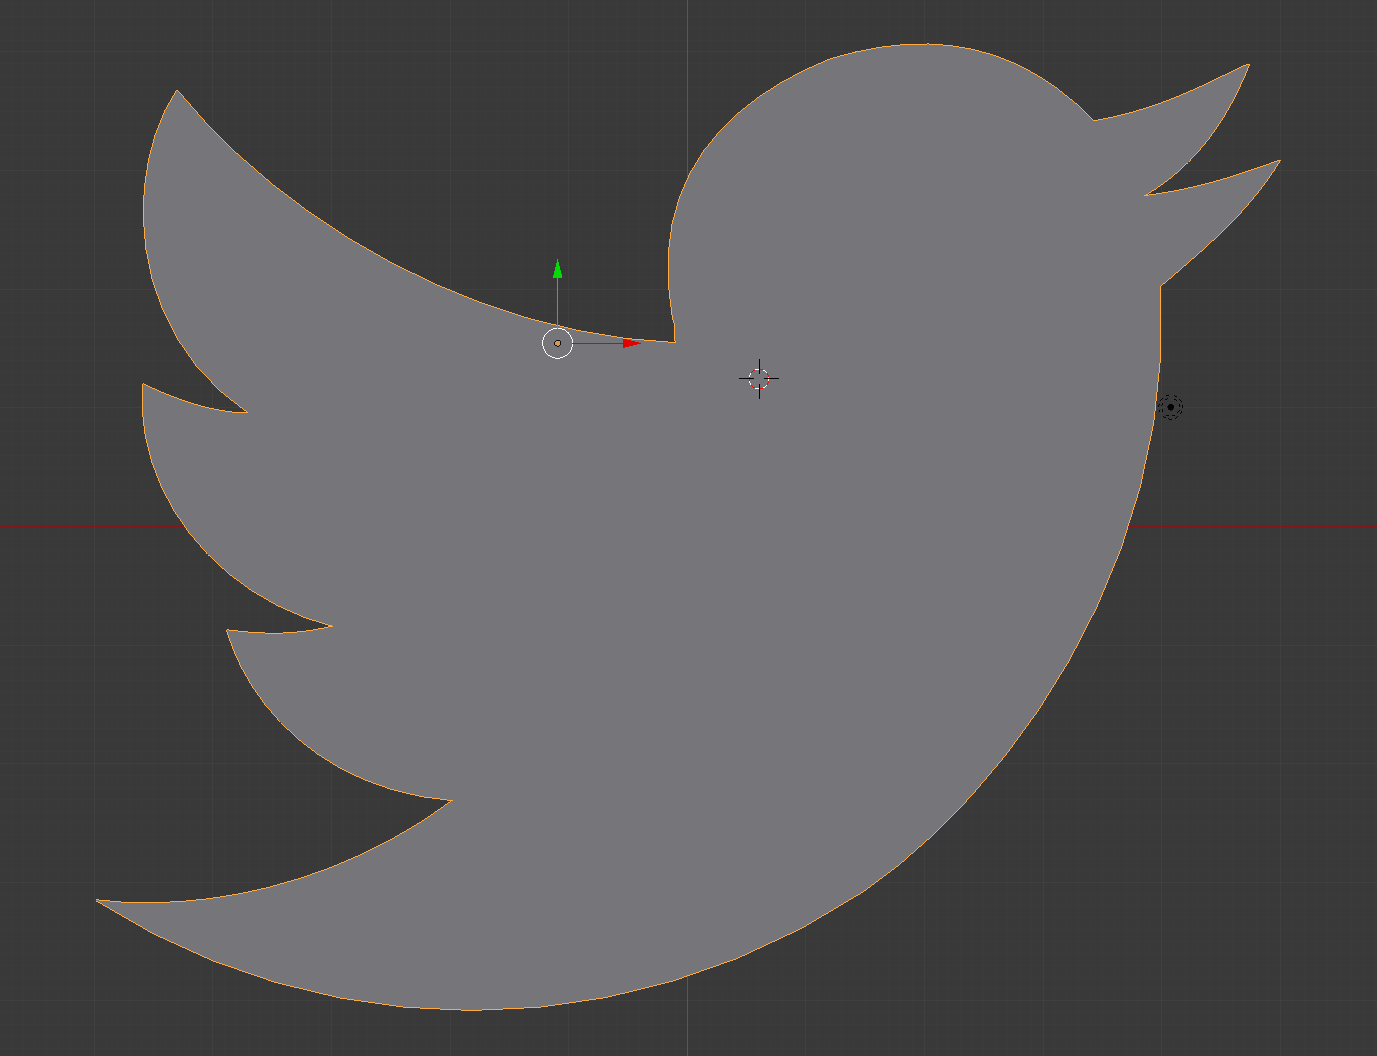
- Use extrude to make it 3D, then change the color like we did in
the cup lab.
- Last step: render!
