CSC 240: Computer Graphics
Lab 16: Blender wooden cup
Wooden Cup
This part is based off of this tutorial: Blender Wooden Cup Tutorial. You are welcome to follow this instead; the sound is not really necessary, but you can use headphones if it helps.
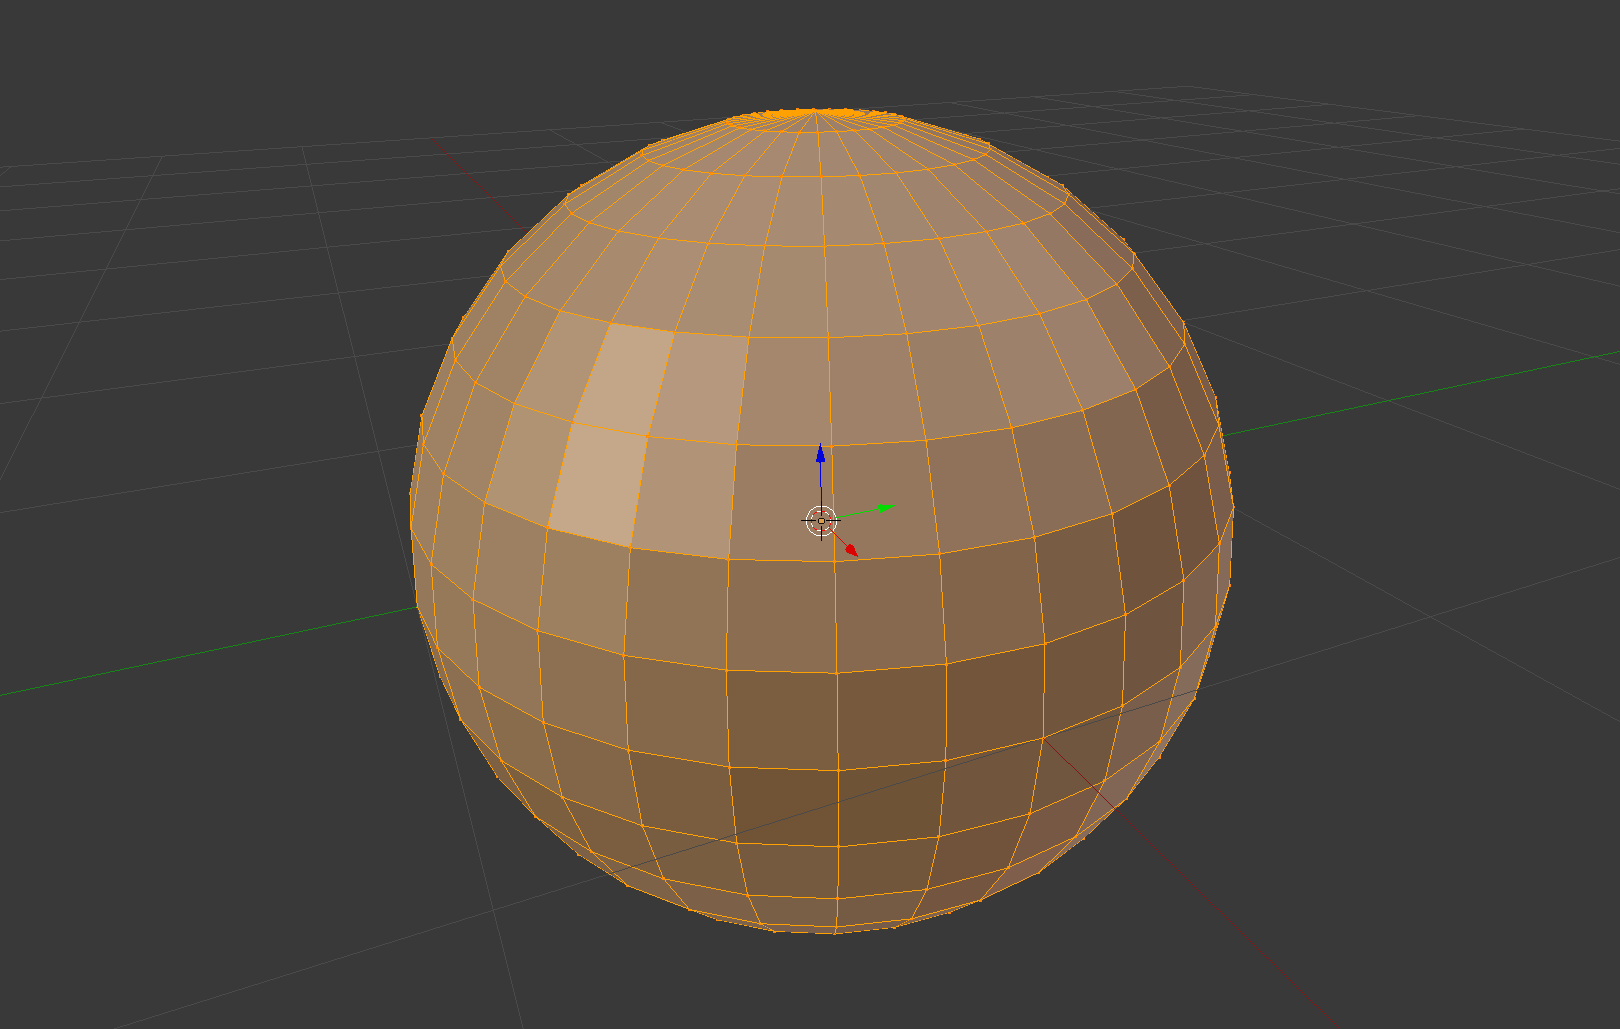
- Delete the initial cube in Blender, and replace it with a UV sphere:
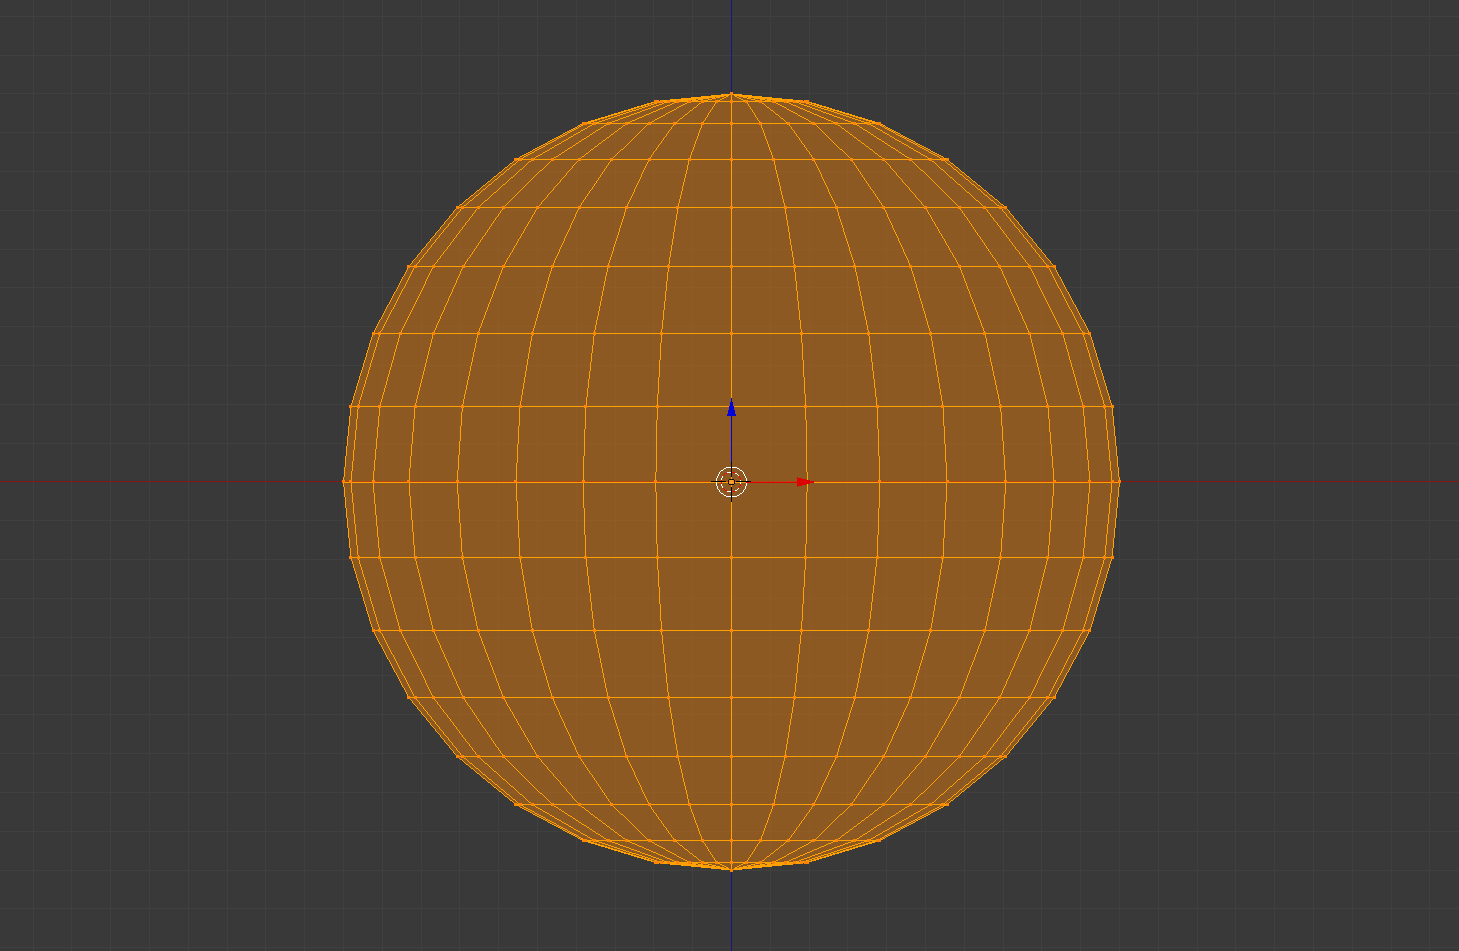
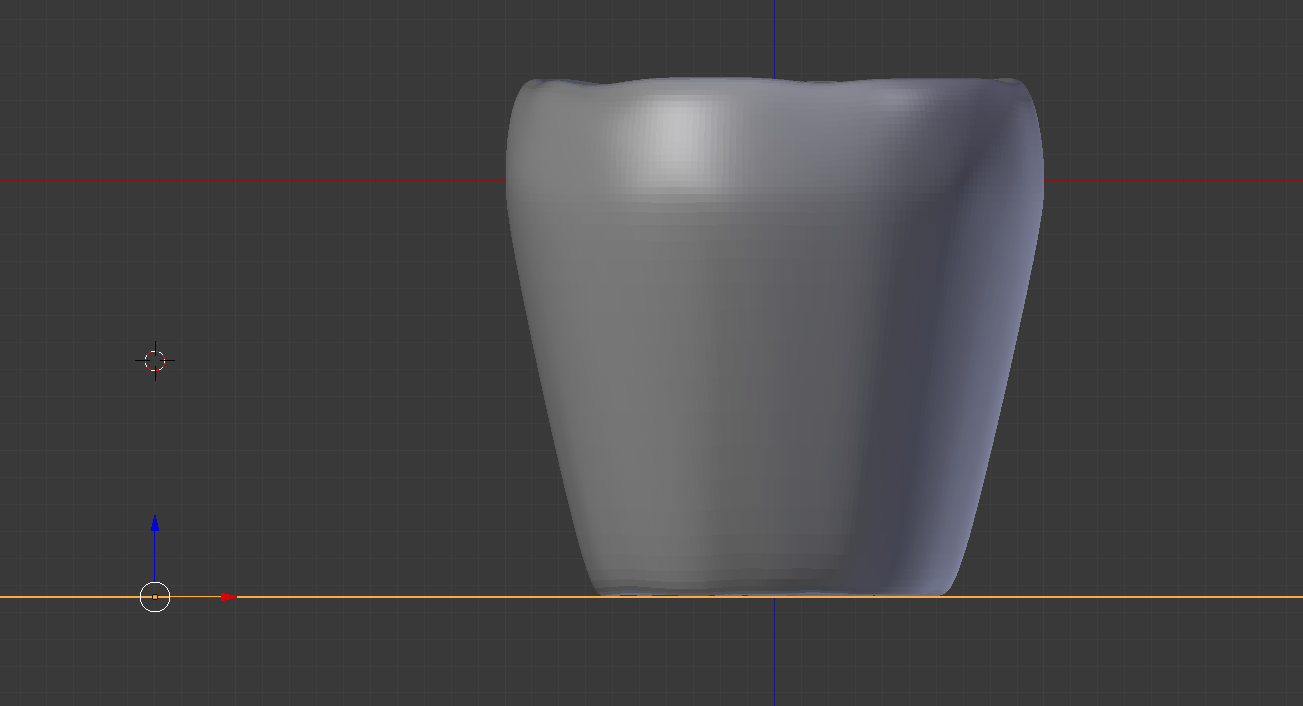
- Next, change the perspective to the 'front' view (bottom
left-hand side), and toggle the perspective/orthographic view so
that we're in orthographic view. Also change 'Object Mode' to 'Edit
Mode' and switch to Wireframe mode:
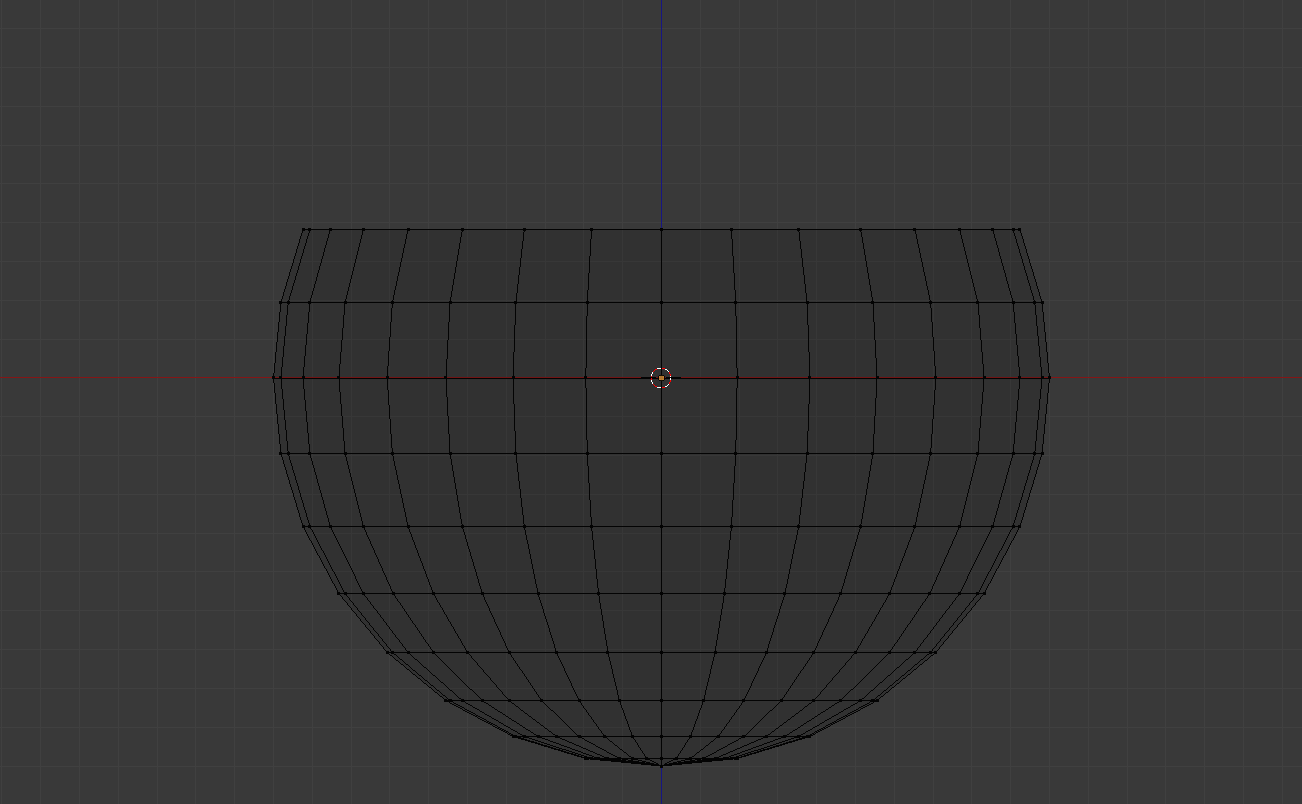
- Unselect all ('a' key), and use the 'b' key to select a
bounding box around the top vertices, then hit delete, and select vertices:
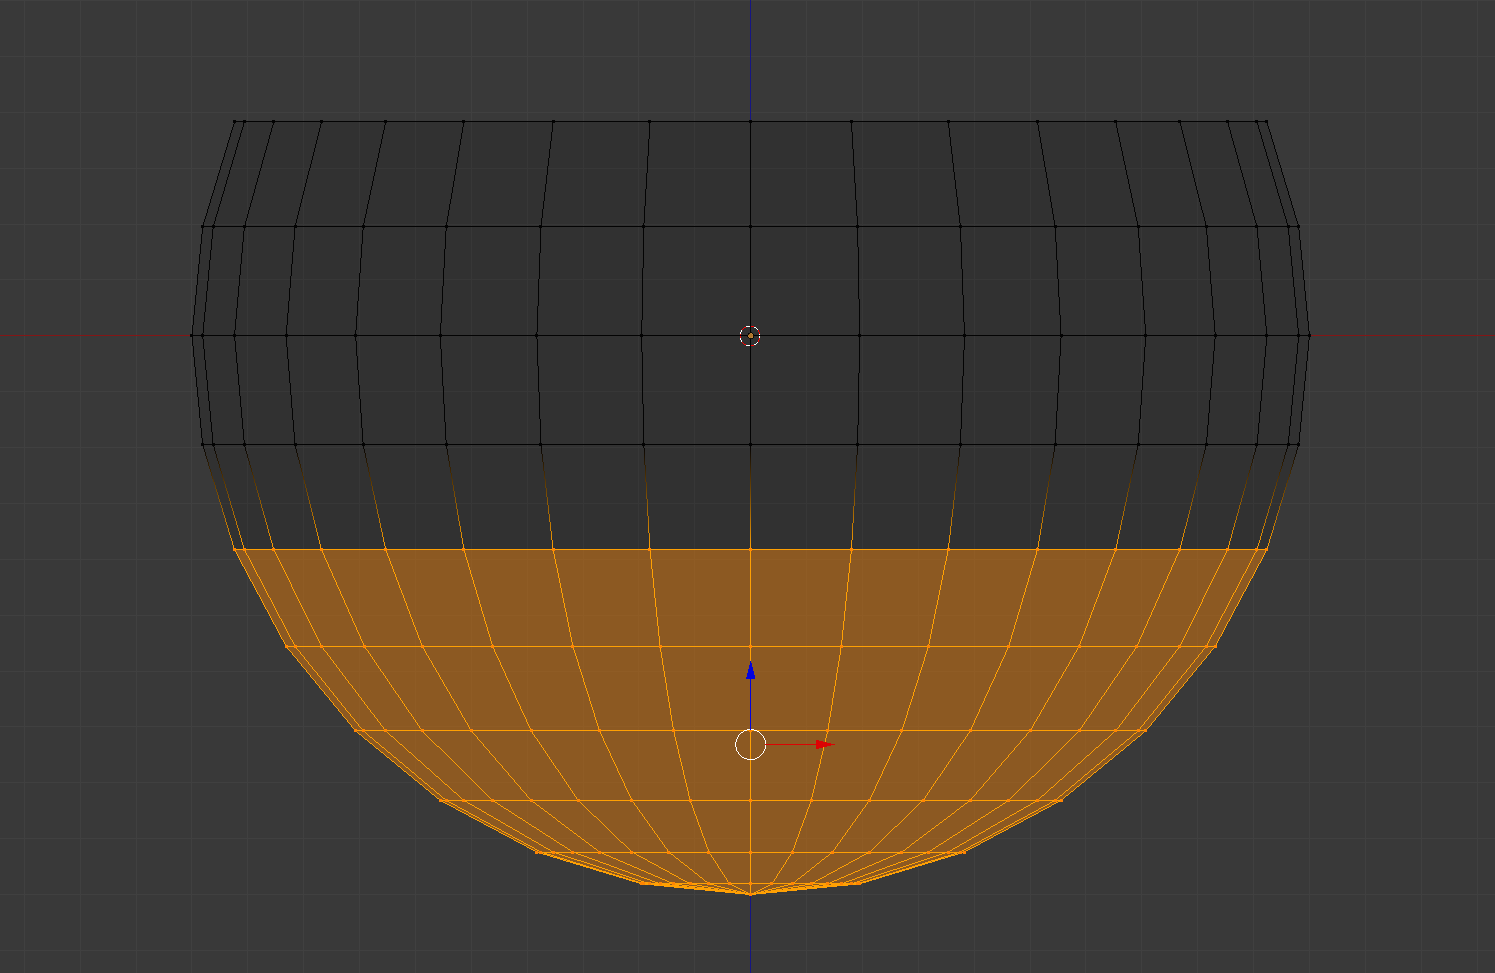
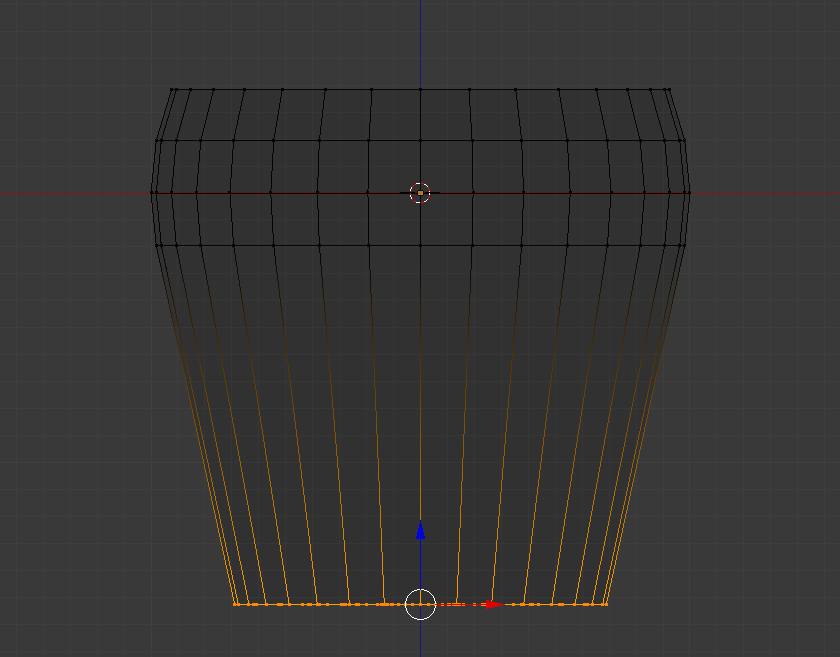
- Use 'b' again to select the vertices shown below. Then hit 's'
(scale), 'z' (constrain z-axis), '0' (collapse vertices to make
bottom of the cub), 'Enter'. Then click on the blue (z) arrow and
drag down to stretch out the cup. Then hit 's' again and scale it inward:
-
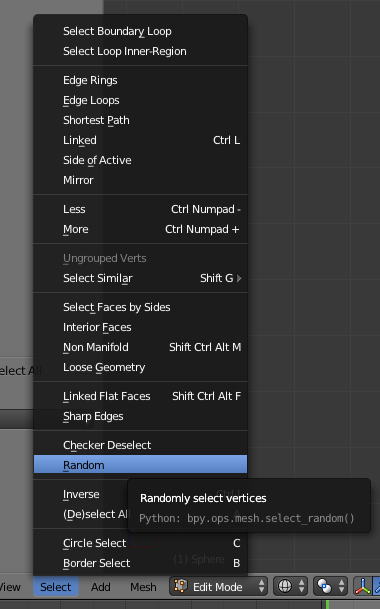
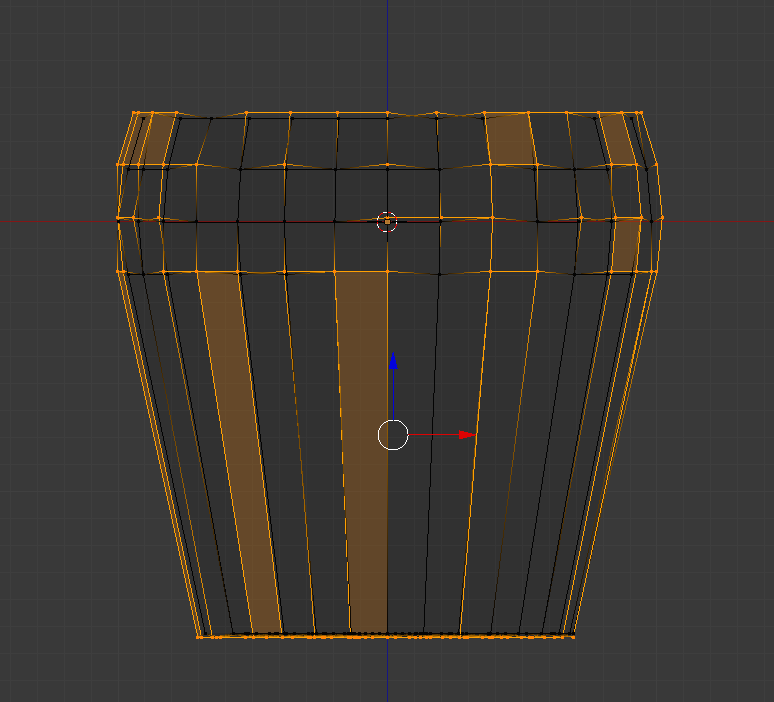
To make the cup look imperfect, from the 'Select' menu, choose
'Random', which will select a subset of random vertices. Then hit
's' for scale, and type 1.02 to make these vertices a little
off. Then hit enter.
-
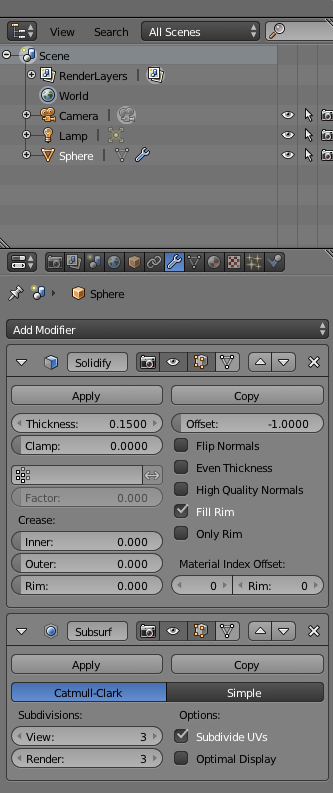
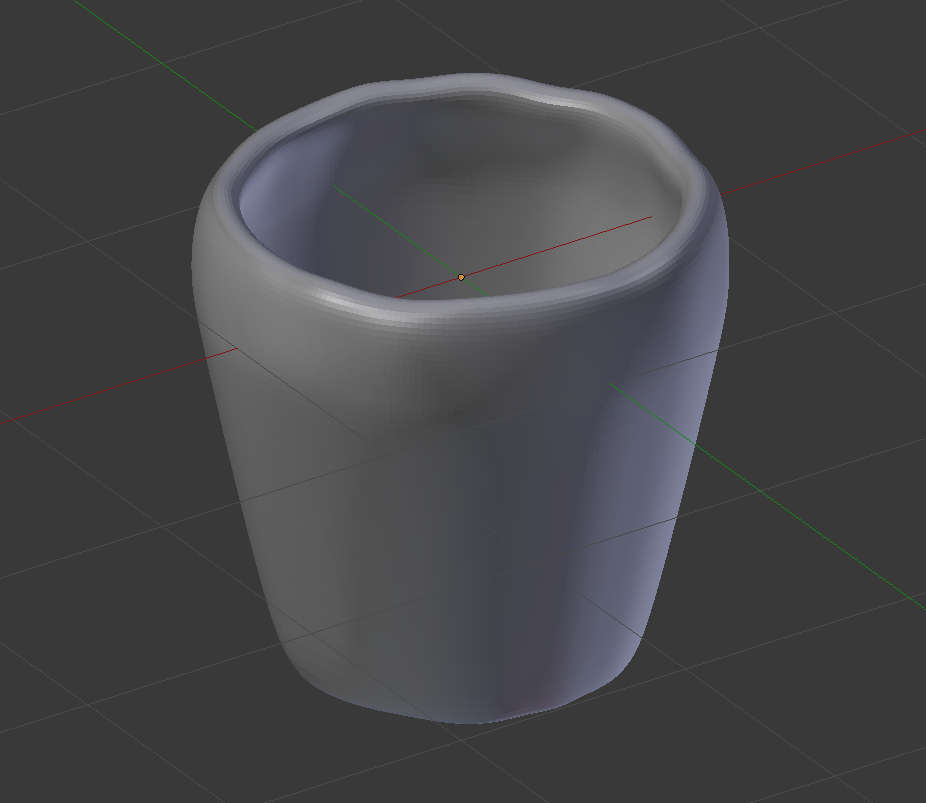
Change back to Object Mode and Solid mode, and change the Shading to
Smooth (might be default). Using the wrench tool, go to Add
Modifier, and click 'Solidify'. Then change the thickness of the cup as shown
below. Then go to Add Modifier again, and click 'Subdivision
surface'. Increase the Subdivisions to 3 for both 'View' and
'Render', as shown below:
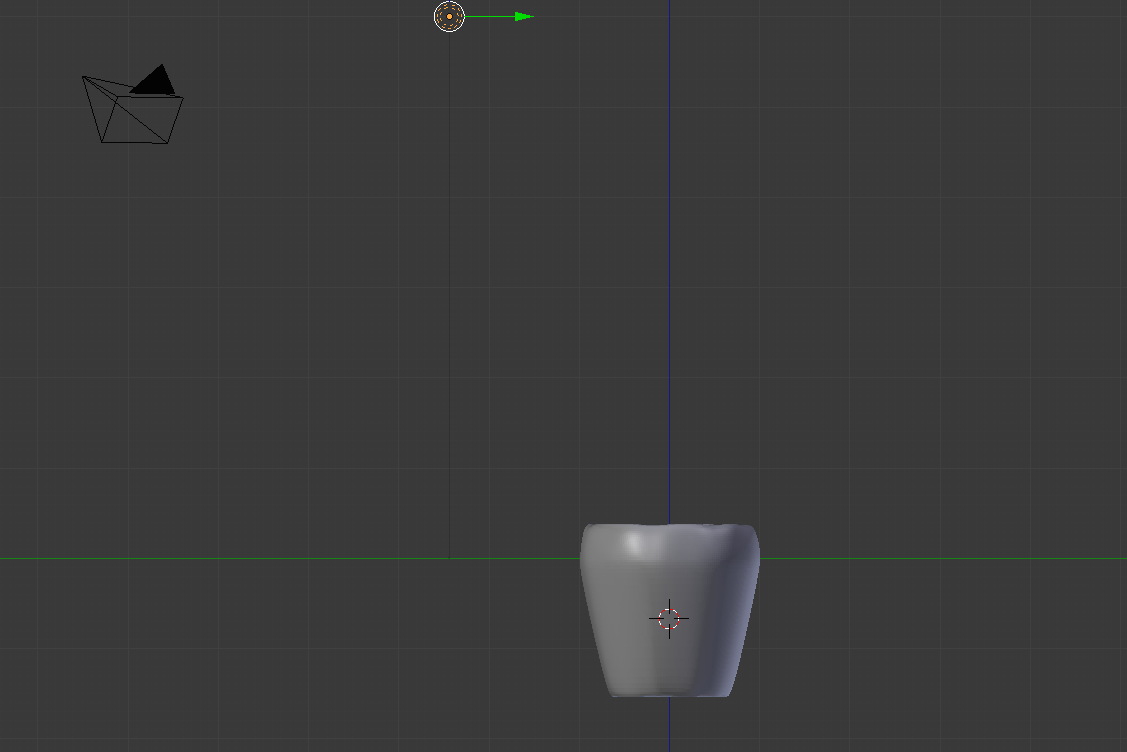
- Next we're going to add a surface for the cup to sit on. In the
'Create' tab, add a 'Plane' mesh, then hit 's' (scale) and type 100
to make it really big. Then go to 'front' view, and use the blue (z)
arrow to move the plane down so the cup is resting on it:
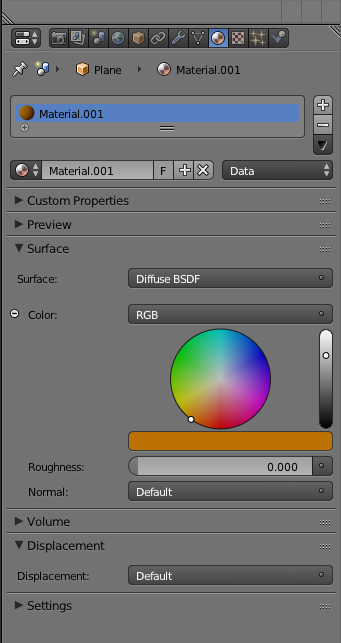
Now we're going to change the material of the plane. Click the Material icon (looks like a circle, next to the triangle icon). Then select new.
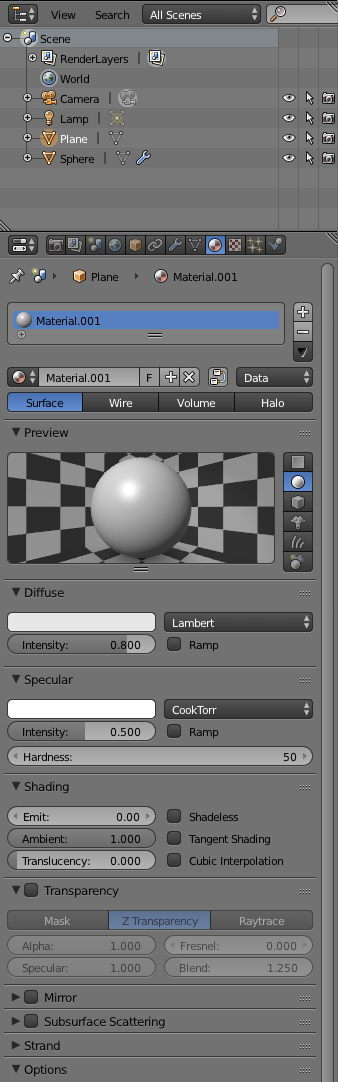
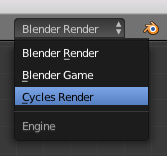
Now change from Blender Render to Cycles Render (top of the screen). Then choose 'Use Nodes', and select an orange color:
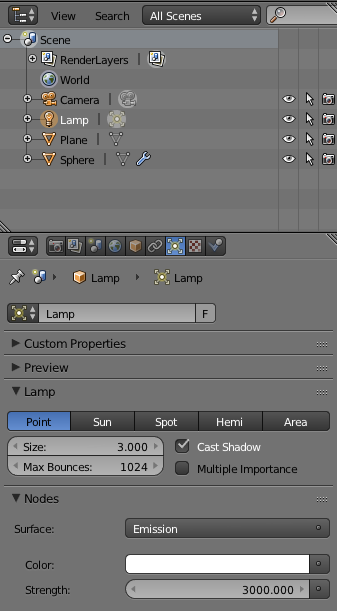
- Lighting: Now we're going to modify the light
source. First move the light source along the red (x) axis until it
is directly over the cup. Then switch the view to 'Right', and move
the light along the green (y) axis until it looks like this:
Now change the size and strength (under Nodes) as shown below:
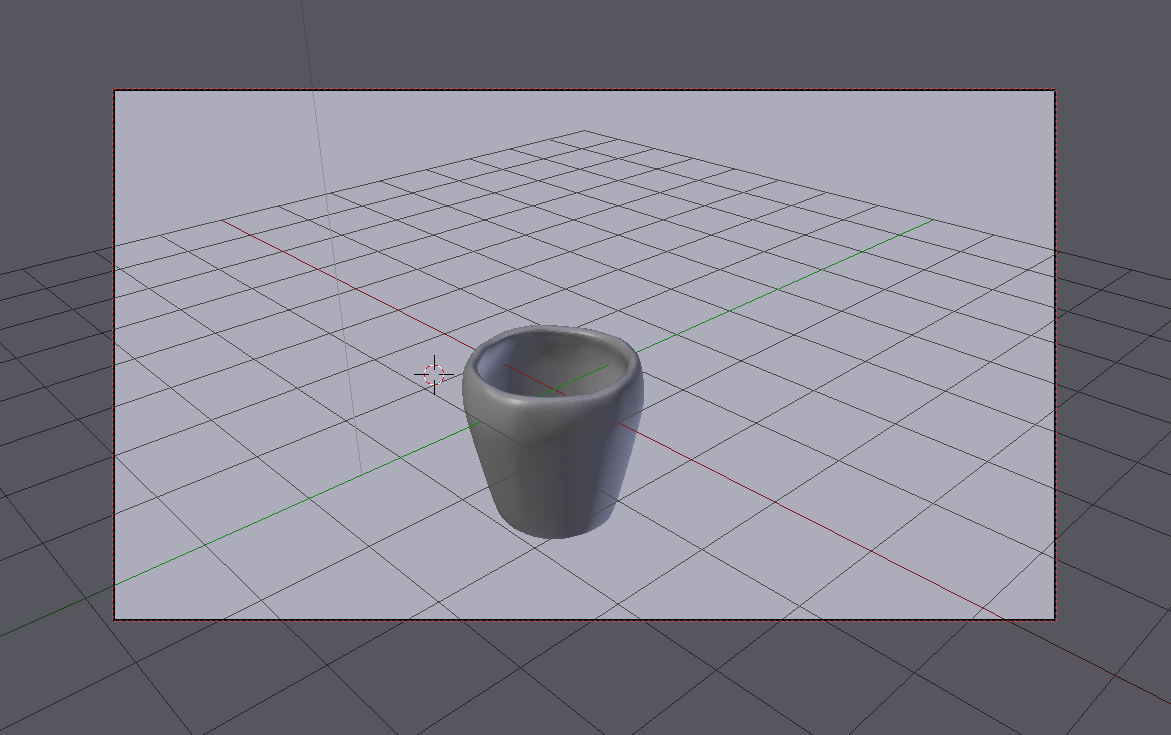
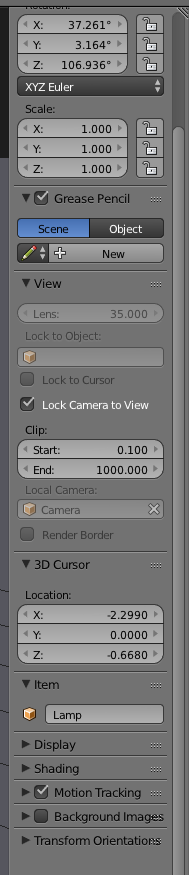
- Now we're going to switch the 'View' (bottom left) to 'Camera',
which will show us what the camera/eye sees. Change the view, then
go to 'View' again and choose 'Properties', the select 'Lock Camera to
View'. Then choose 'Properties' again to dismiss this panel.
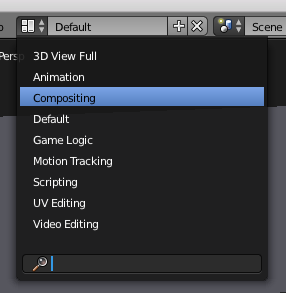
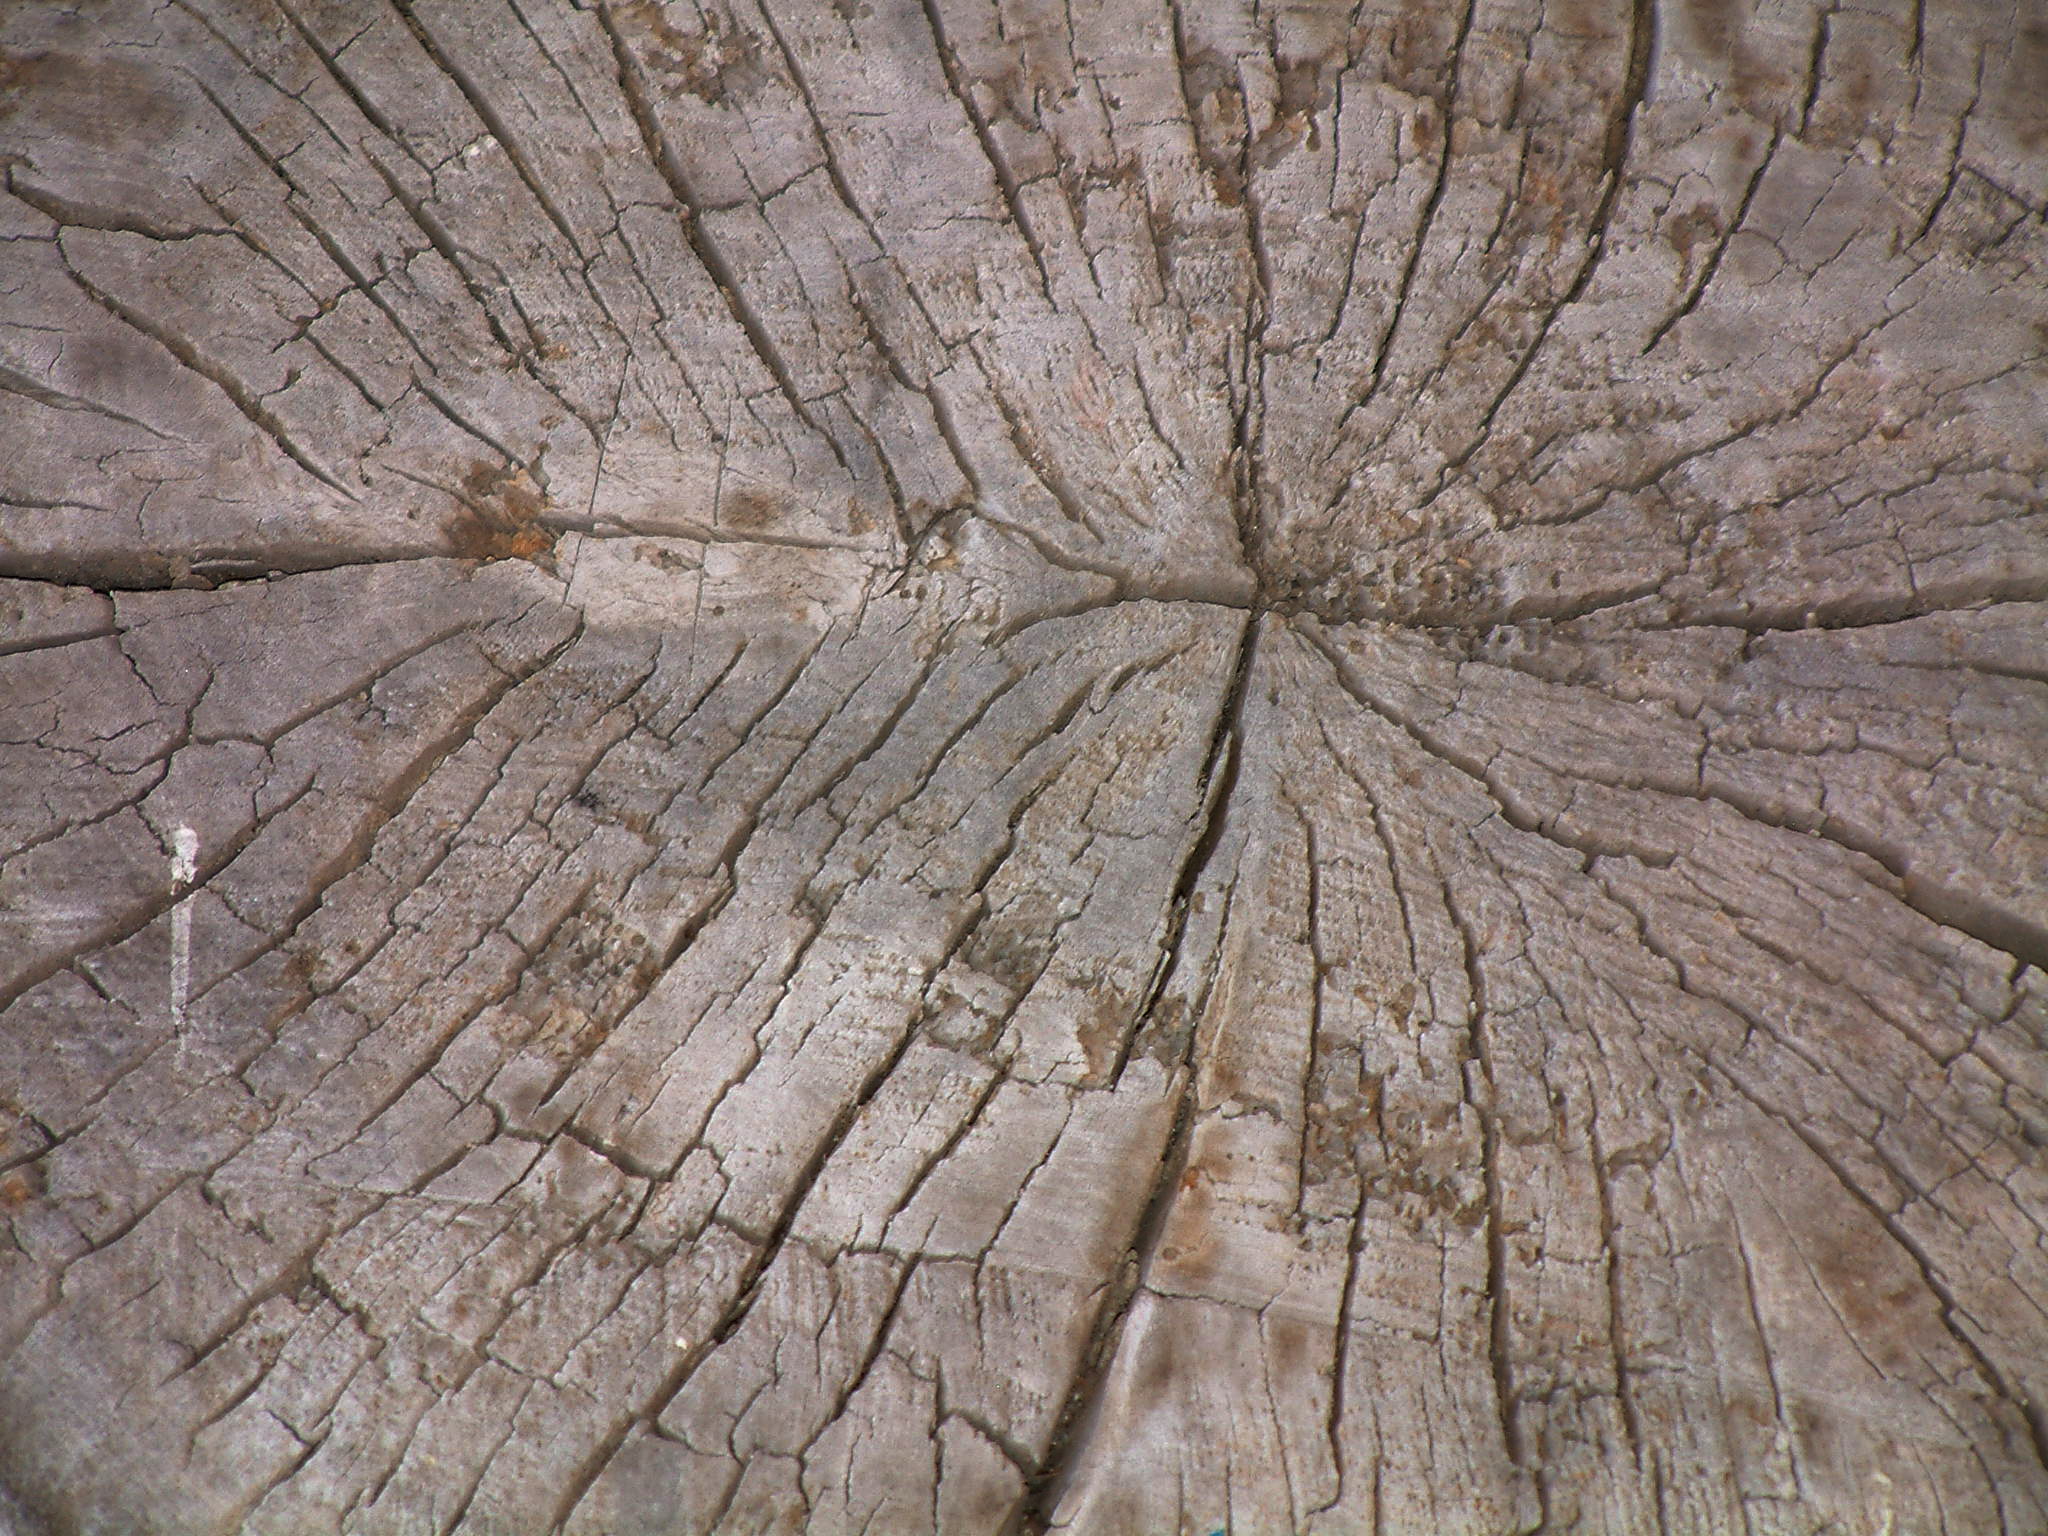
- Texture: finally we are ready for texture. First download
this Wood
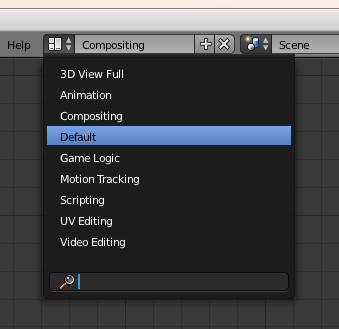
Texture. Then change the screen layout (at the top) from
'Default' to 'Compositing':
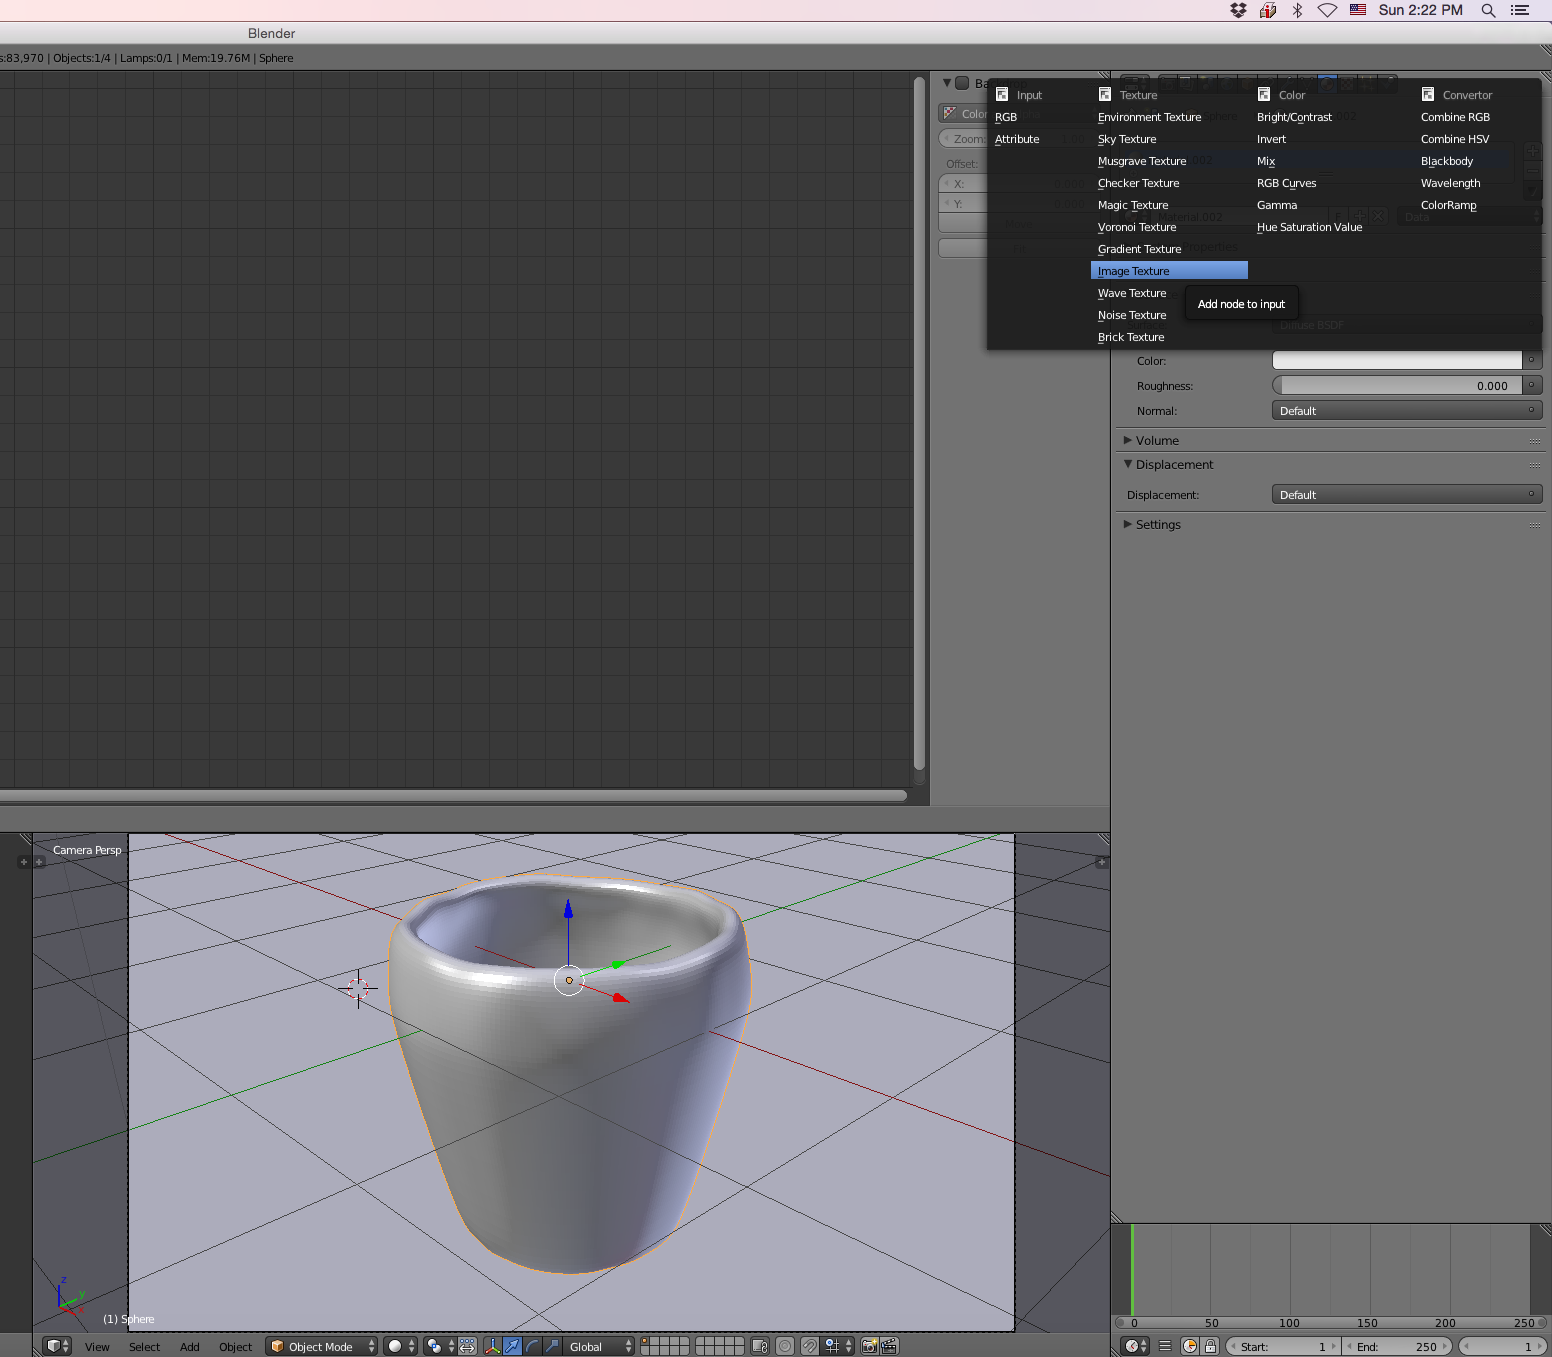
- Make sure the cup is selected, then go to the 'Materials' icon
(circle) on the right panel. Select 'New' and under Color, select
'Image Texture'. Then click 'Open' and navigate to where your wood
texture is located.
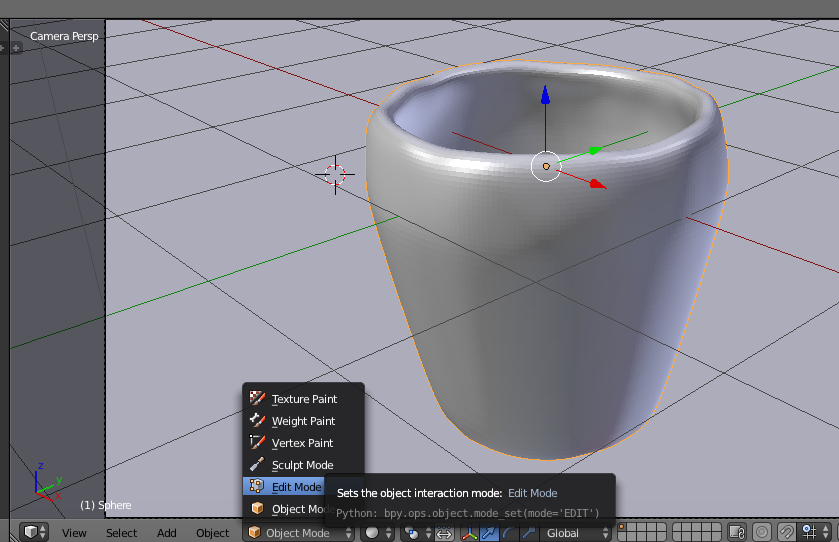
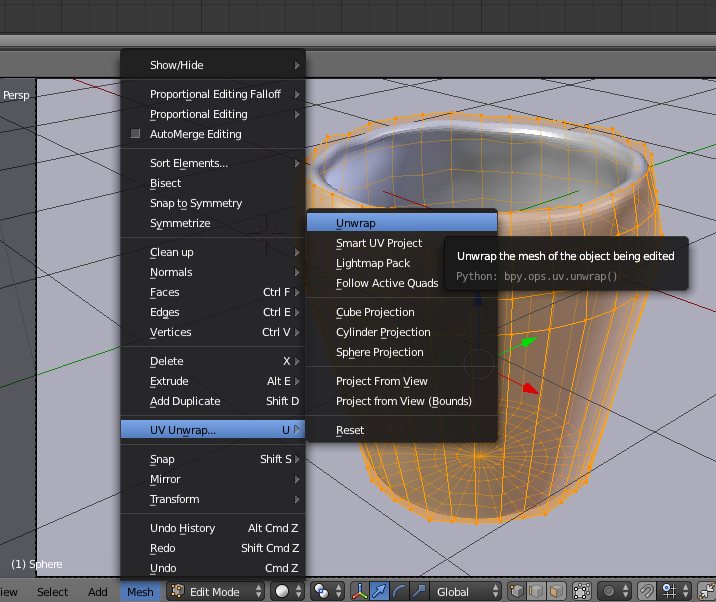
- Now go to Edit mode and select all ('a').
- Then go to 'Mesh', and
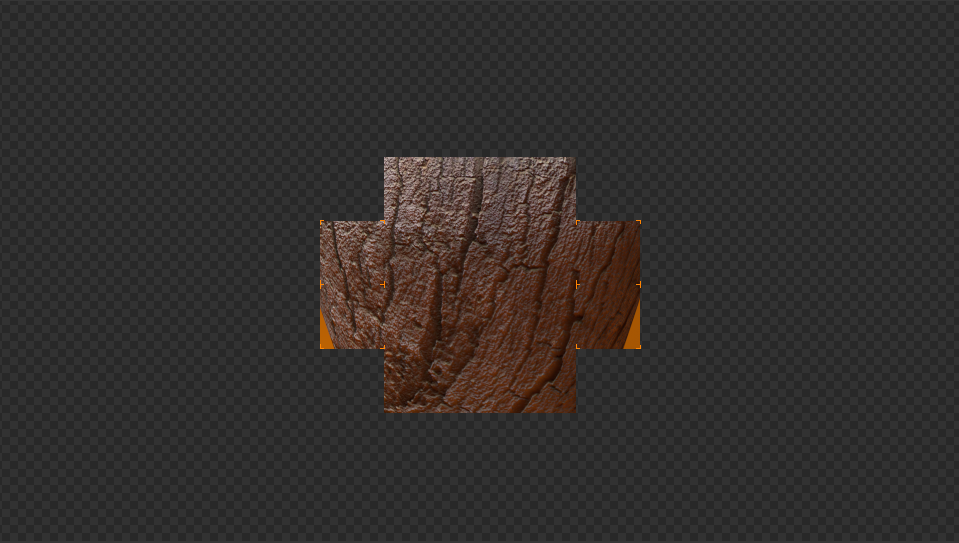
select 'UV Unwrap', and then 'Unwrap':
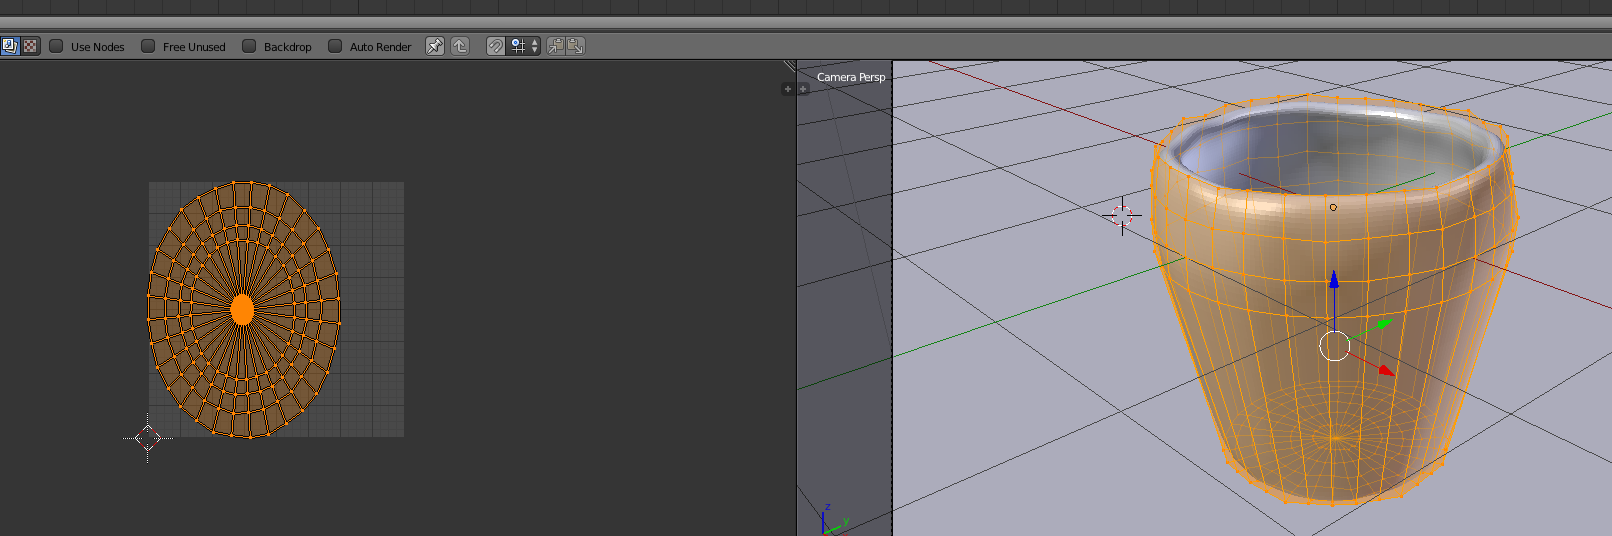
- You should get something that looks like this:
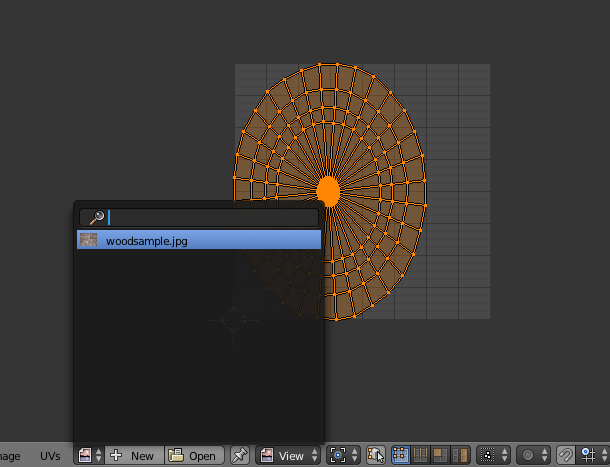
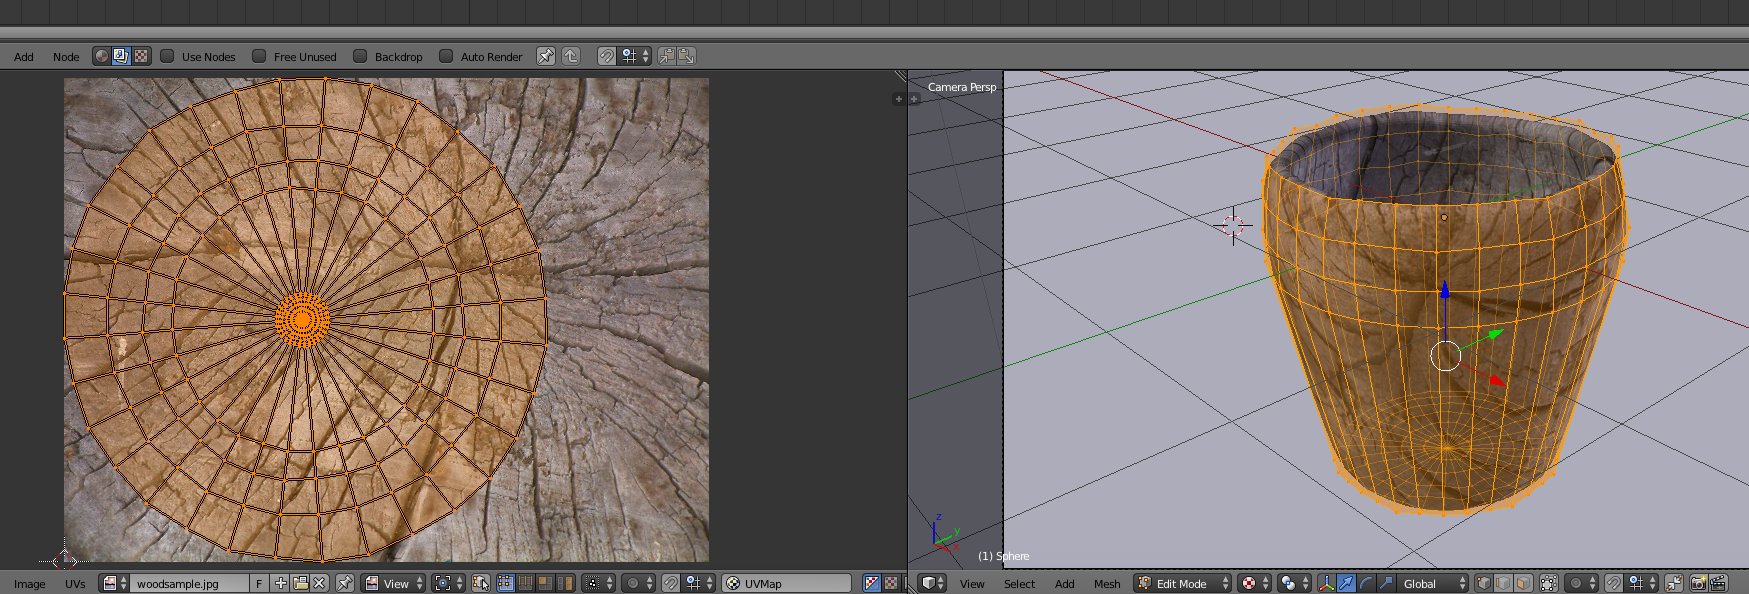
- Now add the wood texture by clicking on the image icon on the left.
- On the right, switch the mode from 'Solid' to 'Texture'. You can
select all the vertices on the left side and hit the 'g' key to move
the shape around on the texture.
- Now switch back to Object Mode:

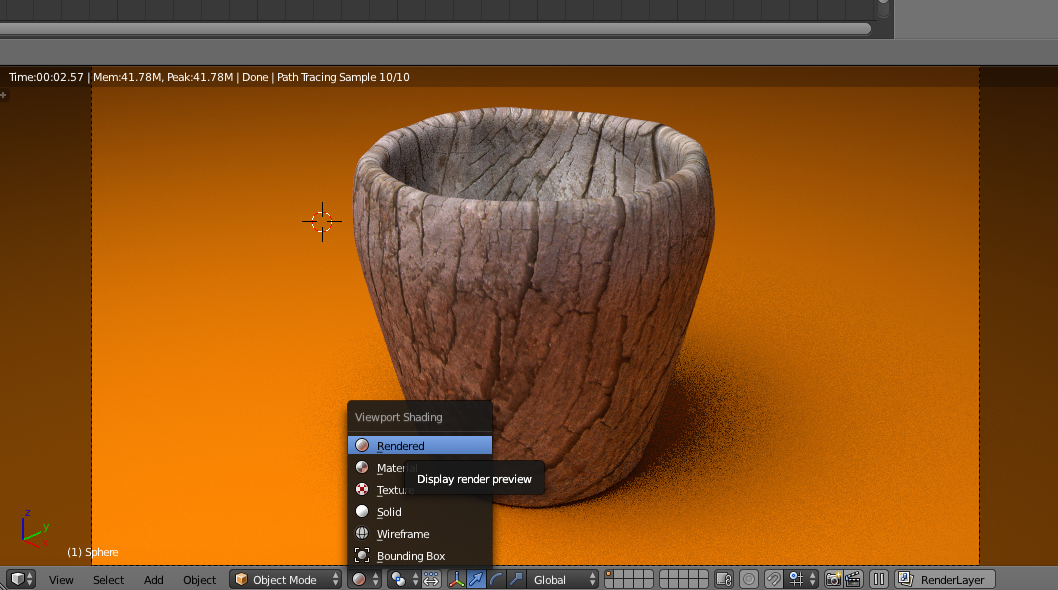
- Then change from 'Texture' to 'Rendered'. This will show somewhat
how the image will look when it is rendered:
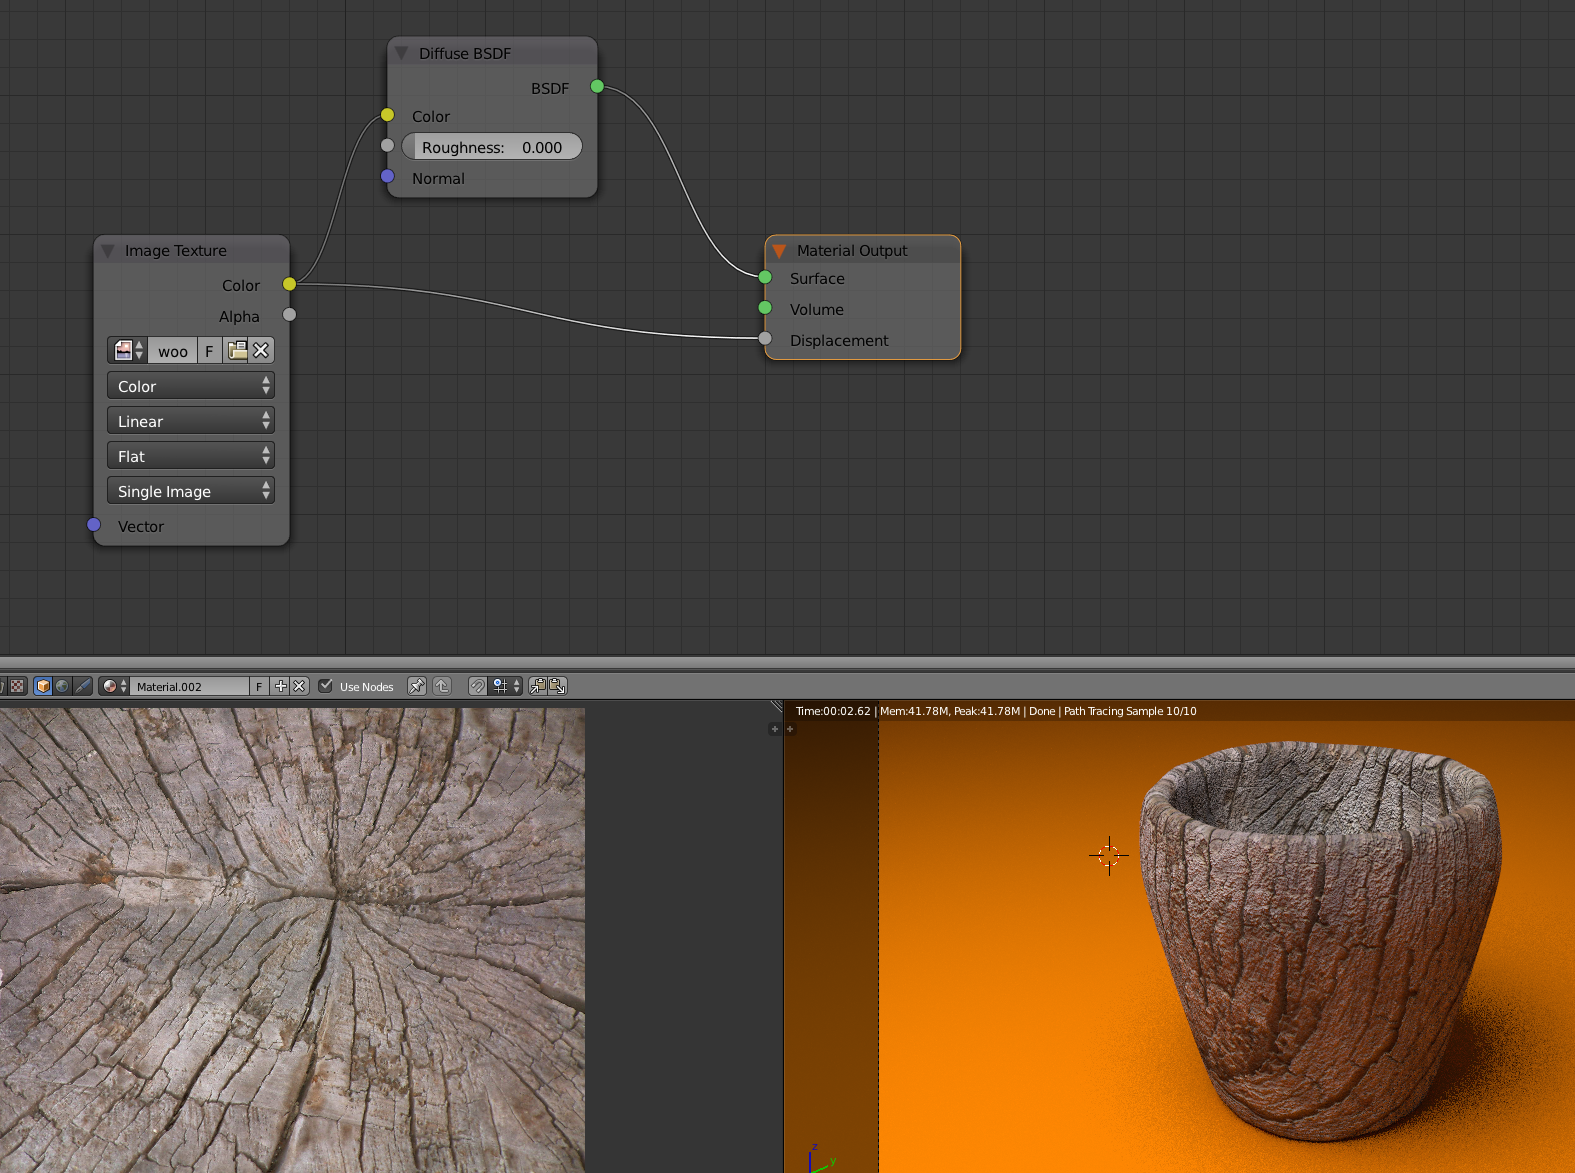
- You might notice that the texture still looks quite smooth. To
make it look rougher, you click on the material icon above the
texture panel (left side), then drag the 'Color' link on the 'Image
Texture' node to the 'Displacement' link on the 'Material Output' node:
- Now switch back to the 'Default' Screen layout, and 'Object
Mode'.
Click on the Render icon on the right (camera icon). Then go down to 'Sampling' and increase the Render samples to 500. Then click 'Render' to finally render the image. It will be a bit slow since it's ray-tracing.
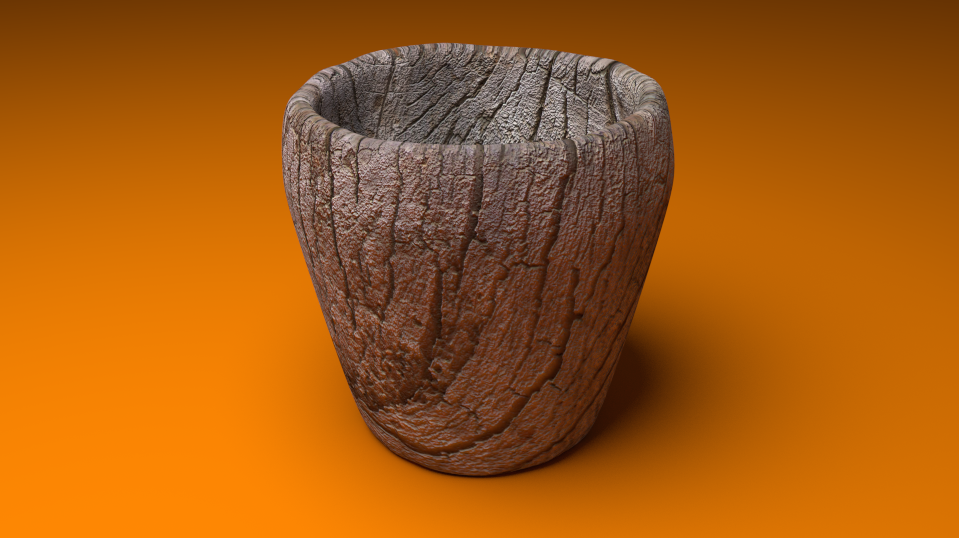
- Finally, you should see a cup like this!