CSC 240: Computer Graphics
Lab 13: Texture Mapping
Note: this lab will not be graded, but it will help us get ready for the last OpenGL homework.
- Download the textures here and put them in the same folder as
the lab code. If you have Pillow, use the "jpg" files, and if you
don't, use the "txt" files (no difference in the images you will get).
apple.jpg
wood.jpg
sky.jpg
wallpaper.jpg
grass.jpg
Right-click and choose "Save Link As...":
- If you have Pillow installed, download
lab11_PIL.py
and make sure you can run
python lab11_PIL.py
If you don't have Pillow installed, download lab13.py and make sure you can runpython lab13.py
You can check if you have Pillow by runningfrom PIL import Image
You should see something like this: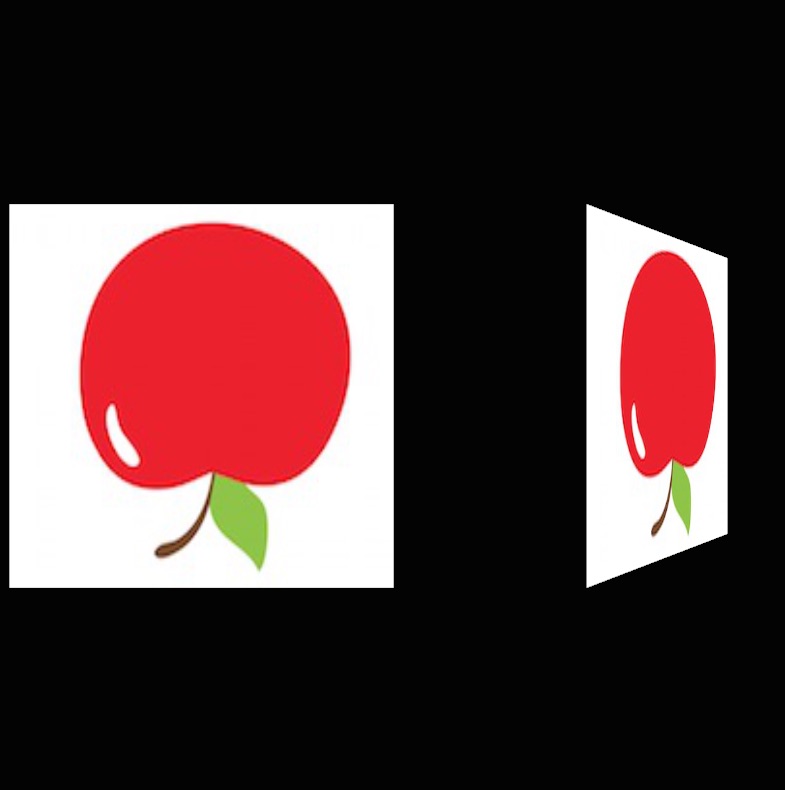
Look at the code where the texture is mapped to the vertices. Why is the apple upside down? (Hint: the image file is similar to a PPM in raster... where is (0,0)? ) Remap the texture to turn it rightside up.
- In the previous case, we were mapping a rectangular texture to
a rectangular region, but what if the region had fewer sides?
Comment out the rectangular regions and comment in the triangle. How
should this be texture mapped? Does the following image look right
(minus the apple being upside down)? There is no right answer to
this question, it's up to the designer how to map these types of regions.

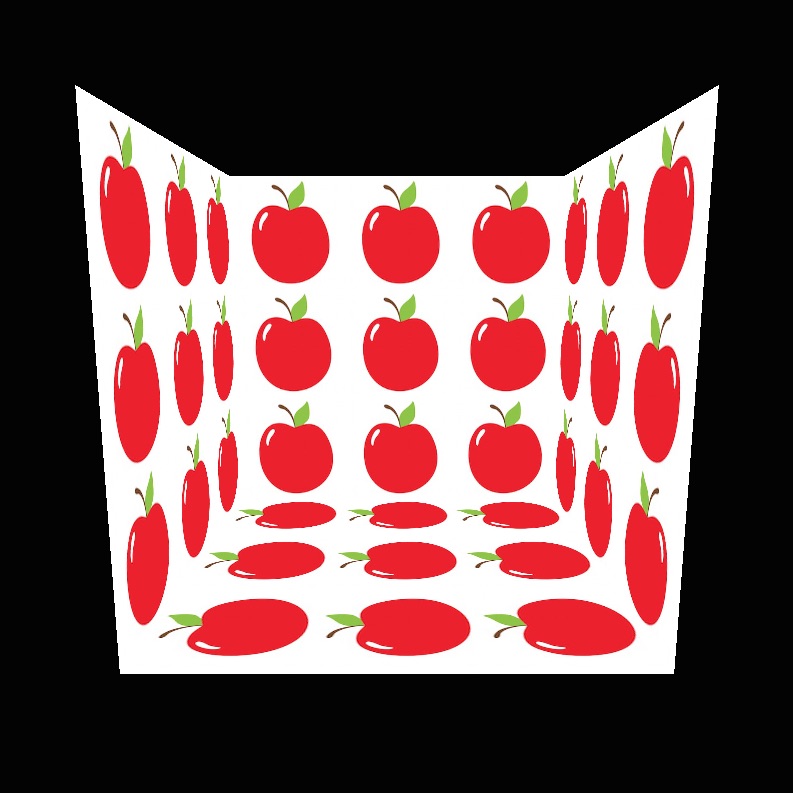
- What about a case where the region has more sides? Comment out
the triangle and comment in the octagon. Can you use the for loop to
texture map these vertices to get something like this?

-
Now we are ready to start creating a "room" or "scene". First make
the "floor" as shown below. You may need some transformations in
addition to the translate to make your scene visible.

-
Then create the "walls":

-
Usually we want to "tile" the textures instead of using one image
for a large region. To do this, instead of specifying the texture
coordinates as 0-1, we can use higher numbers! Change this in the
code, maybe try 3 copies for each dimension. What do you notice?
In addition, we need to change the texture parameters from GL_CLAMP to GL_REPEAT. Change this in the code as well to get a picture like the one below:
-
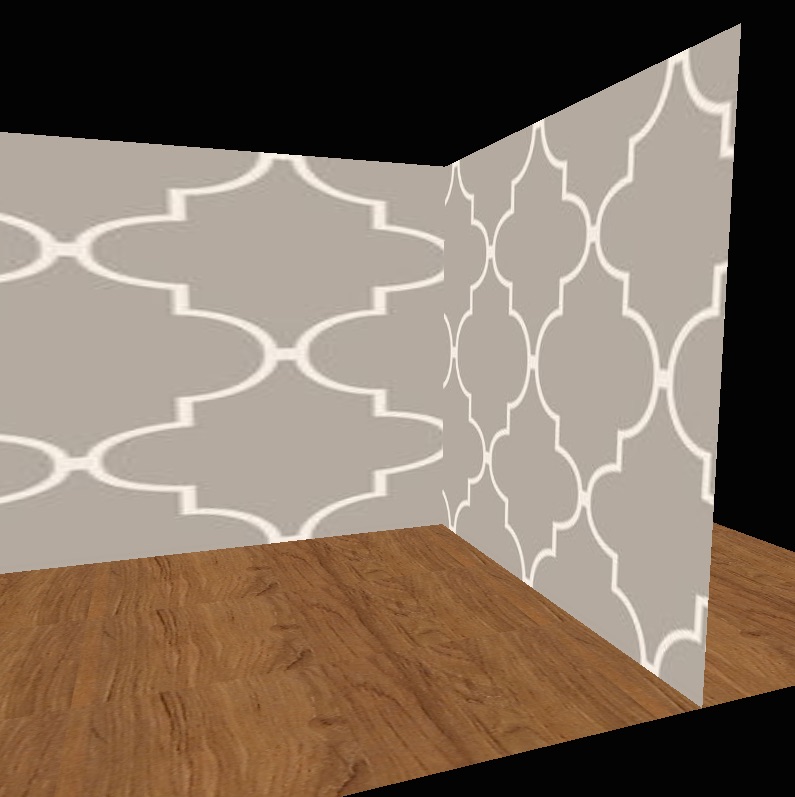
Finally, create something a bit more realistic, using any
combination of the textures available (or download your own, but
make sure it is small). Here is an example using wood floors and
wallpaper to create rooms.
-
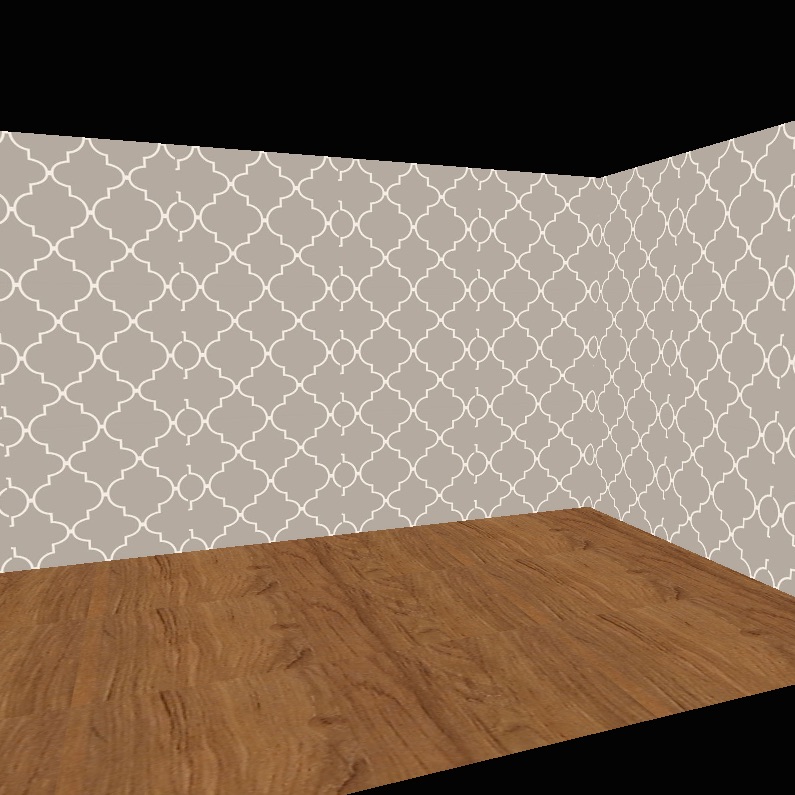
Maybe it looks a little better if we repeat the wall paper a bit
more. The top and bottom edges match up, but the sides don't. Can
you modify the wallpaper image to make it look better?
BONUS 2: find or create your own image textures (jpg is often best) and use them to create a "room".